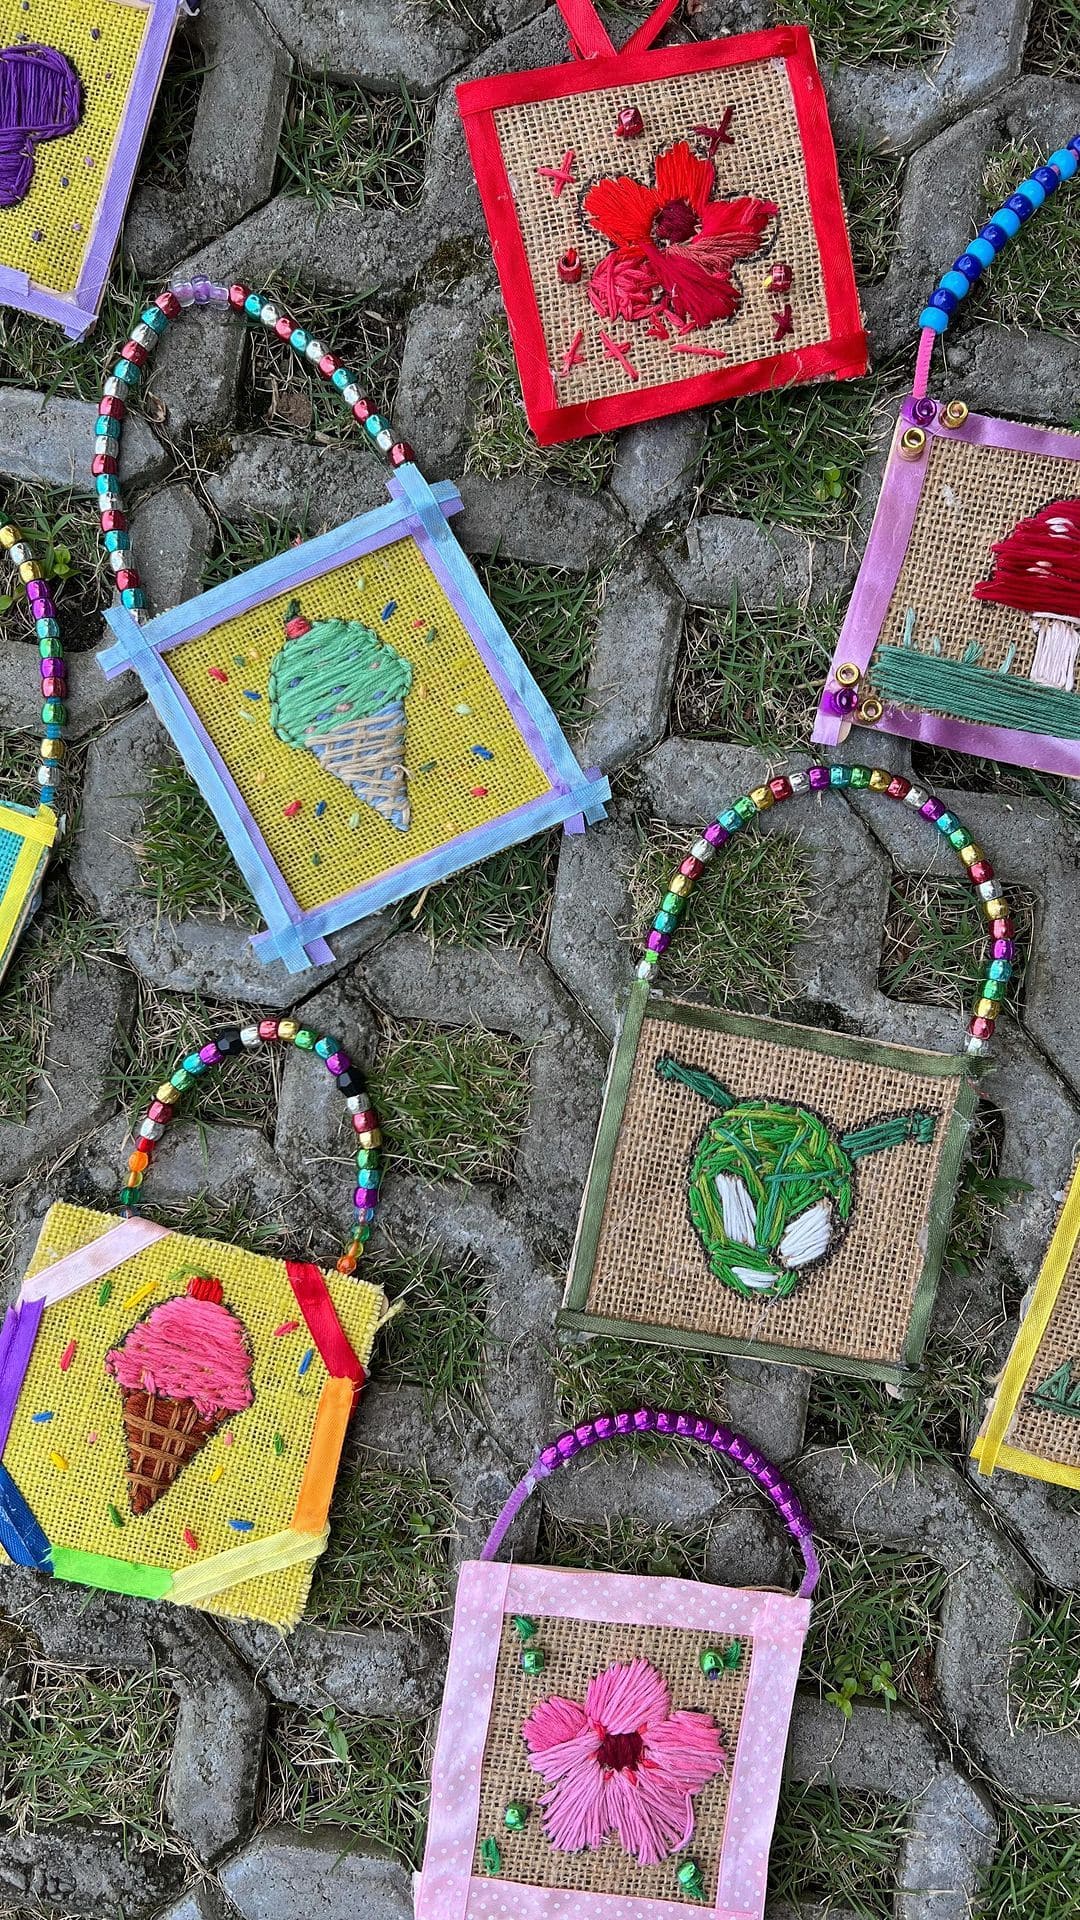
Cut your burlap into neat 6×6-inch squares. If you’d like extra sturdiness, glue each square onto a piece of felt or cardstock. Let it dry before stitching.
Use a pencil to lightly sketch your design, it could be an ice cream cone, a flower, or a simple geometric pattern. Keep the shapes bold and easy to fill with thread.
Thread your needle with yarn or embroidery floss. Start by stitching along the outline using a simple backstitch or running stitch. Once the border is set, fill the design using horizontal stitches, layering colors for texture.
After finishing the main design, add small details like sprinkles, petals, or accents with a contrasting thread color.
Frame each square by gluing colored ribbons along the edges. Then press firmly and trim any excess.
For the handle, string colorful beads onto a short piece of wire or thick thread (about 8 inches long). Next, glue or stitch each end of the handle onto the top corners of your artwork.
Decorate the frame further, you can add sequins, buttons, or even tiny fabric bows.
