Fold your A5 cardstock in half to create the card base. Keep the surface plain so the layered hearts stand out.
Trace several hearts in two sizes: medium (6–8 cm) and small (3–4 cm). Cut 8–10 hearts from a mix of patterned papers.
Lightly roughen the edges of each heart by scraping with scissors or bending the edges up. This adds the signature shabby-chic texture.
Dab a tiny amount of white acrylic paint along the edges or draw faux stitching using a white gel pen.
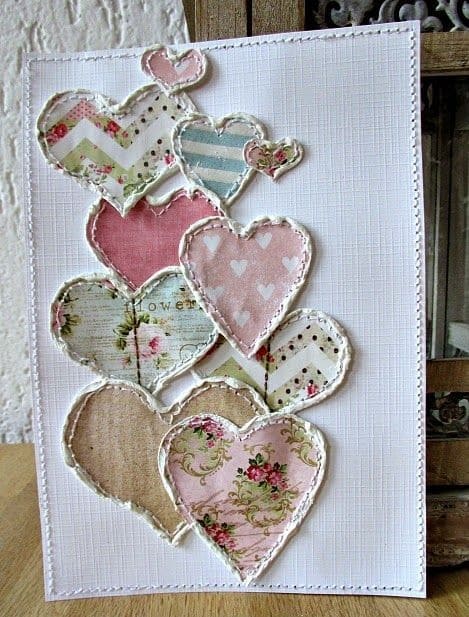
Arrange the hearts starting from the bottom, overlapping them so they form a cascading stack. Adjust the angle until it looks natural and balanced.
Glue each heart in place, pressing only the center so the edges stay slightly lifted for dimension.
Add one or two tiny hearts in the top corner to complete the flowing design.