Choose your bottle pattern. You can download or sketch different mini-scenes, think night skies, nature, or fantasy themes. Then mark your starting point at the center of the fabric.
Begin with the bottle outline using a light gray or brown thread. Stitch carefully to maintain symmetry. Once the outline is done, start filling in the inner scene one color at a time.
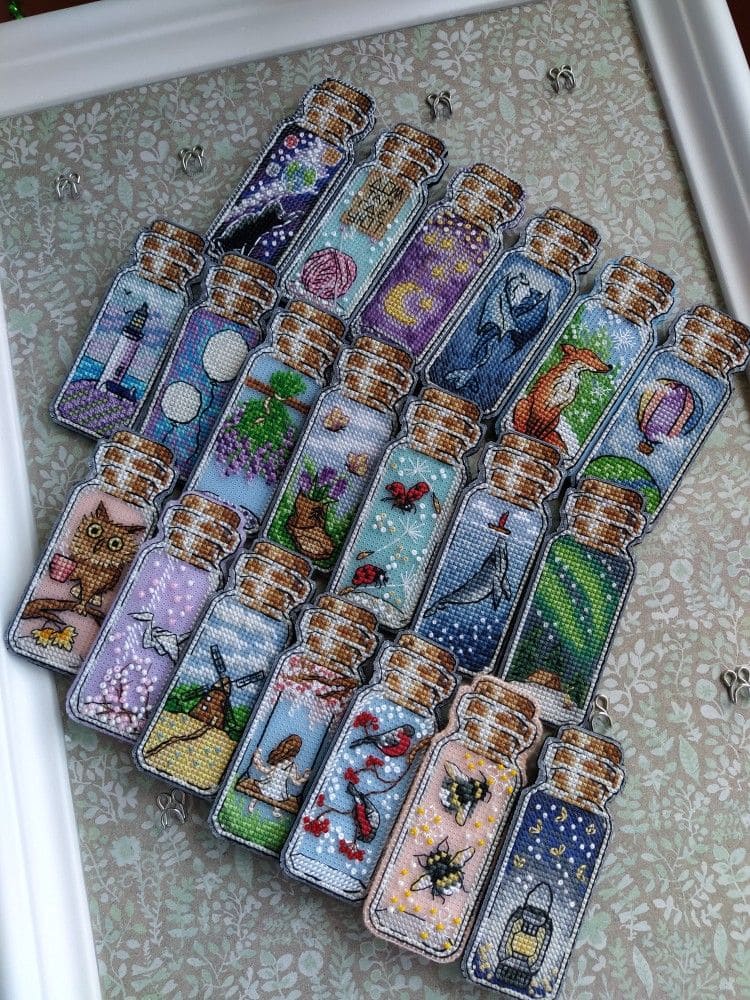
Use small details such as tiny stars, flowers, or animals to bring each scene alive. Metallic or variegated threads can add depth and sparkle.
When finished, trim around the bottle shape, leaving a small fabric margin. Then glue or stitch felt to the back for a neat finish.
Attach a hook, magnet, or twine loop depending on how you’d like to display them. You can even mount several on a single frame for a cohesive, storybook look.