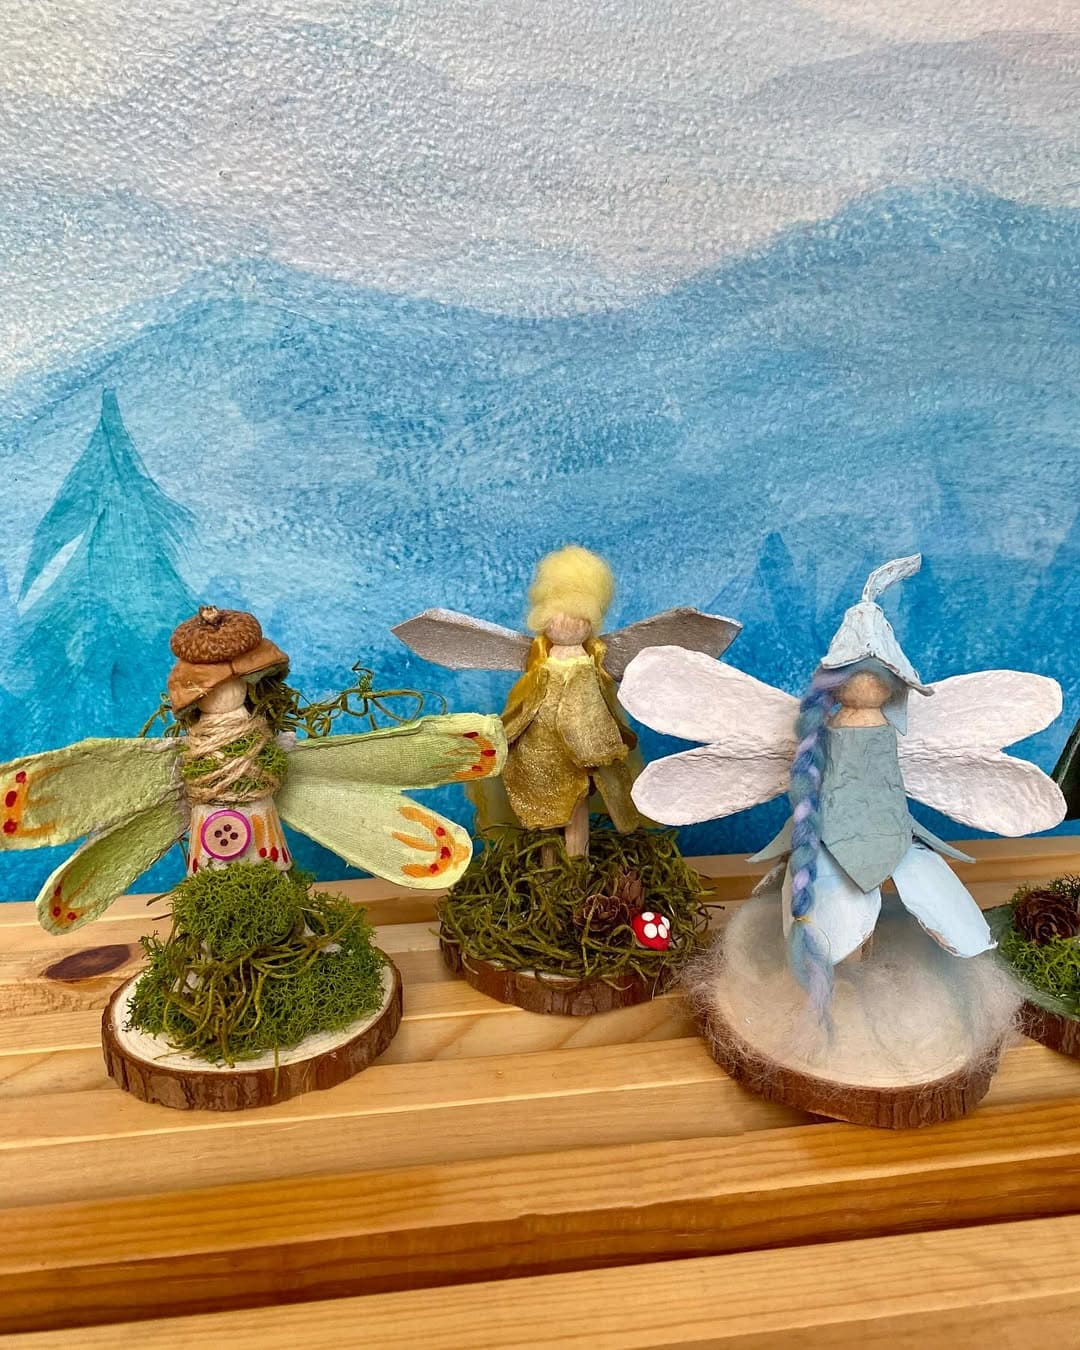
Begin by painting each wooden peg doll with soft, earthy tones to create the fairy’s outfit. Let them dry completely before moving on.
Cut out wing shapes from egg cartons or thick paper, then lightly paint them with watercolor or glitter for a magical shimmer.
Glue moss onto each wooden slice to create a lush fairy base. Then press gently to ensure it adheres well.
Attach the wings to the back of each peg doll, securing them with glue. Then wrap twine around the body or waist to add texture and a rustic look.
Add accessories like acorn caps, felt cloaks, or tiny buttons to personalize each fairy.
Finally, glue each fairy to its moss-covered base and let everything set for at least 15 minutes.