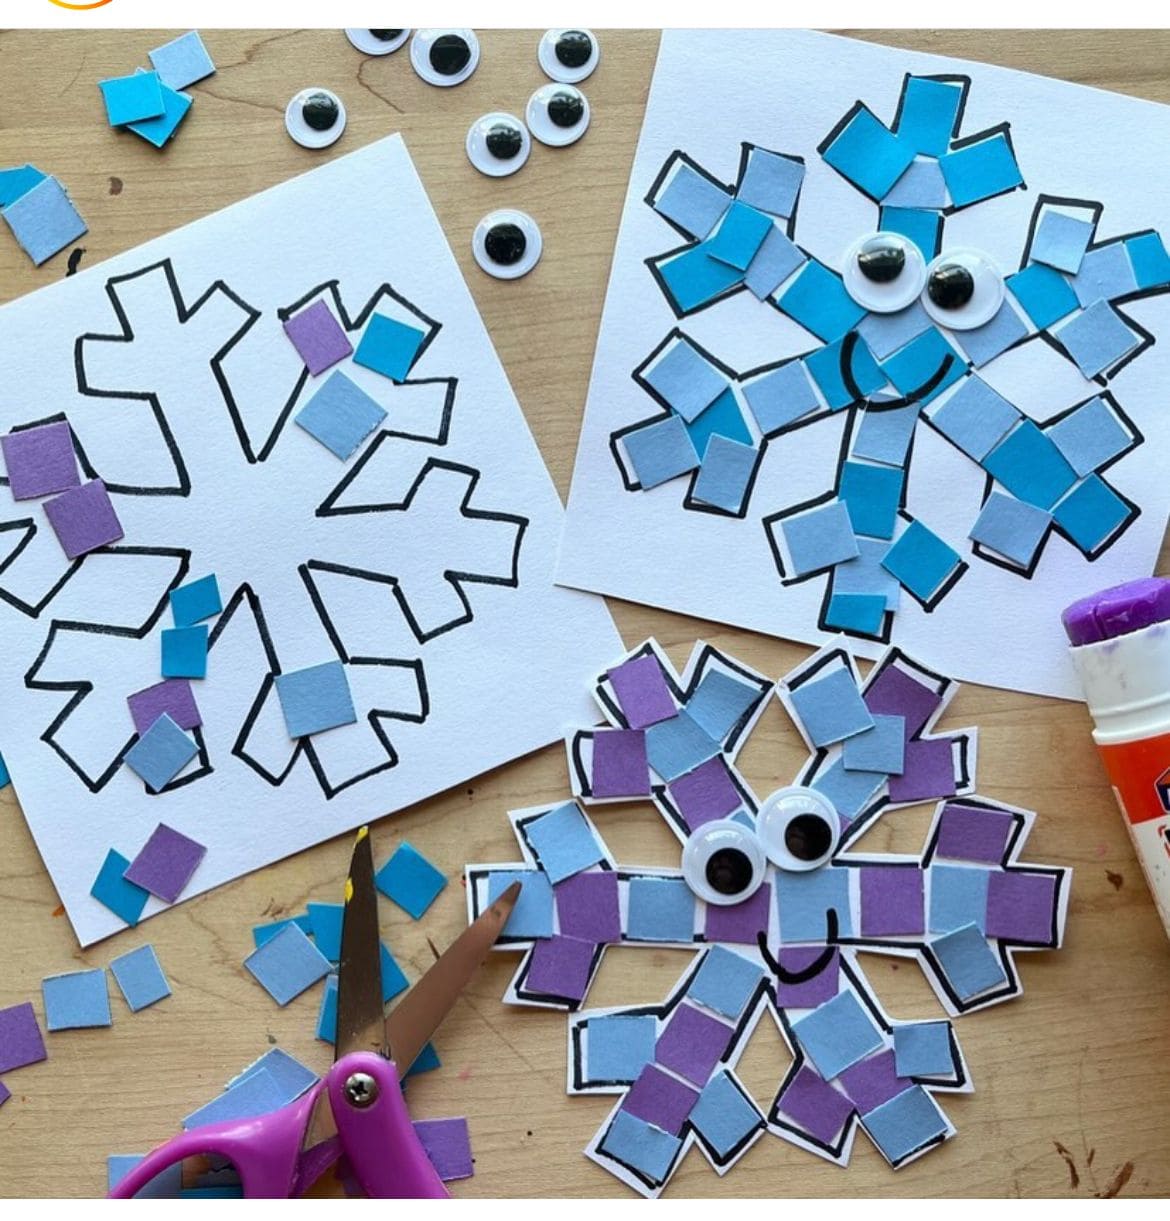
Start by printing or drawing a snowflake outline on white cardstock.
Cut small squares of blue and purple paper, they don’t have to be perfect; irregular edges give a nice mosaic texture.
Apply glue inside the snowflake’s lines, and start sticking the paper squares one by one, mixing the colors for a frosty gradient effect.
Once the design is filled in, glue two googly eyes near the center to give your snowflake a friendly face.
Next, add a smile or rosy cheeks with a marker if desired.
Let the glue dry for about 10–15 minutes before displaying your cheerful, mosaic snowflakes on windows, boards, or cards.