Materials
- Plastic canvas sheets (7 count, black color, 8”×10”)
- Embroidery floss in 1010-12 colors (purple, orange, green, blue, gray, white, black, yellow, brown, pink, and red)
- 1 skein of metallic silver or gold thread for highlights
- Size 24 tapestry needle
- Small sharp scissors
- Bat cross stitch pattern (approx. 6” wingspan per bat)
- Hot glue or craft glue
- Black felt sheet (for backing)
- Thin wire or ribbon for hanging
Instructions
- Print or draw your bat template, each about 6 inches wide and 3 inches tall. Cut the shapes from the plastic canvas carefully, keeping clean, curved edges for smooth stitching.
- Thread your needle with black floss and stitch along the bat’s outer edges to form the silhouette. This gives your piece structure and defines the shape before filling in the details.
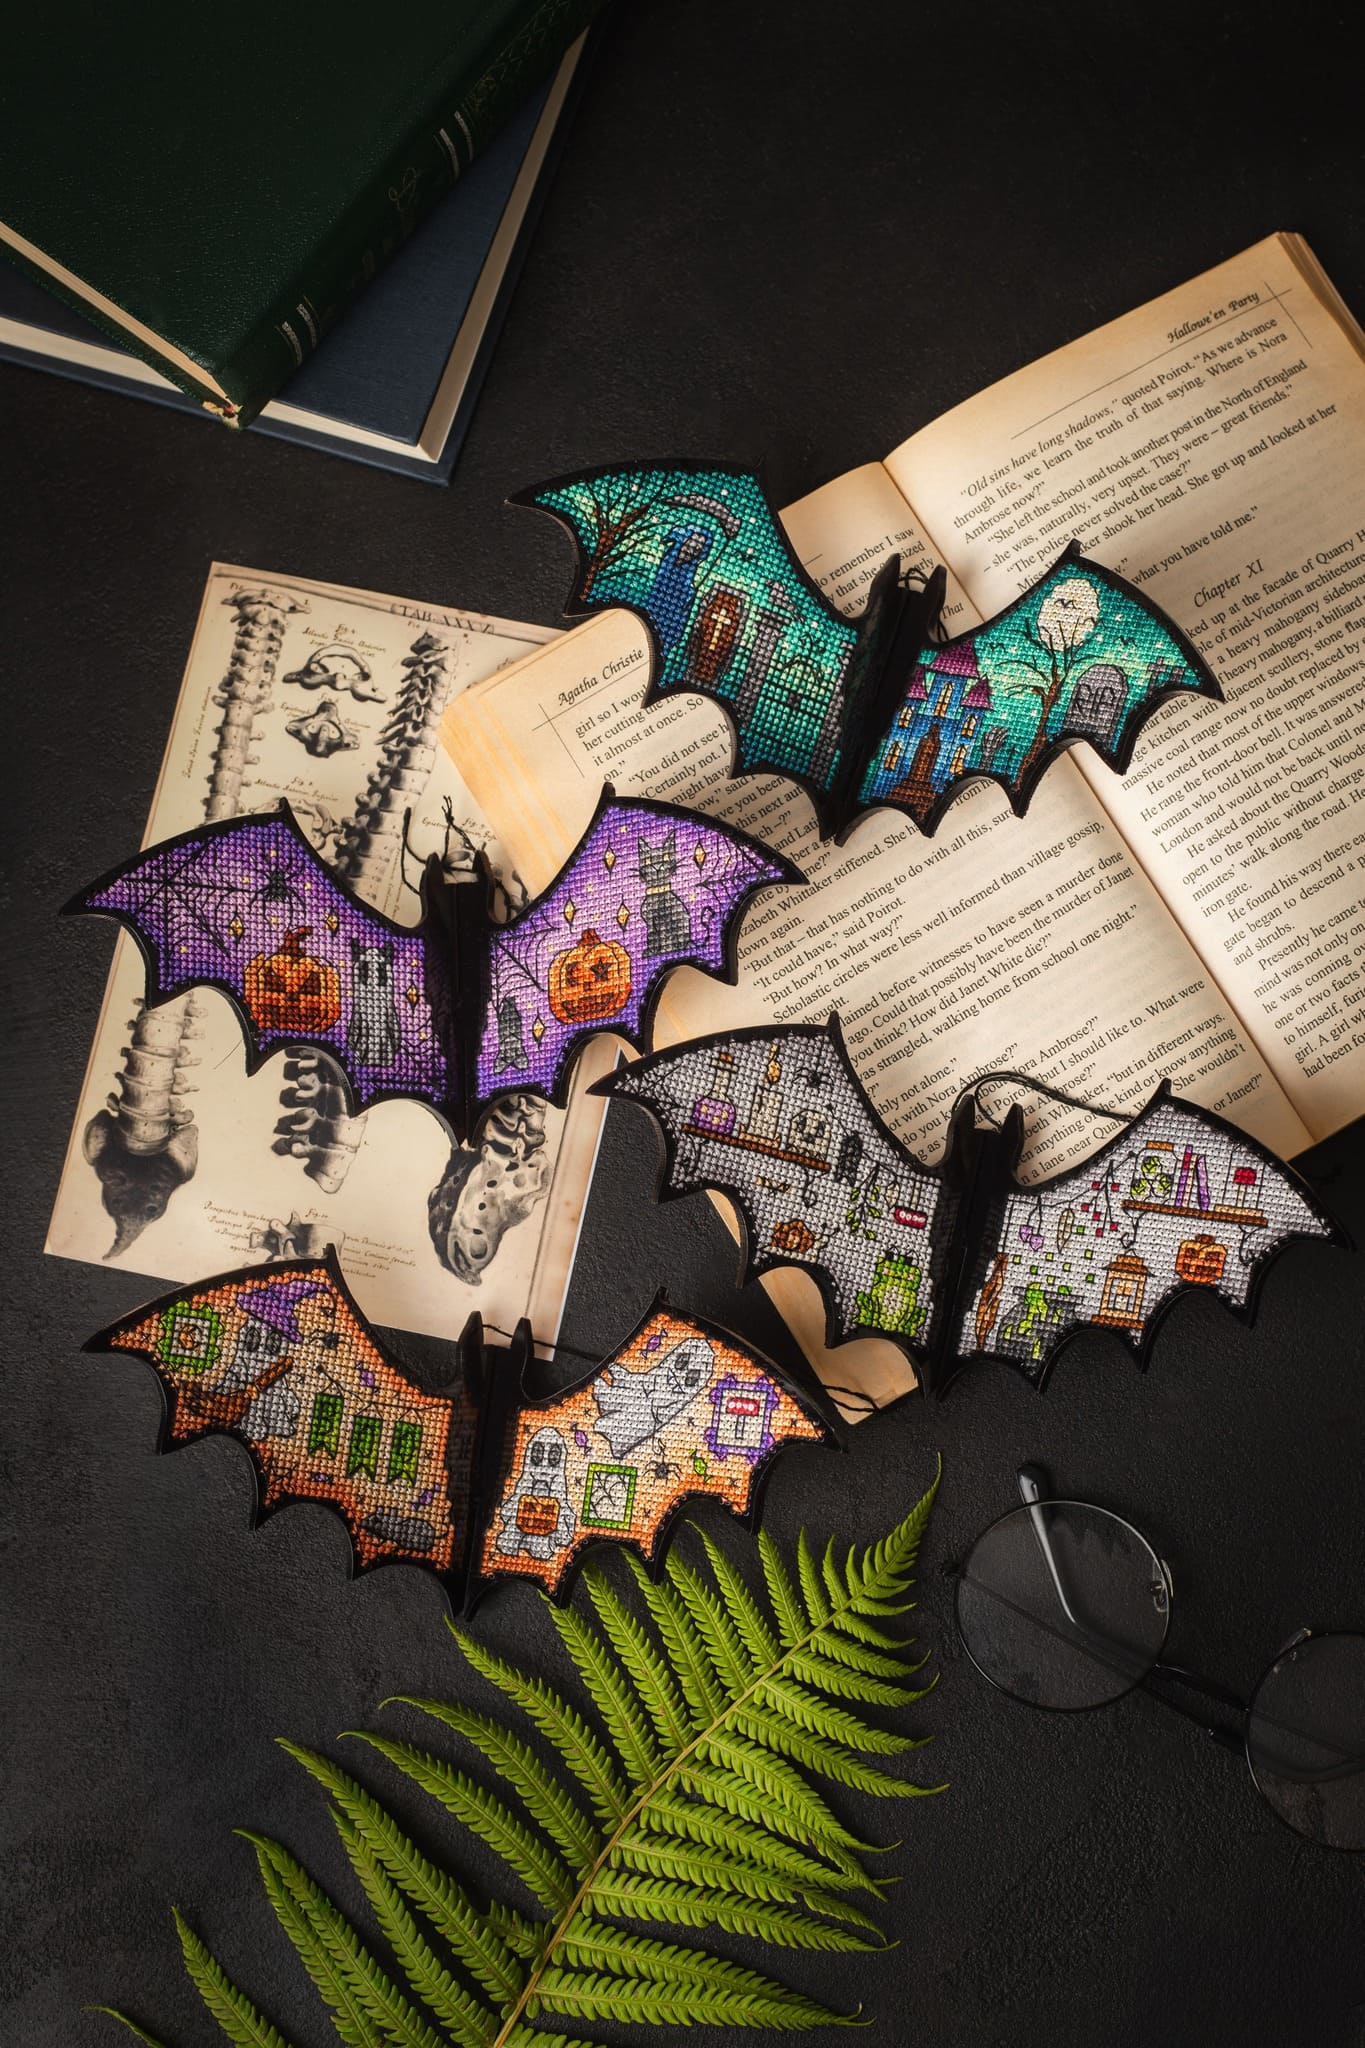
- Begin filling the wings with your chosen Halloween patterns like tiny pumpkins, haunted houses, candles, or gravestones. Use contrasting colors so each motif stands out against the dark base.
- Add metallic or glow-in-the-dark thread accents for moonlight effects or sparkly stars across the wings. These subtle highlights create a striking shimmer when light hits the surface.
- Once finished, trim the edges neatly and glue a piece of black felt to the back to hide stitches and add sturdiness.
- To display, attach a thin wire or ribbon through the top center. You can hang them on branches, curtain rods, or even tape them to your walls for a playful flying effect.
Notes
If you make several bats, vary the wing colors like purple, orange, or turquoise backgrounds create a magical mix when displayed together. For extra depth, bend the wings slightly inward before hanging to make them look mid-flight.