Materials
- Linen or Aida fabric (14 count, 6”×6” per star)
- Cotton stuffing or fiberfill (about ½ cup per ornament)
- Embroidery floss in 10–12 festive colors (red, green, white, gold, brown, black, pink, and gray)
- Embroidery needle (size 24 or 26)
- Small scissors
- Sewing machine or needle and thread
- Star-shaped pattern template (about 4.5”–5” across)
- Ribbon or twine (6” length for hanging)
- Small pom-poms or buttons for embellishment
Instructions
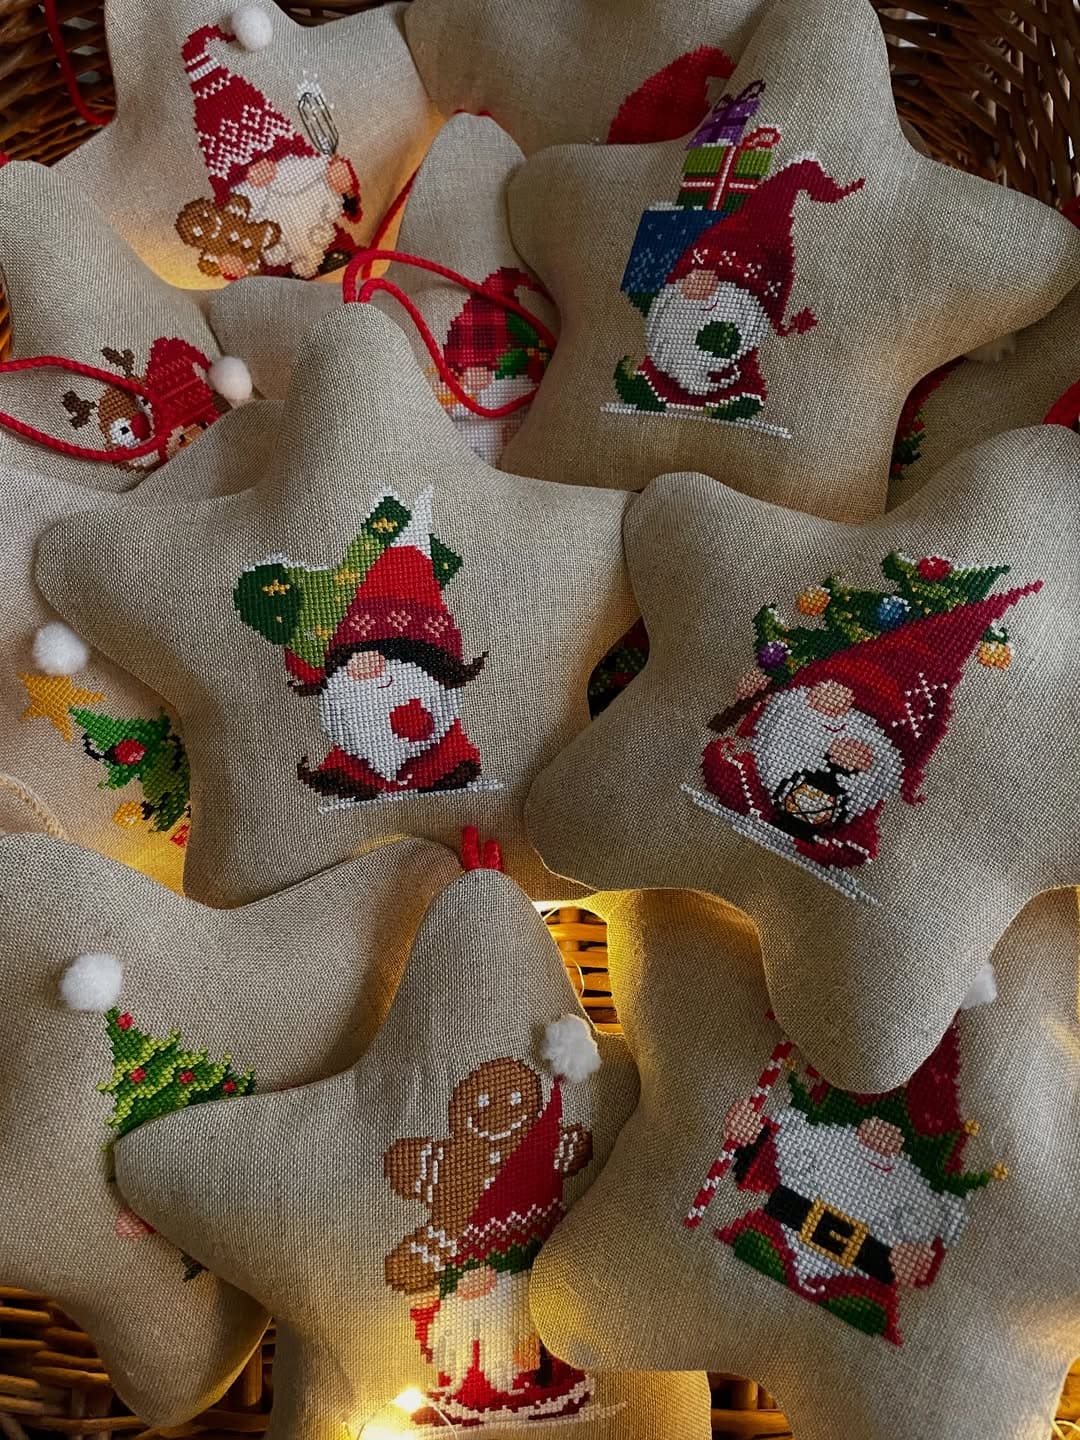
- Choose your favorite gnome or Christmas motif and stitch it on the center of your fabric square. You should keep your stitches neat and use brighter shades for hats, gifts, or candies to make the design pop.
- Once finished, place the stitched piece right side down on another piece of plain fabric. Then trace your star shape, pin it in place, and sew around the edges, leaving a small opening.
- Carefully trim the excess fabric around the seam, turn the star right side out, and gently stuff it with cotton or fiberfill until it feels plump.
- Sew the opening closed by hand using small, invisible stitches.
- Attach a small loop of ribbon or twine to the top for hanging. You can also add decorative touches like a mini pom-pom or bead for a playful finish.
Notes
To create a cohesive set, you can stitch each gnome in a different outfit or color scheme such as reds and golds for warmth, greens and whites for a frosty touch. A sprinkle of tiny bells or sequins can make them twinkle just like the tree lights.