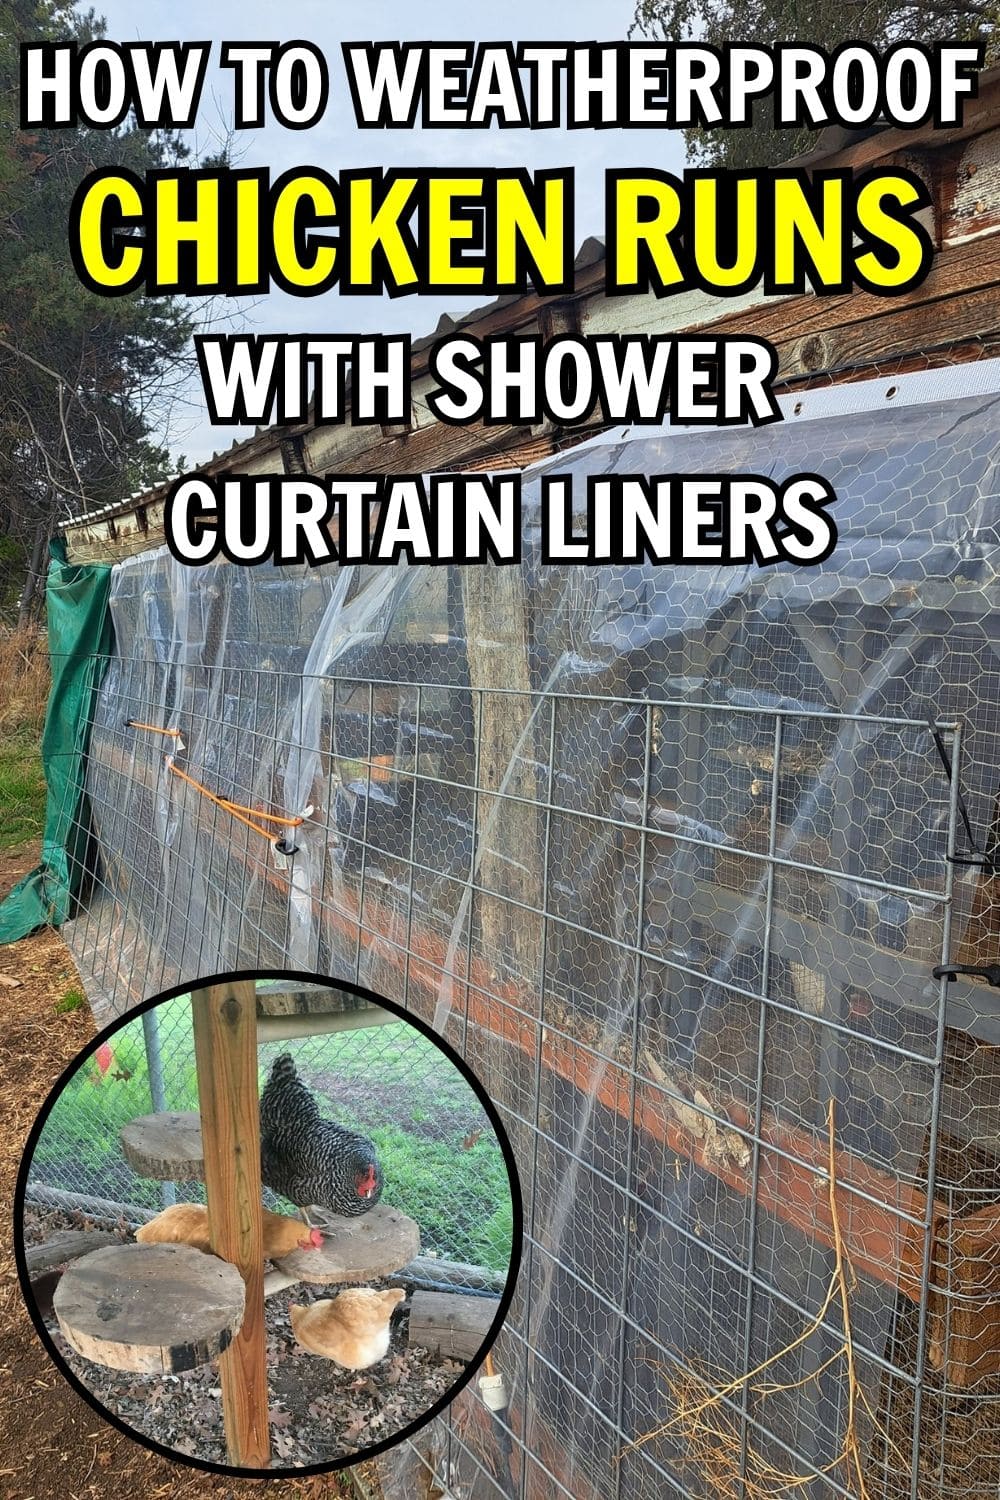
When winter’s chill rolls in, every chicken keeper knows how tricky it can be to keep the coop and run dry.
Wind, rain, and snow can make things messy fast like damp bedding, muddy floors, and unhappy hens.
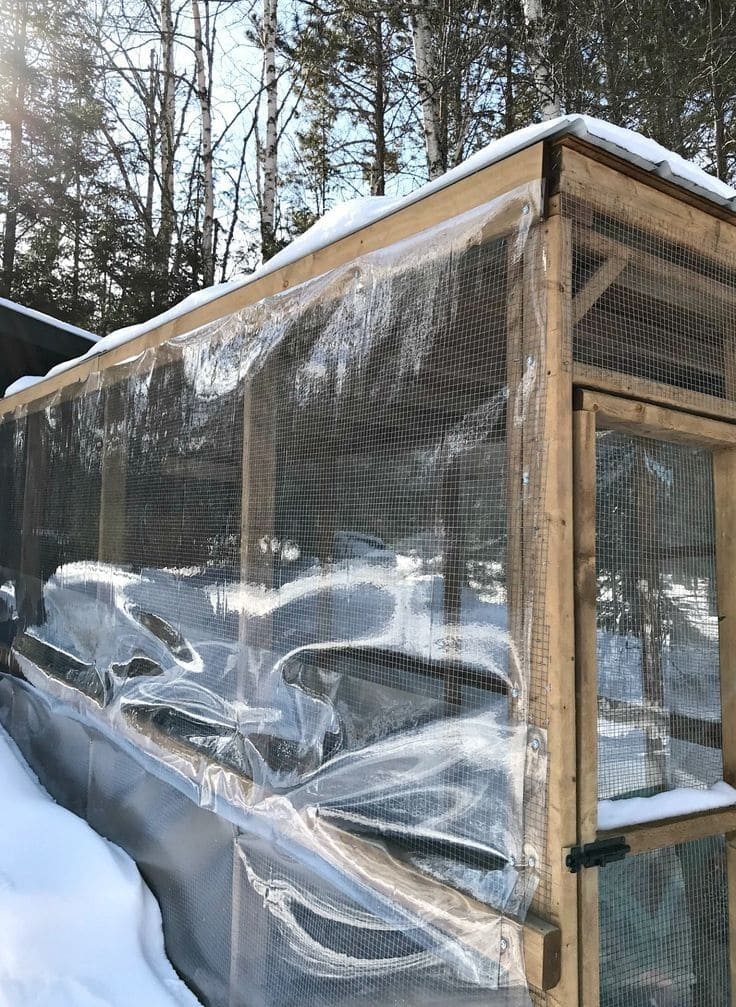
But one clever, low-cost trick is helping backyard chicken owners everywhere: using clear plastic shower curtain liners to weatherproof their runs.
Why It’s Worth Weatherproofing Your Run
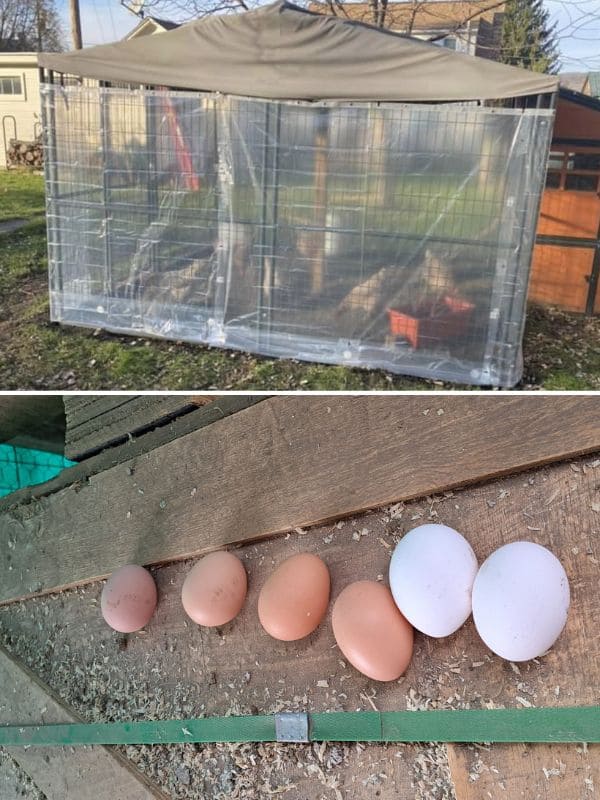
A dry, wind-protected run makes a world of difference during cold months. Chickens don’t do well in damp, drafty spaces.
Wet conditions can lead to frostbite, respiratory issues, or just general discomfort.
A weatherproofed run keeps the ground dry, helps the flock stay warmer, and protects their feed from moisture, saving you cleanup time and effort later.
When the elements are harsh, you’ll notice calmer birds, cleaner feathers, and better egg production. In short, happy hens make better layers.
Why Shower Curtain Liners Work So Well
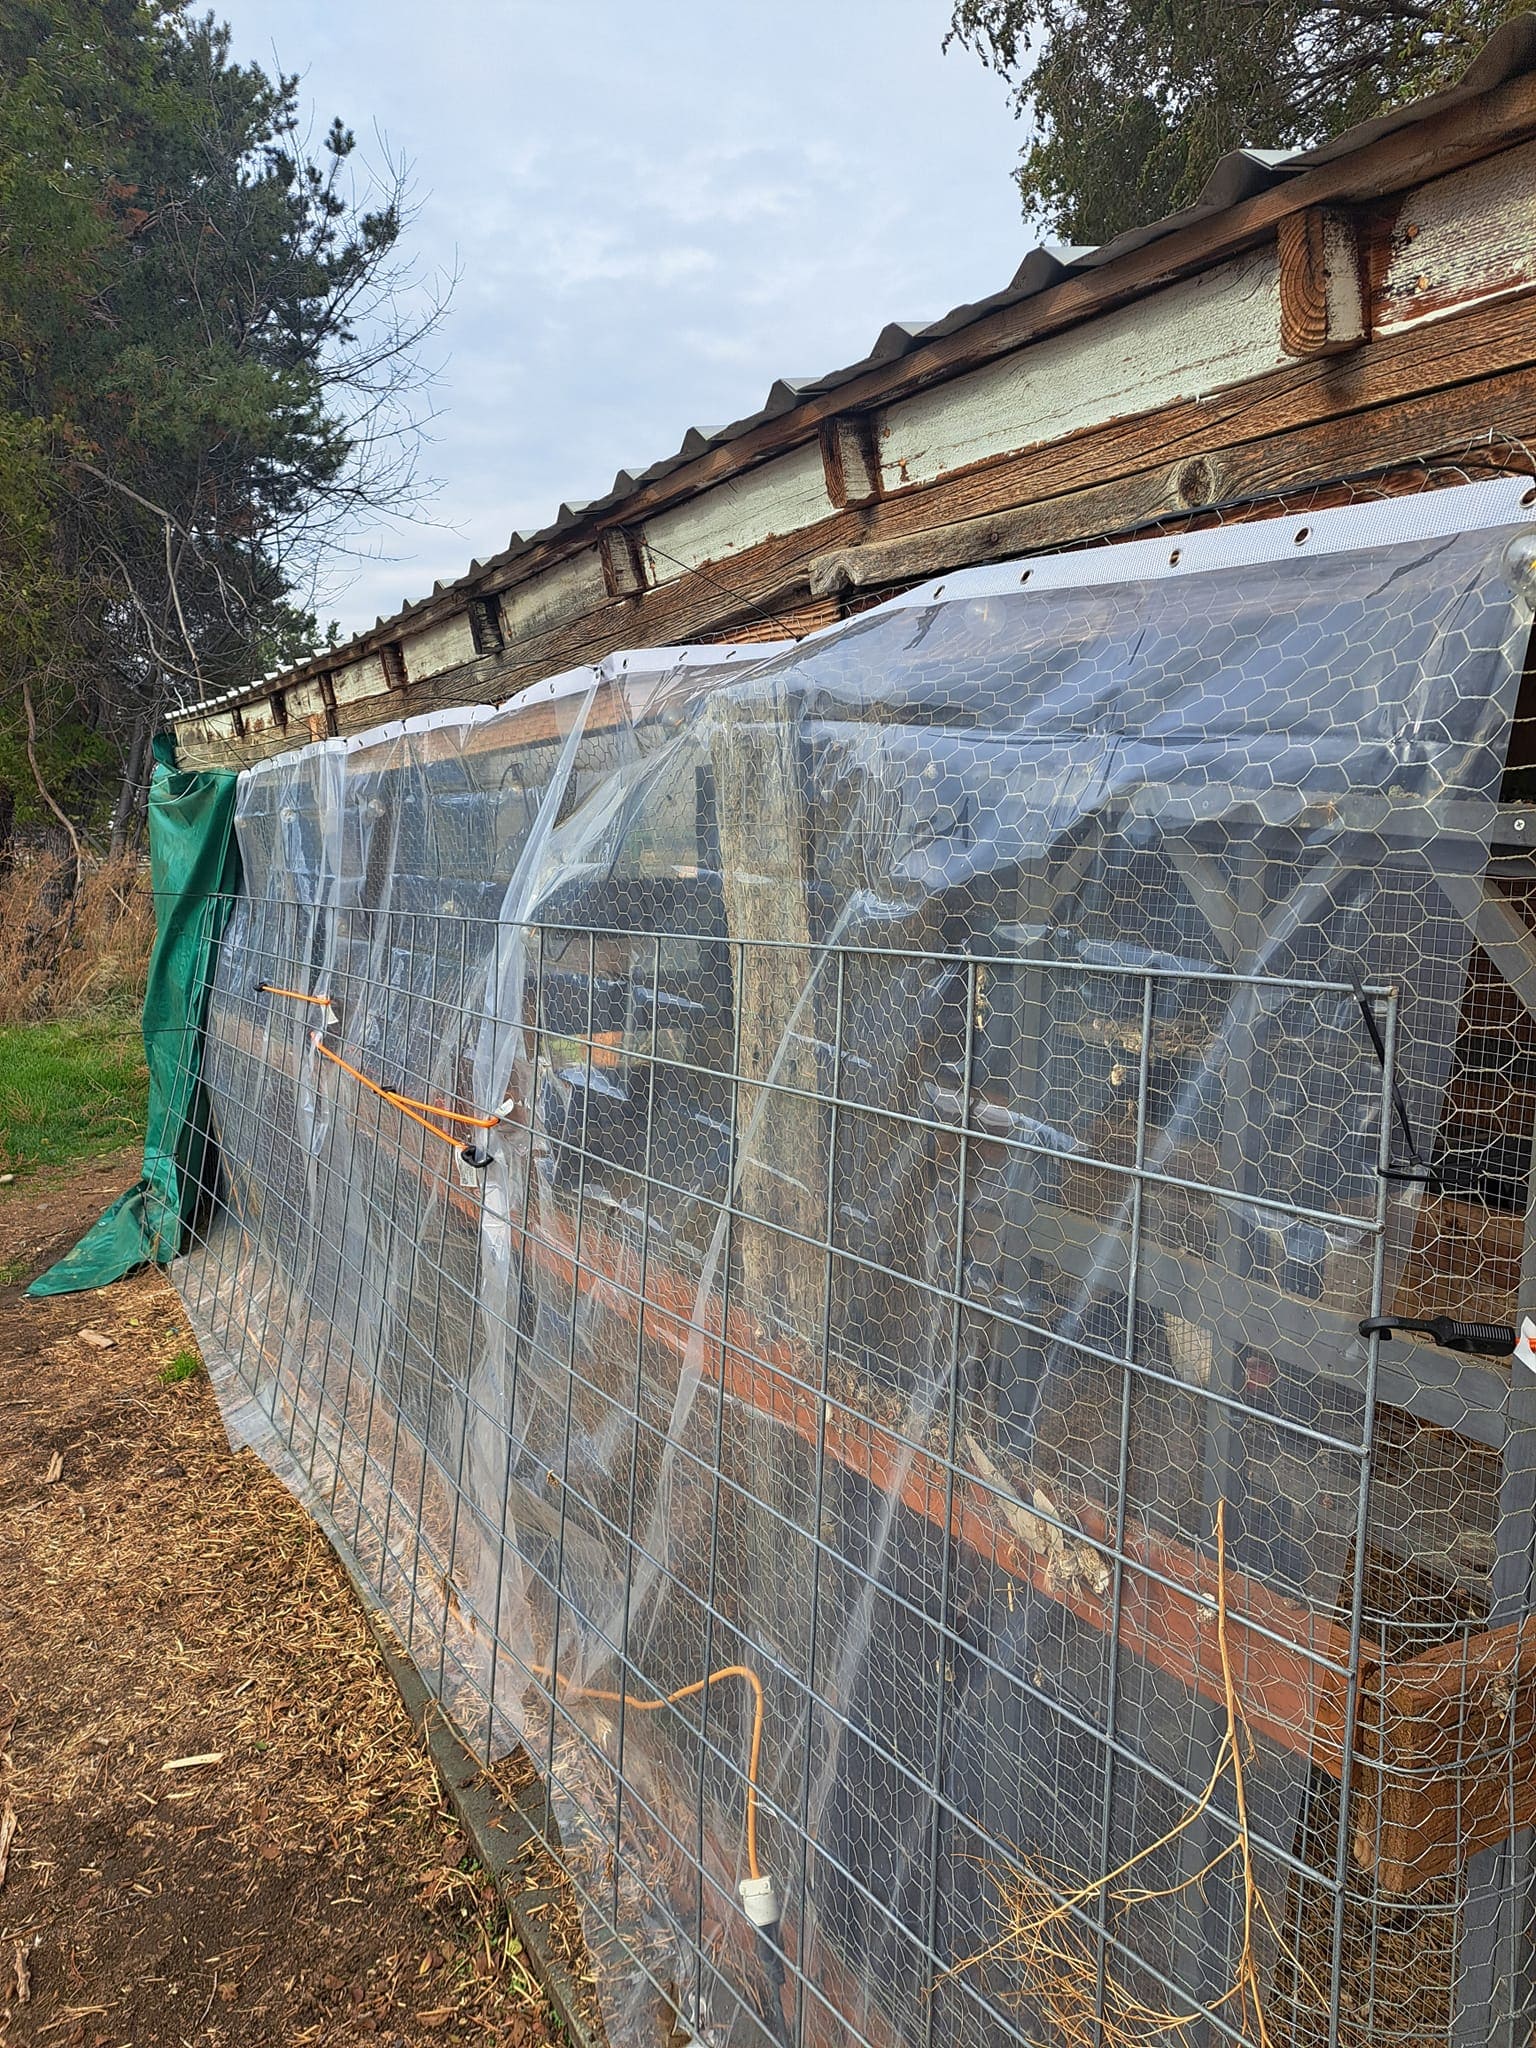
Clear plastic shower liners are one of those hidden gems for homesteaders.
They’re made to handle moisture, so they hold up through heavy rain and even snow.
Because they’re transparent, they still let in natural light, keeping the run bright and cheerful on gloomy winter days.
They also beat out traditional tarps. Tarps can block too much sunlight and create dark, damp conditions.
Shower curtain liners, on the other hand, are lightweight and flexible, making them easier to attach and adjust as needed.
What You’ll Need
You won’t need fancy tools for this, just a few everyday items:
- Clear plastic shower curtain liners (one or more, depending on run size)
- Zip ties or bungee cords
- Scissors
- Small clips or clamps
- Optional: duct tape or small stakes for reinforcement
If your run is large, grab a few liners to overlap and cover the full length. Most dollar stores carry them, so you can cover the whole setup for under $15.
How to Install the Liners
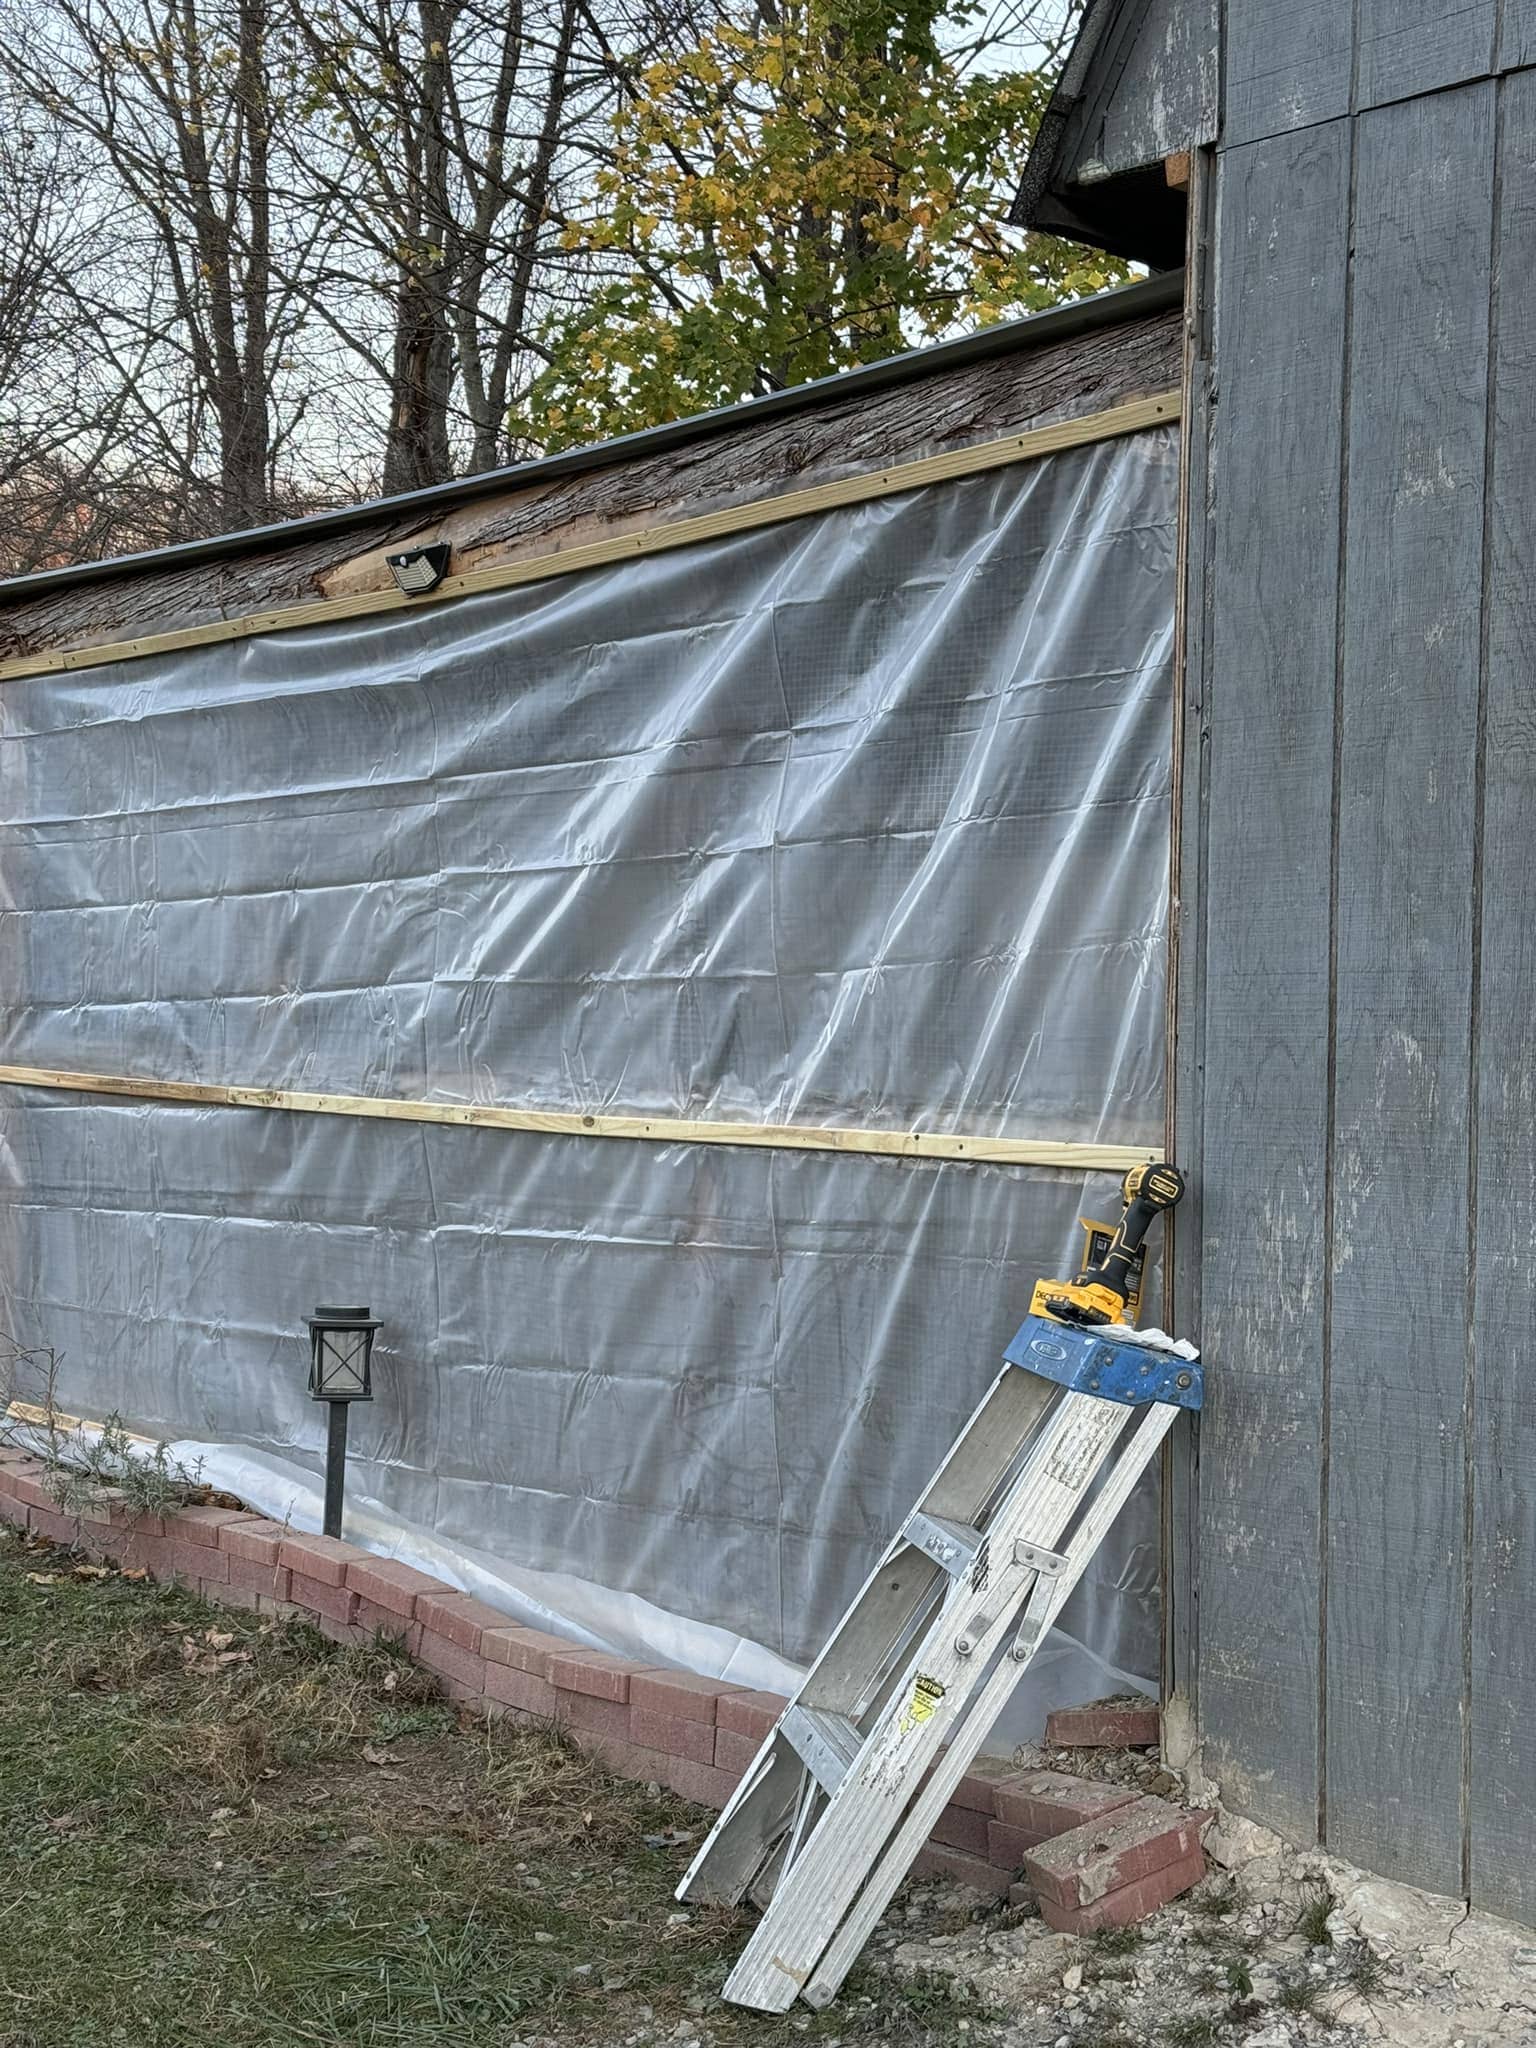
Start by measuring your chicken run so you know how many liners you’ll need. Once that’s done, follow these easy steps:
1. Attach the first liner
Line up the top edge of the curtain with the top of your run fence.
Then use zip ties or clamps through the existing holes at the top of the liner to fasten it to the wire frame.
2. Overlap each piece slightly
If you’re using multiple liners, overlap them by a few inches to prevent water from sneaking through the seams.
3. Secure the bottom edge
Anchor the bottom by tucking it under a brick, piece of wood, or a bit of soil. This keeps cold drafts out and stops the wind from flapping it around.
4. Reinforce the corners
Apply duct tape or zip ties to the corners and edges for extra strength, especially if you get strong winter winds.
5. Leave some ventilation
Don’t cover every inch completely airtight as chickens still need fresh air.
You should also leave small gaps or openings near the roofline for airflow and to prevent moisture buildup inside.
The Benefits You’ll Notice
Once it’s up, you’ll quickly see how effective this setup is. The run stays bright but shielded from the elements.
Bedding dries faster, mud is reduced, and your flock can still roam outside without freezing or getting soaked.
Because sunlight still filters through, it also prevents that gloomy winter atmosphere that sometimes stresses chickens.
A Few Extra Tips
Check the liners occasionally after storms for small tears or sagging spots as a little maintenance keeps them lasting all season.
If you get heavy snow, brush it off before it piles up too much.
In warmer months, simply roll the liners up or remove them to let breezes back in. With a little care, you can reuse the same liners year after year.
Refer to: 10 Perennial Plants for Chickens So You Can Feed Them for Free, Forever
