If you’ve ever harvested more potatoes, apples, or carrots than your pantry can handle, you know the struggle of finding the right place to store them.
A traditional root cellar keeps produce fresh through winter, but not everyone has the time or budget to dig a full underground chamber.
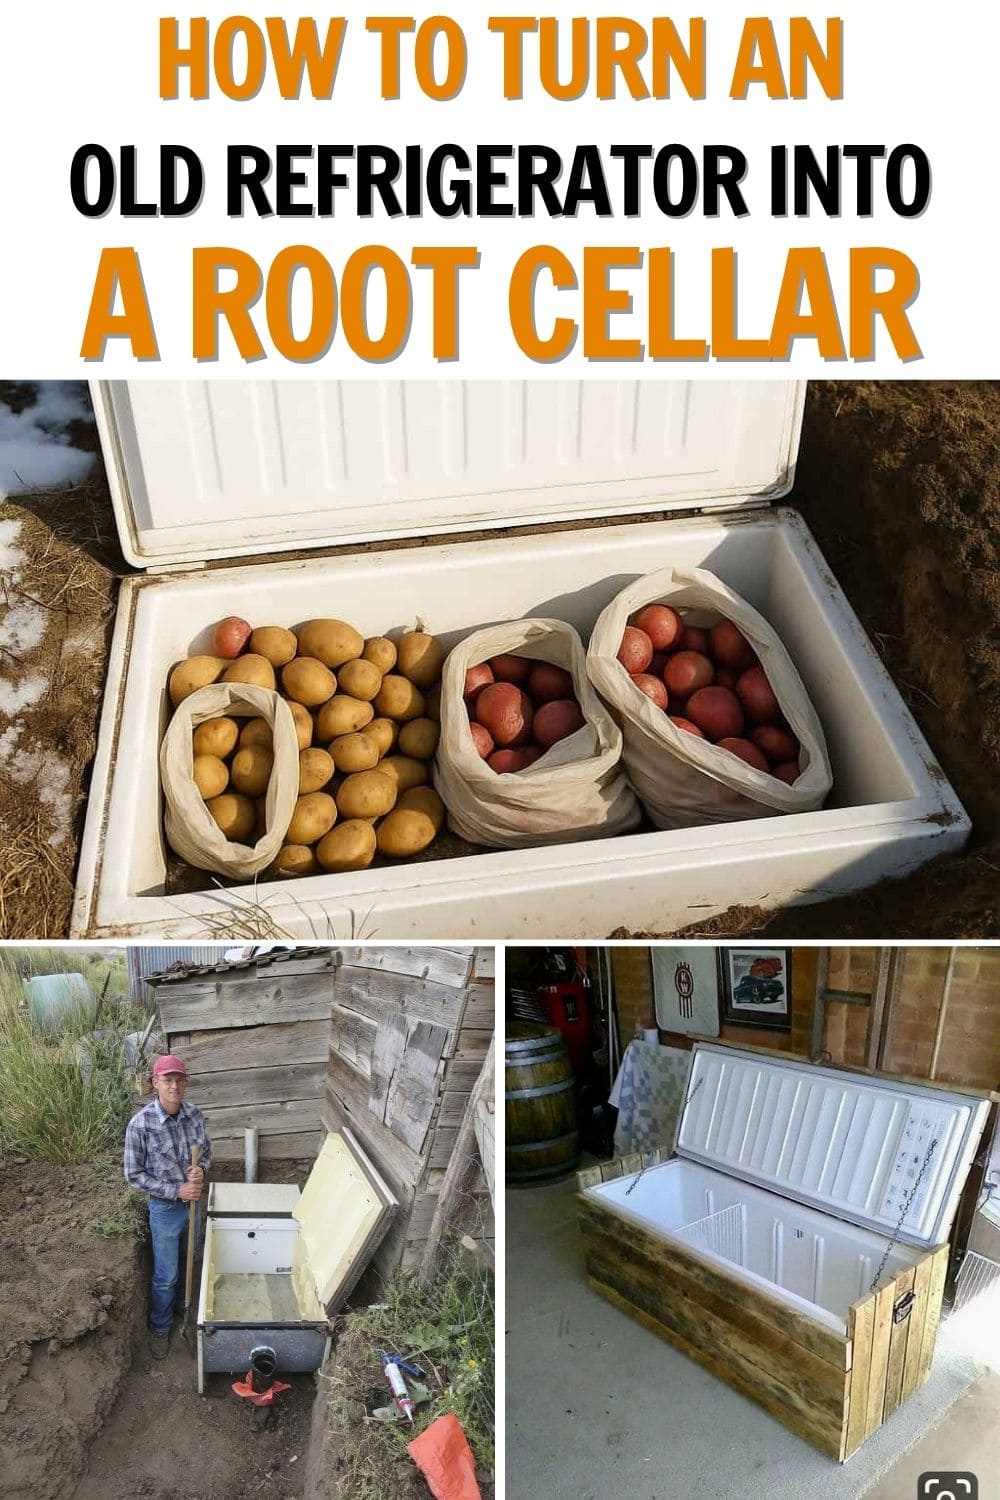
Here’s the good news, if you’ve got an old refrigerator or chest freezer sitting around, you already have everything you need to make your own mini root cellar.
With just a bit of digging and some airflow tweaks, that old appliance can become a perfect cold storage unit for your garden bounty.
Why an Old Refrigerator Works Perfectly
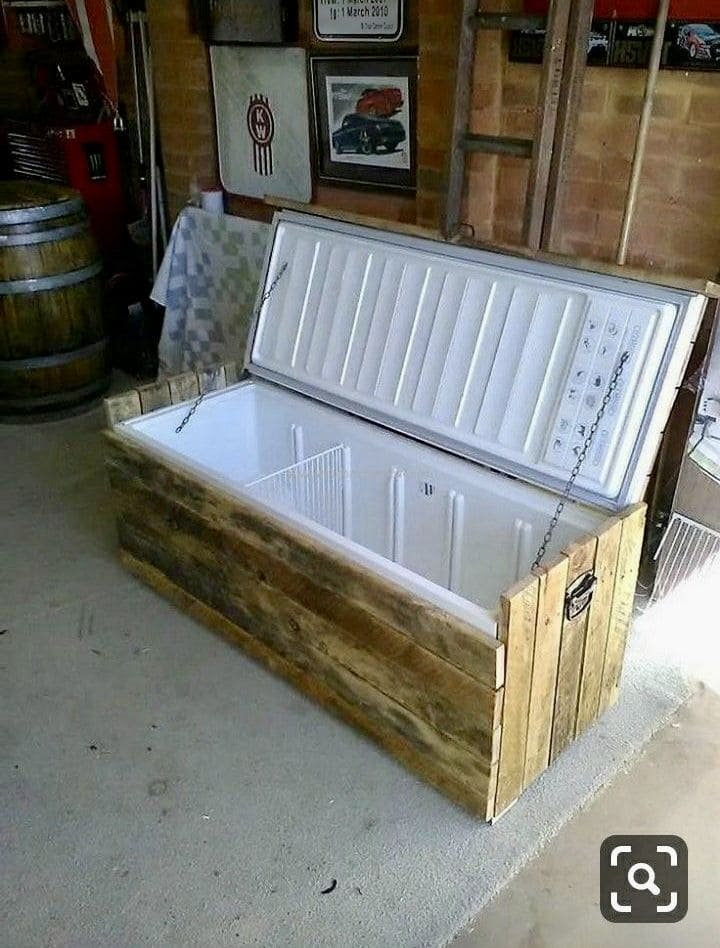
Refrigerators are already insulated, airtight, and sturdy.
When you bury one underground, it naturally stays cool and damp – the two key factors for long-term food storage.
The soil around it regulates temperature, keeping it between 35–50°F, while the sealed body prevents pests and rot.
Instead of letting that fridge rust in the yard or hauling it to the dump, you can repurpose it into something incredibly useful and eco-friendly. It’s recycling and self-sufficiency wrapped into one simple project.
Choosing the Right Location
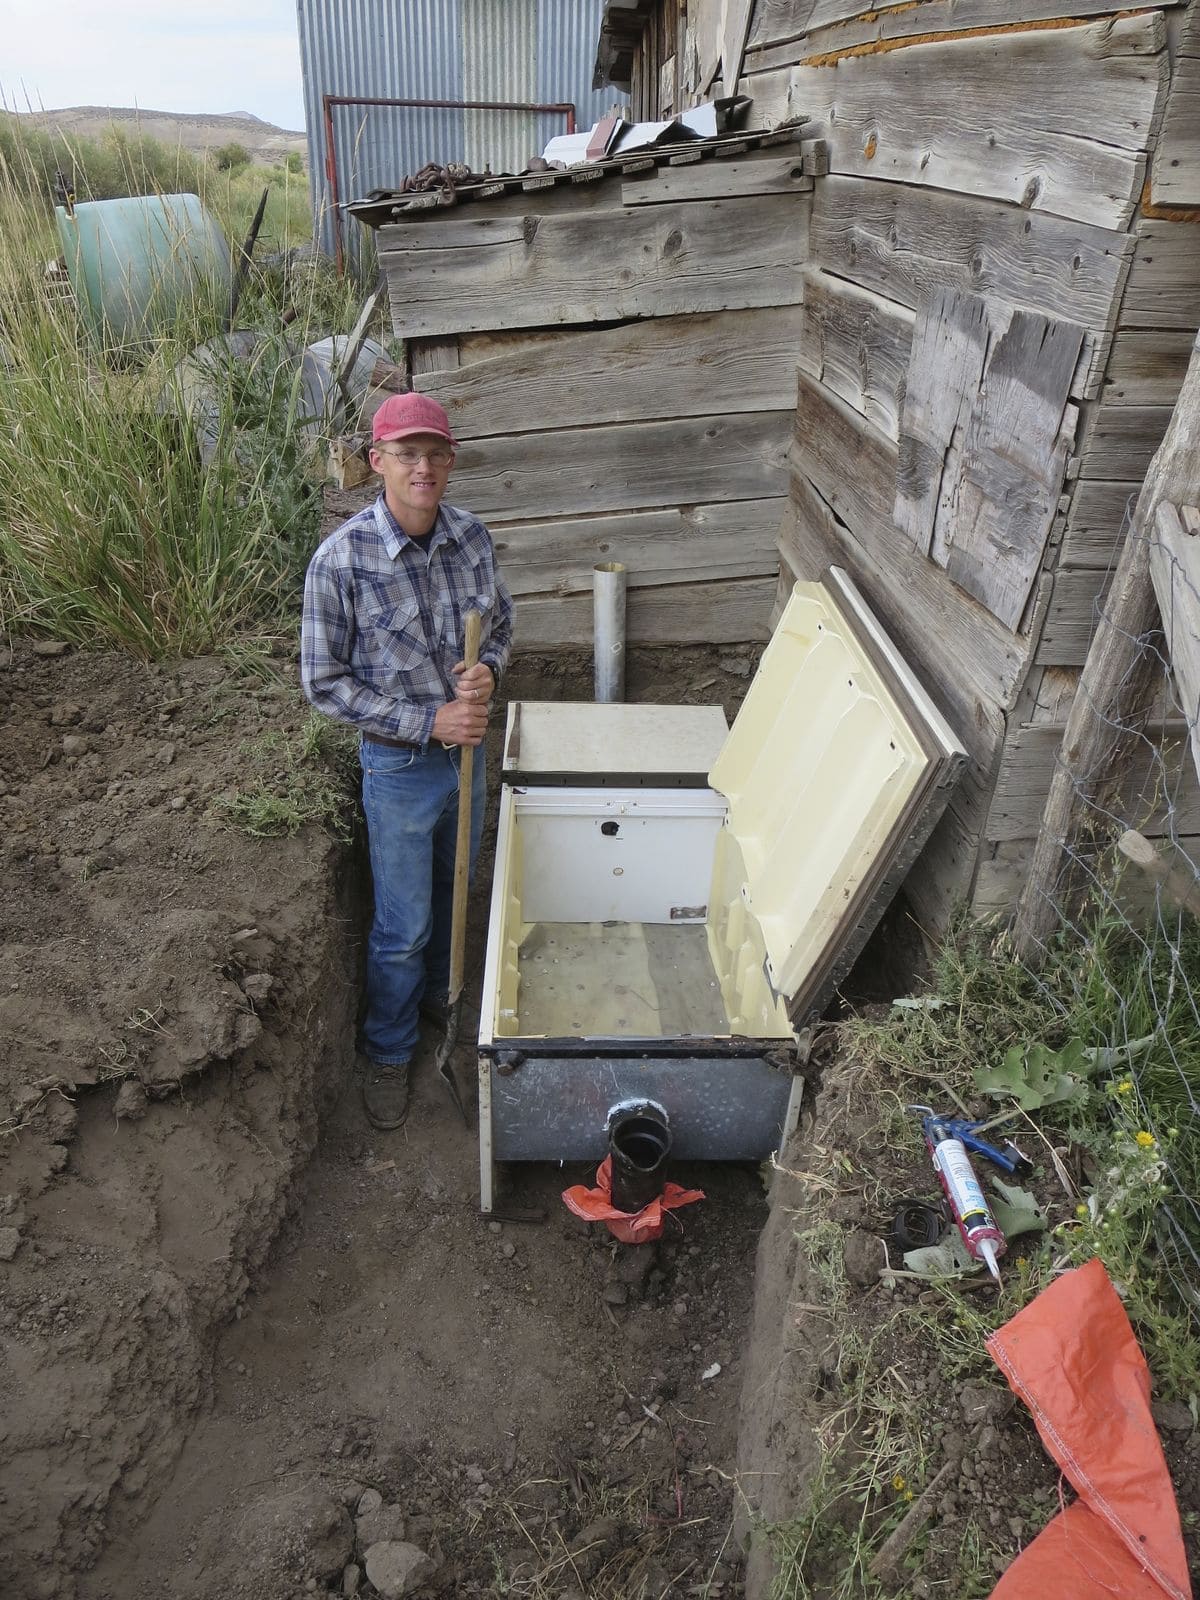
Pick a spot that stays shaded and doesn’t collect standing water. North-facing areas are ideal since they receive less direct sun.
You’ll want a place with good drainage and easy year-round access as no one wants to trek through snow just to grab some potatoes.
Try to keep it close enough to the house that you can reach it easily in winter but far enough to avoid heating from nearby structures.
Preparing the Refrigerator
Start by removing all electrical parts such as compressor, wires, and coolant lines. You’re after a clean, hollow shell.
Scrub the interior with a mix of vinegar and water to get rid of any lingering odors.
Next, drill a few small holes in the bottom to allow excess moisture to escape.
For airflow, install two short PVC pipes including one for air intake (at the bottom) and another for exhaust (toward the top). This keeps air circulating and prevents mold or gas buildup.
If the door still seals tightly, keep the gasket for insulation. Just make sure you can prop it open easily or secure it with a latch so it’s safe to use.
Installing the Root Cellar
Dig a hole deep enough to bury most of the refrigerator, leaving the top accessible above ground.
Then add a few inches of gravel at the bottom for drainage, then carefully lower the fridge into place.
Backfill with soil around the sides, pressing it firmly to help insulate the unit. Angle the door slightly downward so rainwater runs off instead of collecting on top.
Once in place, you can even camouflage it with mulch, rocks, or garden décor to help it blend in naturally.
Organizing Your Produce
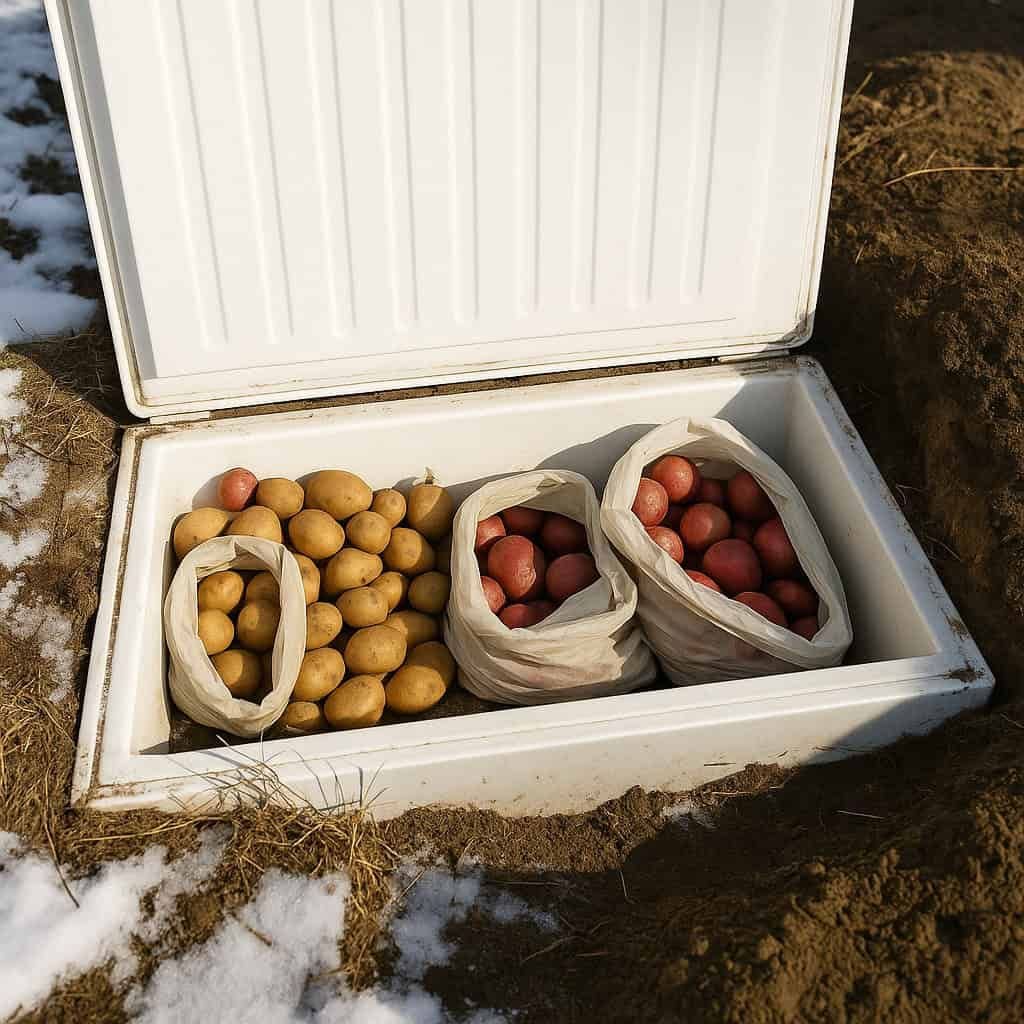
Lay a base of straw or sand inside to help with moisture balance. Then, sort your produce into crates or baskets.
Keep potatoes, beets, and carrots together; apples and other fruits should stay separate, as they release ethylene gas that speeds up ripening.
Label baskets if you want to make midwinter trips easier. You’ll thank yourself later when you can grab what you need without digging around in the cold.
Care and Maintenance
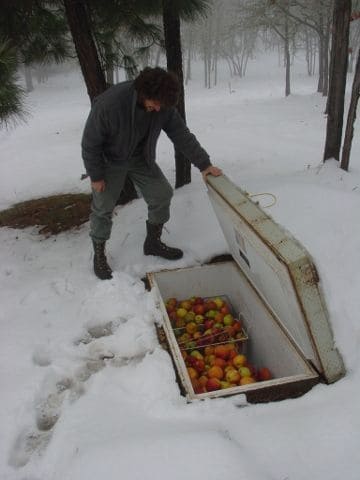
Every few weeks, open the cellar for a few minutes to let in fresh air. Check for signs of mold or condensation.
If things feel too damp, add a bit of dry straw or a small bucket of charcoal to absorb excess moisture.
At the end of the season, remove any remaining produce, clean the interior with vinegar again, and replace bedding materials.
Plus, a little attention keeps your setup running smoothly for years.
A Few Safety Reminders
Always make sure your cellar can be opened easily from the inside or kept slightly propped open when not in use. Never seal it airtight.
For families with small children or pets, it’s wise to secure the area with a simple latch or fence.
Safety always comes first, even on the homestead.
