Mushrooms are a beloved ingredient in kitchens worldwide with rich flavor and nutritional benefits.
Despite their popularity, many people believe that growing mushrooms is a complex task reserved for experts.
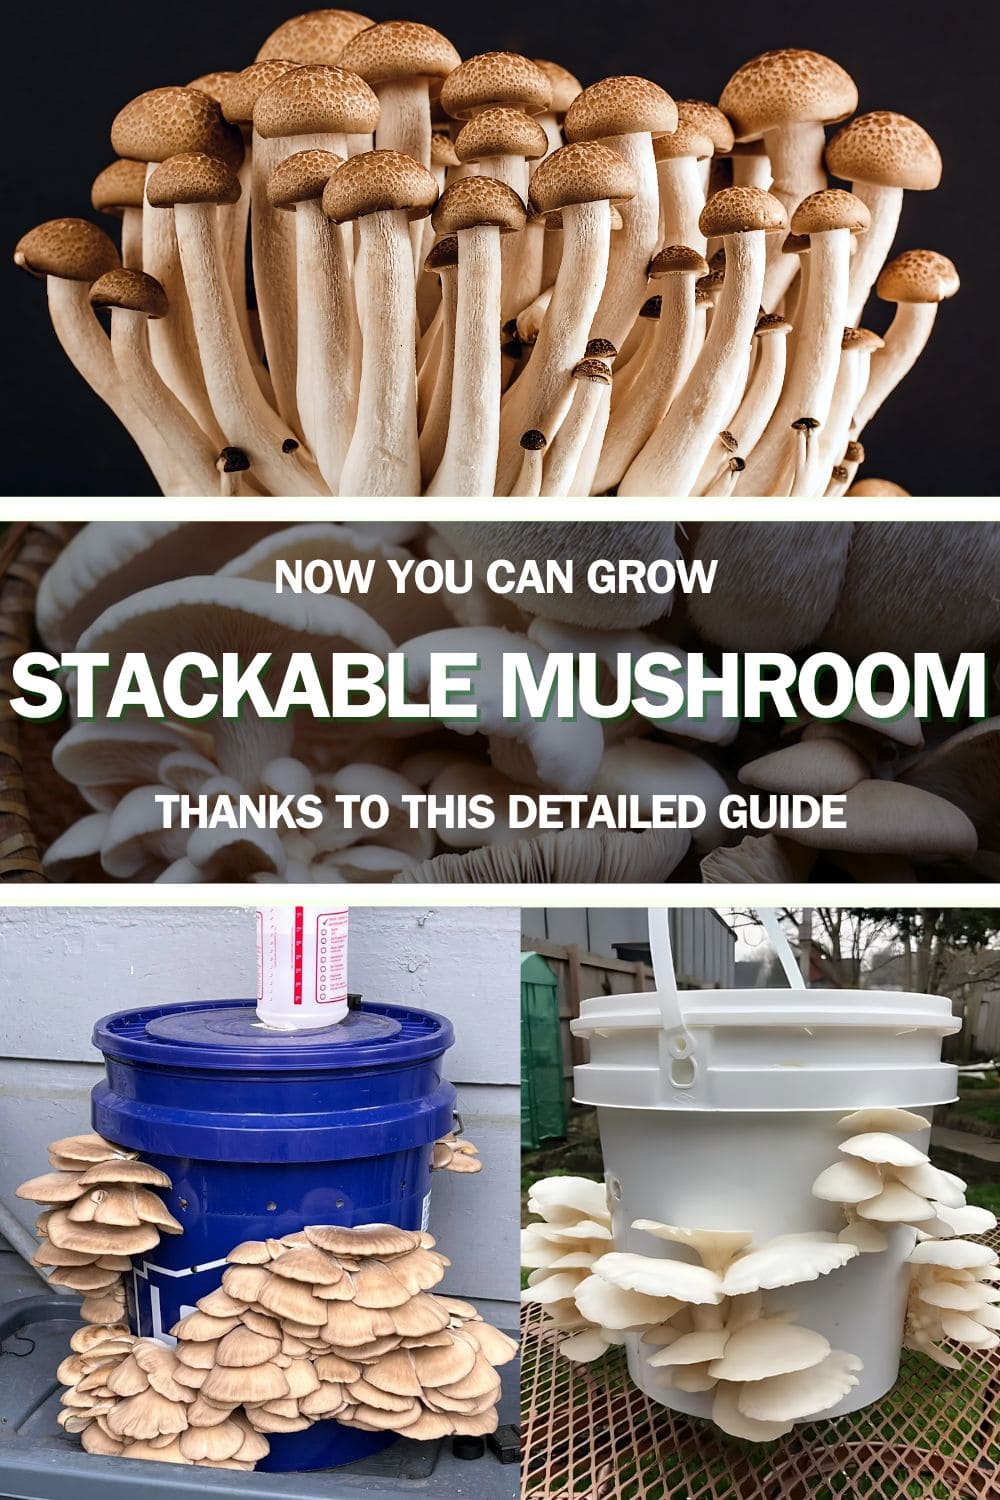
However, you can easily cultivate fresh mushrooms at home by using stackable buckets.
Step 1: Gather Your Materials
Materials needed:
- 5-Gallon Bucket with Lid
- Drill with ½-Inch Bit
- Chopped Straw
- Rubber Gloves
- Mushroom Spawn
- pH Meter
- Hydrated Lime (Calcium Hydroxide)
- Large Plastic Tote or Trash Bin
- Cinder Block or Weight
- Opaque Trash Bag or Stealth Grow Tent
Step 2: Prepare the Growing Medium
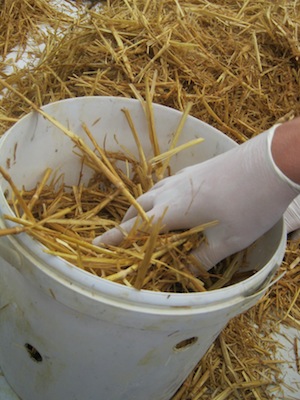
First, you grab a big container and fill it with hot water, then toss in the straw and let it soak for about an hour.
This hot bath will kill off any unwanted guests like mold or bacteria.
Next, spread the straw out on a clean surface and let it cool down to room temperature.
Step 3: Inoculate the Growing Medium
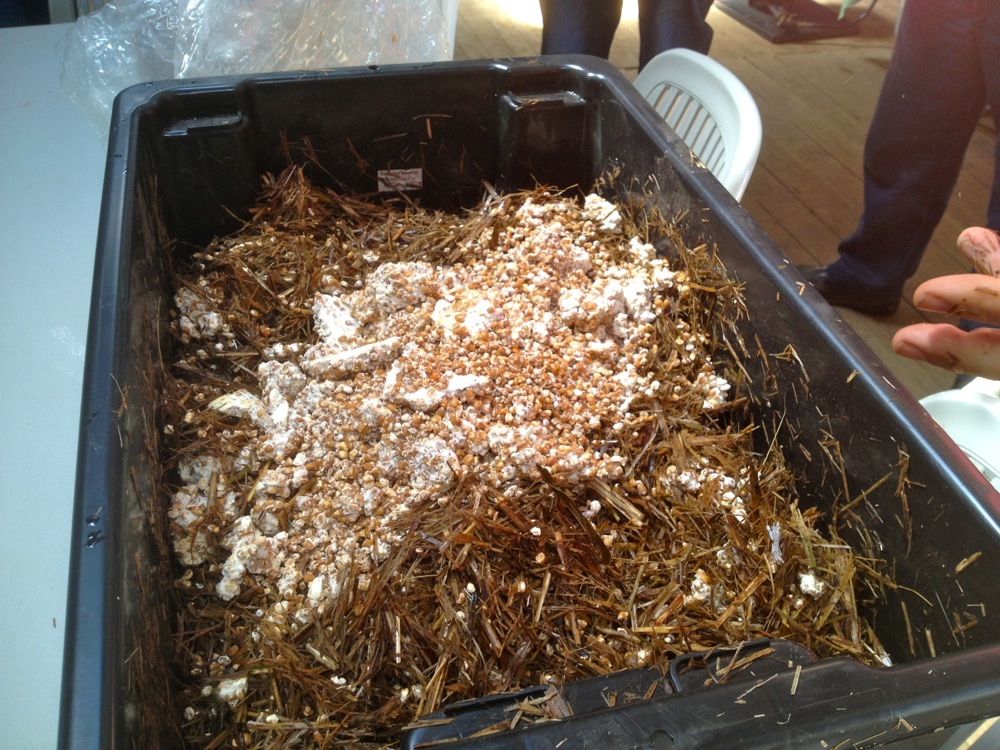
You should wash your hands thoroughly with soap and water before starting then, sprinkle the spawn evenly over the medium and use your hands to mix it all together.
Now, place your inoculated medium in a clean, dark place. This usually takes a few weeks, so be patient.
Step 4: Prepare the Buckets
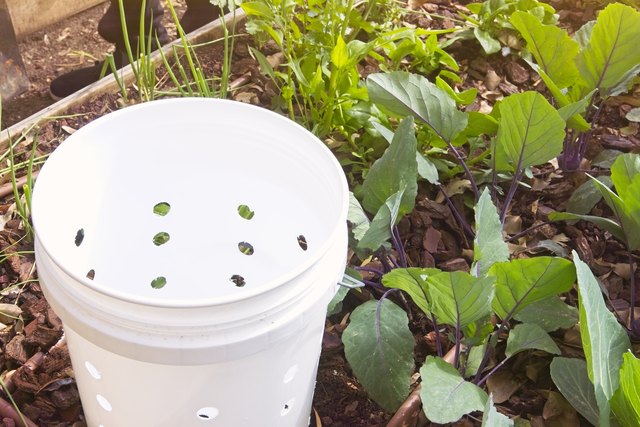
Take a drill with a quarter-inch bit and start drilling holes all over the bucket. These holes are crucial because they allow the mushrooms to breathe and grow.
You space the holes about four inches apart, but don’t stress about being super precise.
Then, pop the lid on your bucket to keep everything nice and cozy inside to maintain the right humidity levels.
Step 5: Incubate

Mushrooms love the dark because it mimics their natural habitat under the forest floor.
A basement or a cool garage works wonders. Just make sure it’s out of direct sunlight.
You should check them every few days to make sure they’re not drying out. If the substrate dries out, your mushrooms won’t grow.
You can loosely drape a plastic bag over the top to help retain humidity.

After about 10-21 days, you should start to see some white, fuzzy mycelium spreading through the substrate.
If you notice any funky smells or no growth at all, it might mean your batch got contaminated.
Step 6: Initiate Fruiting
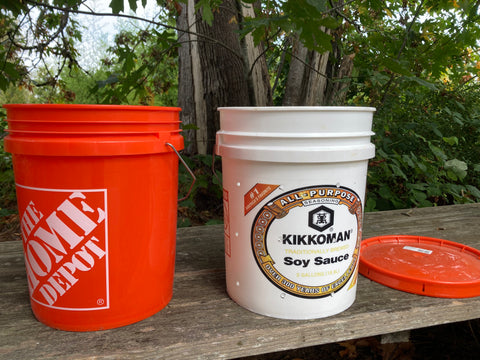
Now you can move your buckets to a shady spot in your garden or a well-lit room indoors works perfectly.
Mushrooms love humidity, so if you’re growing them indoors, a simple spray bottle will be your best friend. Give them a good misting a few times a day.
If you’re growing them outside, Mother Nature might do the job for you, but it doesn’t hurt to give them a little extra spritz if things are looking dry.
Step 7: Harvest Mushrooms
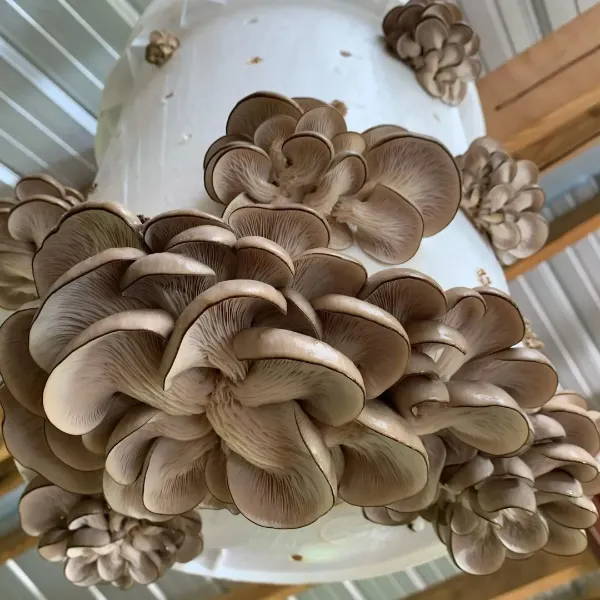
When the caps begin to curl, it’s a clear signal that they’re ready to be picked.
If you’re growing them outside, you might want to harvest a bit earlier to avoid any bugs getting to them first.
When it’s time to harvest, grab a sharp knife and cut the whole cluster off at the base, right against the bucket.
Step 8: Reuse or Replenish
Additional Flushes
After your first harvest, you can often get a second, third, or even fourth flush of mushrooms from the same growing medium.
Just keep the conditions moist and humid and you’ll likely see more mushrooms popping up.
Refill or Rotate
If your growing medium is looking a bit tired and not producing as much, you can either add fresh substrate to the existing medium or start a new batch altogether.
Some folks even rotate their buckets, using the old medium as compost or mulch in their garden.
