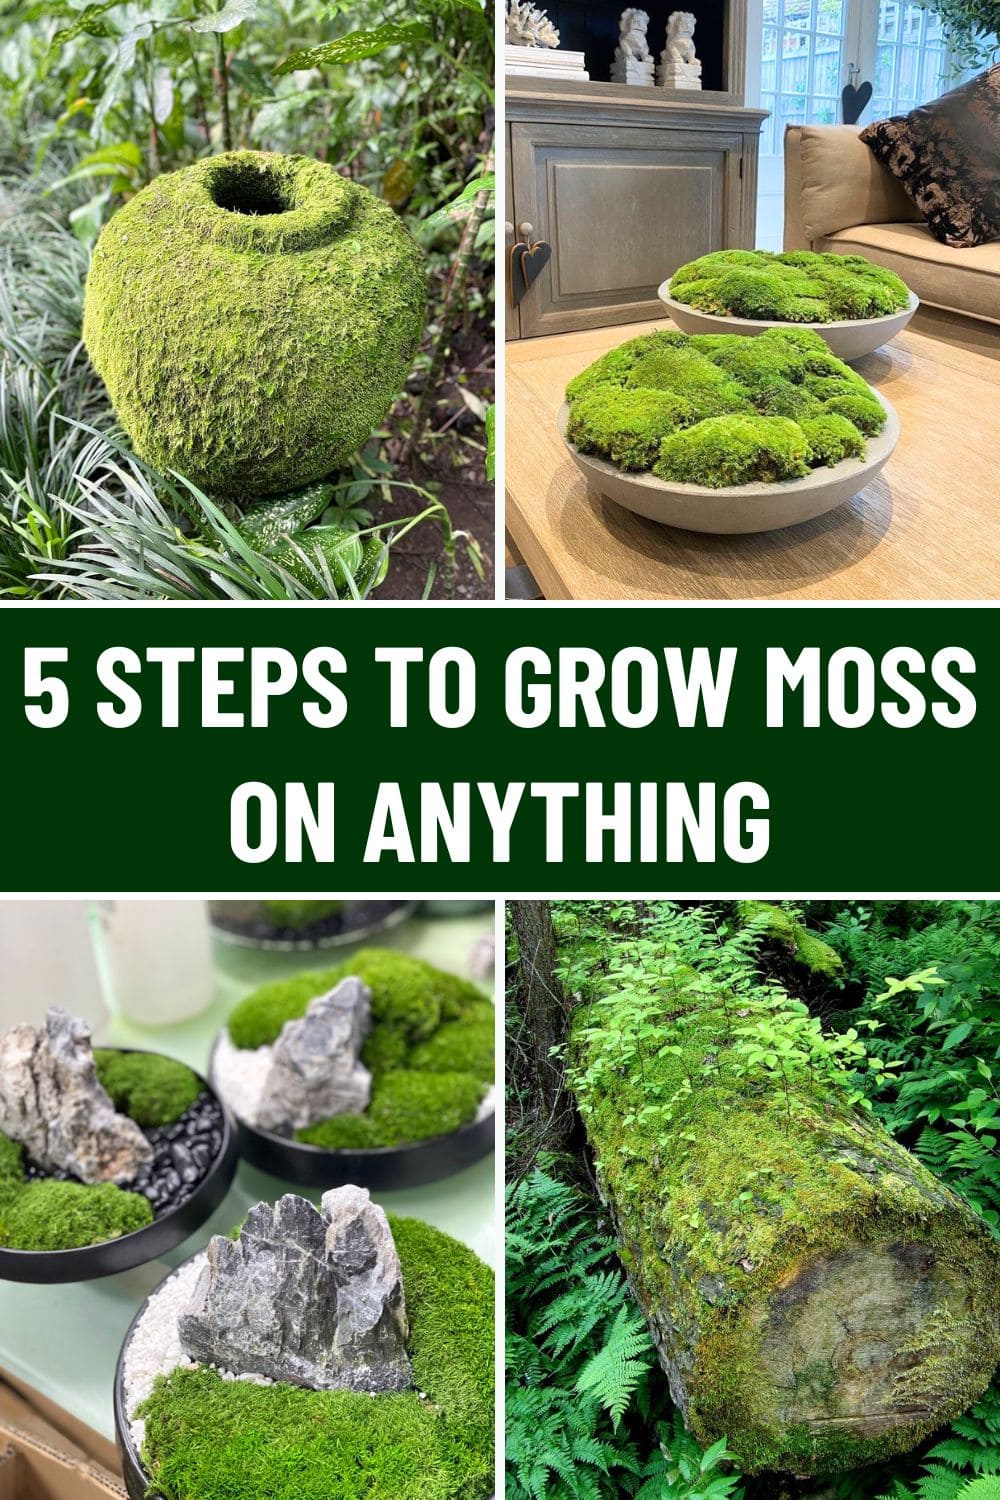
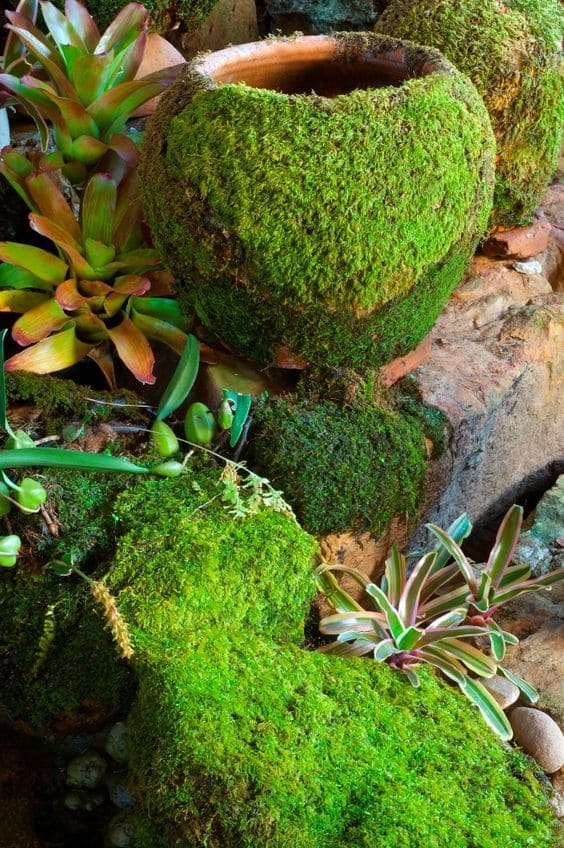
If you’ve ever walked past an old stone wall or shaded garden path and admired the soft, velvety moss that covers it, you know how magical it looks
Moss has a way of transforming ordinary surfaces into something timeless, almost as if nature is painting with green.
Specially, you don’t need to wait decades for moss to appear on its own as you can actually grow it on just about anything, from clay pots and statues to rocks, walls, and garden bricks.
With the right conditions and a little patience, your space can feel like a woodland retreat.
Step 1: Choosing the Right Spot for Moss
Moss isn’t fussy, but it does have preferences.
Because it doesn’t have roots, it relies on moisture in the air and on surfaces. That’s why shaded, damp areas are where it thrives best.
If you’re thinking of starting moss, look for spots with soft morning or evening light, or better yet, deep shade under trees or along the north side of walls.
Too much sun will dry it out before it gets established.
Step 2: Preparing the Surface
The surface matters more than you might think. Moss needs something porous to grip, so smooth, sealed, or glossy materials aren’t ideal.
Natural stone, clay pots, bricks, or even old wooden boards make perfect homes.
Before you apply anything, scrub the surface clean of dirt and dust.
If it feels too smooth, rough it up with a wire brush so the moss has tiny crevices to settle into.
Step 3: Making Your Own Moss Slurry
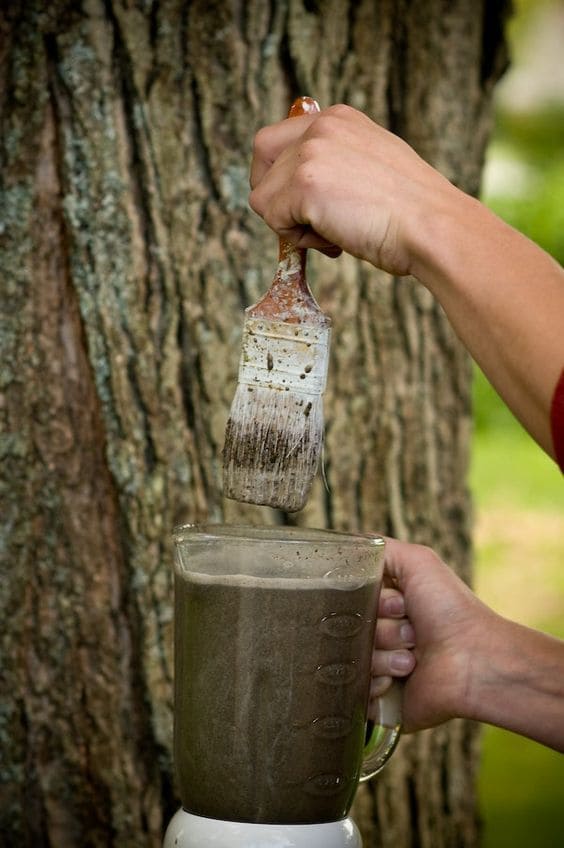
This is where the fun begins. Gardeners often talk about moss paint, and the name fits, it’s literally like painting your surface with moss potential.
To make it, toss a handful of fresh moss into a blender with about two cups of buttermilk or plain yogurt and just a splash of water.
The mixture should look like a thick smoothie.
The dairy helps by creating the slightly acidic environment moss loves while giving it some food as it begins to spread.
Step 4: Applying the Moss
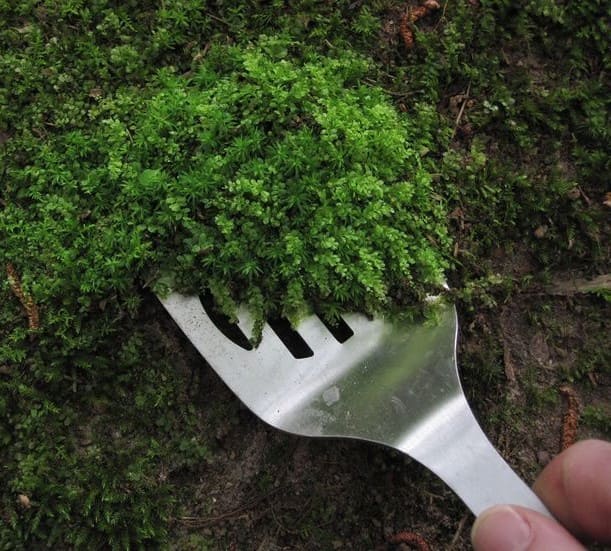
Once you have your moss slurry, it’s time to get creative. Brush it onto your surface or pour it gently so it seeps into cracks and grooves.
From here, the most important thing you can do is keep it consistently damp.
A daily misting of water is usually enough to keep the moss happy, especially in the first few weeks.
You can think of it like nurturing seeds, consistent care in the beginning pays off later.
Step 5: Patience While It Grows
Moss doesn’t grow overnight, but that’s part of its charm.
Within three to six weeks, you’ll start to see small green patches forming, especially if the weather has been cool and moist.
Over time, these patches will spread and join together, eventually covering the surface in a rich, velvety layer.
It’s slow, steady, and incredibly rewarding once you see it come to life.
Tips for Success
One of the easiest ways to encourage moss is by transplanting small clumps from areas where it already thrives.
Press them firmly into the surface you’re working on, mist them daily, and they’ll often settle in faster than starting from slurry alone.
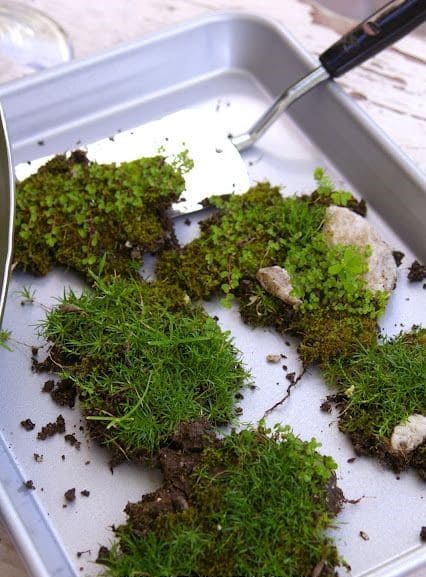
Moss also prefers a slightly acidic environment. If your water or soil leans more alkaline, you might find the growth slower.
Some gardeners use rainwater instead of tap water for misting, since it’s naturally softer and closer to the conditions moss enjoys.
It may surprise you, but moss doesn’t want fertilizer.
Unlike most plants, extra nutrients aren’t helpful, in fact, they can disrupt growth. Moss thrives in poor, nutrient-light environments, so skip the feeding.
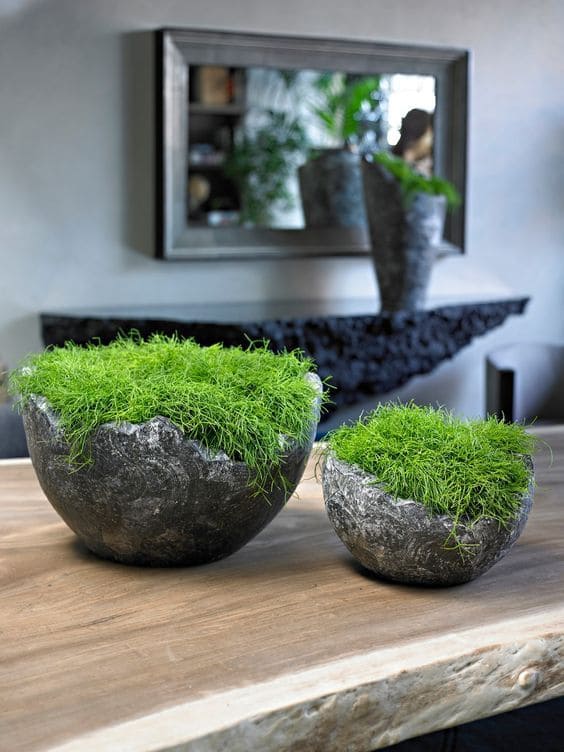
The biggest secret is consistency. Moss doesn’t like to dry out, especially when it’s just getting established. Even in hot weather, keep up the misting.
Once it takes hold, it will be much more forgiving, but during the early weeks, think of it like a baby plant that needs attention.
Bringing It All Together
Growing moss on surfaces is less about control and more about creating the right conditions and letting nature do the rest.
With a shady spot, a porous surface, and steady moisture, you can transform plain objects into enchanting focal points.
Give it time, keep it damp, and soon you’ll have your own moss-covered masterpiece, something that looks as though it’s been touched by nature for decades.
See also: A Simple Guide to Growing Ferns in Water
