Have you ever been enchanted by the vibrant hues of Celosia flowers?
These captivating blooms, also known as cockscomb or woolflowers, bring a burst of color and unique shapes to any garden.
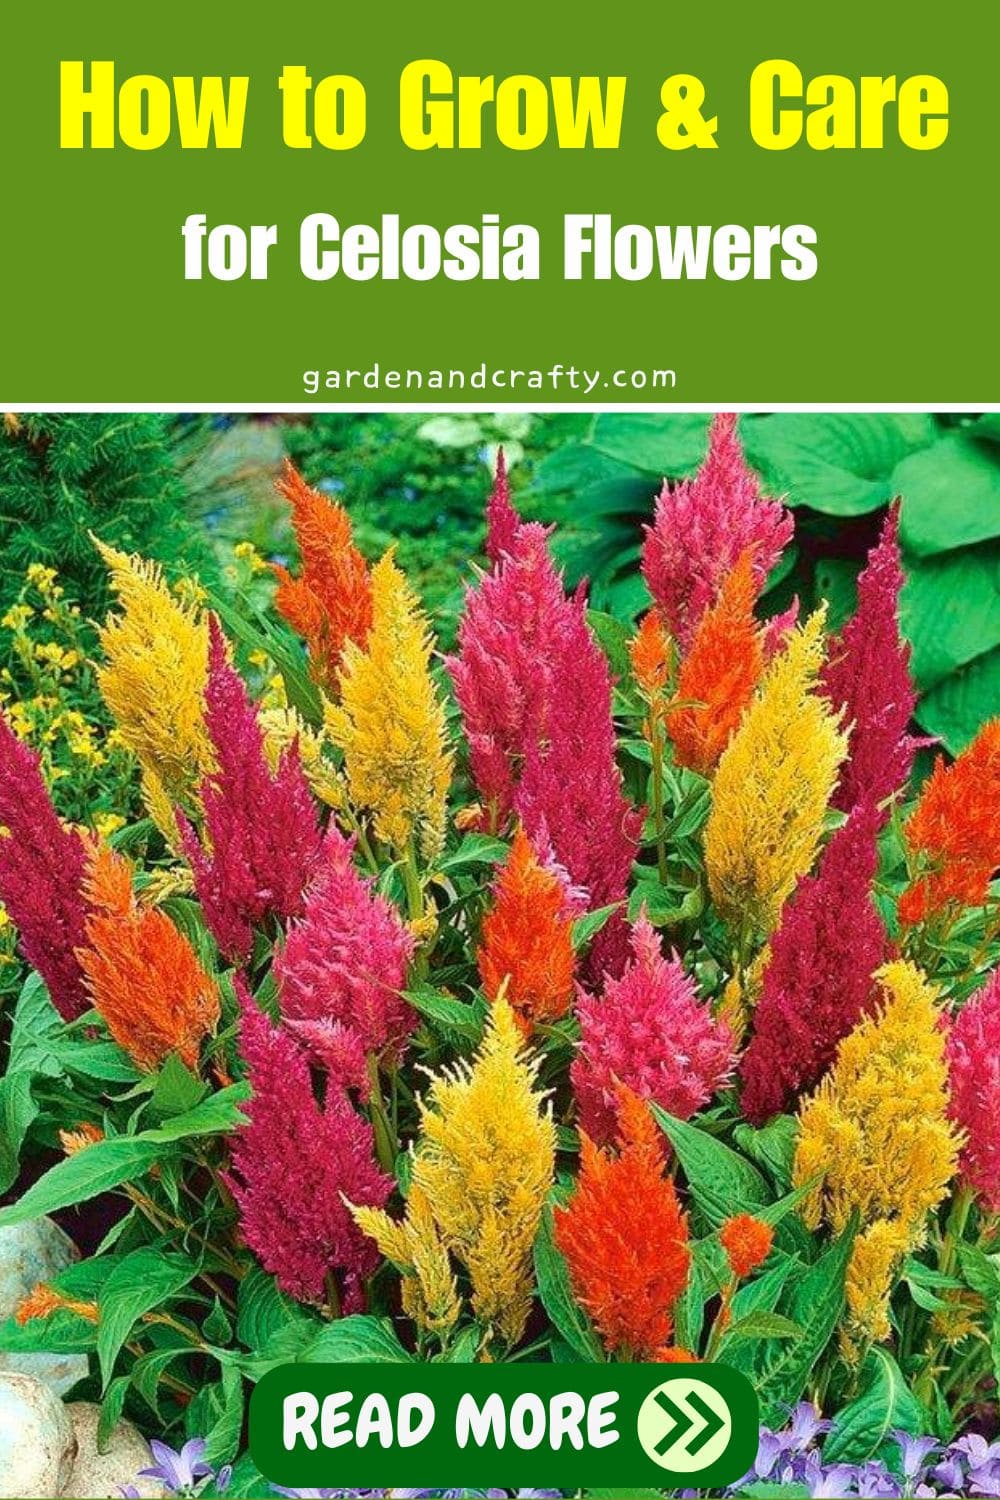
With their lush green leaves and flamboyant flower heads in shades of red, orange, yellow, pink, and purple, Celosia plants are a feast for the eyes.
These flowers are easy to grow and thriving in warm, sunny environments, so they’re perfect for both novice and experienced gardeners.
Summary:
- Celosia needs well-drained soil, full sun, and balanced or high-nitrogen fertilizer to grow.
- You need to harvest blooms in the morning when fully open and preserve them in water or drying.
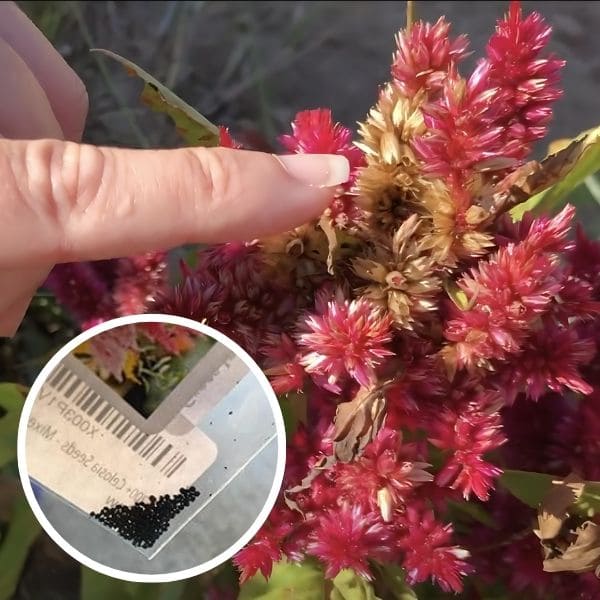
- At the end of crop, you can collect and dry seeds from flower heads.
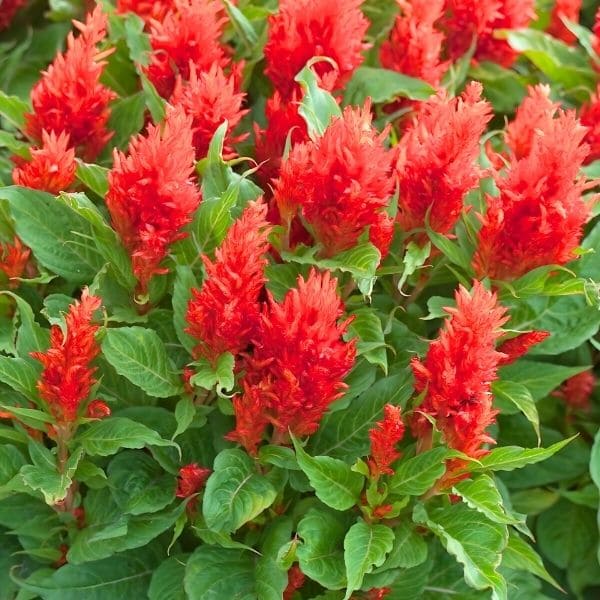
| Scientific name | Celosia |
| Family | Amaranthaceae |
| Plant type | Annual |
| Height | 6-36 inches |
| Leaves | Green, Lanceolate |
| Sunlight | Full sun |
| Soil type | Well-drained, fertile soil |
| Bloom time | Summer to fall |
| Flower colors | Red, Yellow, Pink, Orange, Purple |
| Native areas | Africa, North America, South America |
Propagation
From Seeds
Firstly, I combine seed compost with one-third perlite to ensure excellent drainage and aeration.
In early spring, I sow seeds in modular trays or individual pots filled with this compost mixture. I gently sprinkle the seeds on the surface and lightly cover them.
Next, I place the trays or pots in a heated propagator set to a cozy 68-77°F (20-25°C). Once the seedlings reach 2-3 inches, it’s time to transplant them.
It is always a satisfying moment as I will move them to their new home in the garden where they can thrive and grow.
From Cuttings
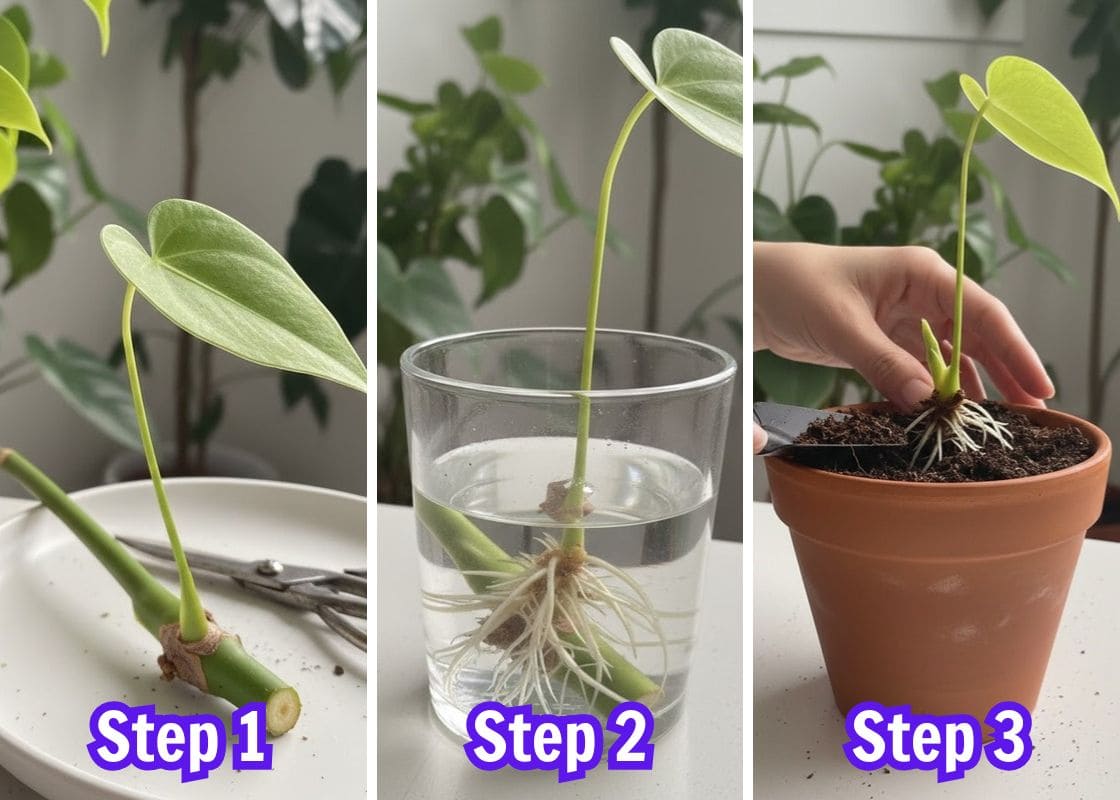
I’ve tried to select healthy, non-flowering stems and cut 4-6 inches from the top. After that, I remove the leaves from the bottom half of the cutting.
Next, I place these prepared cuttings in a container of water, then position it in bright, indirect sunlight .
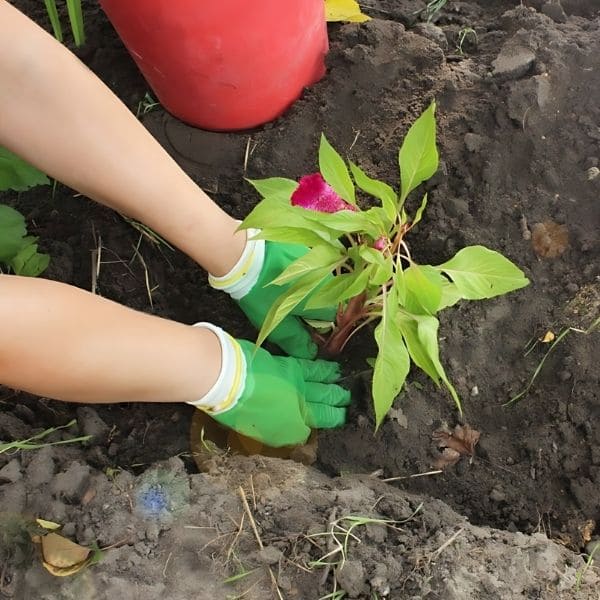
It’s so thrilling to check on them daily for any signs of roots forming. Also, if you see the roots have developed, plant them directly into your garden.
Growing Celosia Flowers
Preparation
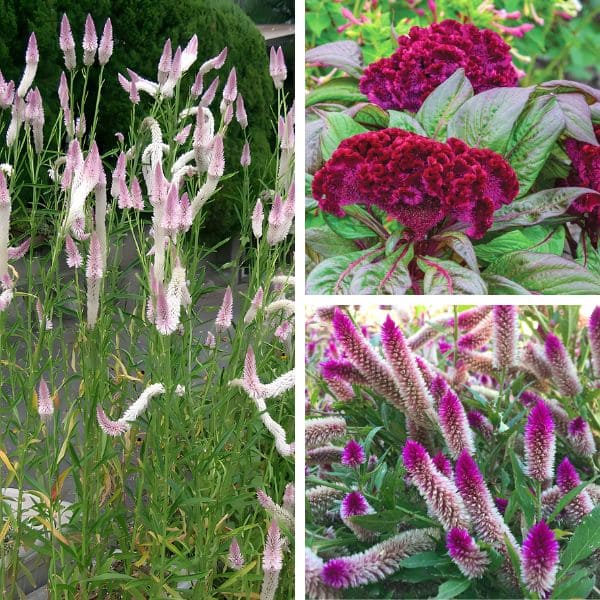
Celosia seeds need no pre-treatment, so you can sow them directly in the garden or start them in trays. Here are the 3 most popular varieties of celosia:
- Celosia argentea: features feathery plumes that can grow up to 3 feet tall. These plumes are excellent for cutting gardens.
- Celosia cristata: boasts dense, brain-like crests that can be as striking as 12 inches across. This variety is perfect for bold floral arrangements.
- Celosia spicata: has slender, spike-like flowers that resemble wheat heads. These plants typically reach 1 to 2 feet in height and are ideal in dried flower arrangements.
Also, you need to use well-draining, loamy, or sandy soil with a pH between 6.0 and 7.0. I always amend my soil with compost to boost fertility.
Besides, you should select a location with full sun exposure, ensuring your plants receive at least 6-8 hours of sunlight daily.
Growing Celosia In The Garden
Once the weather was warm and stable, loosened the soil to a depth of about 6 inches and create a welcoming bed for the seeds.
Next, you sow the seeds 1/8 inch deep, spacing them roughly 8 inches apart. Then, you should keep the soil evenly moist until germination.
I found that the seeds typically sprout within 1-2 weeks when the temperature is between 70-80°F.
During this period, I checked the soil regularly. To be honest, the tiny seedlings emerge always filled me with excitement.
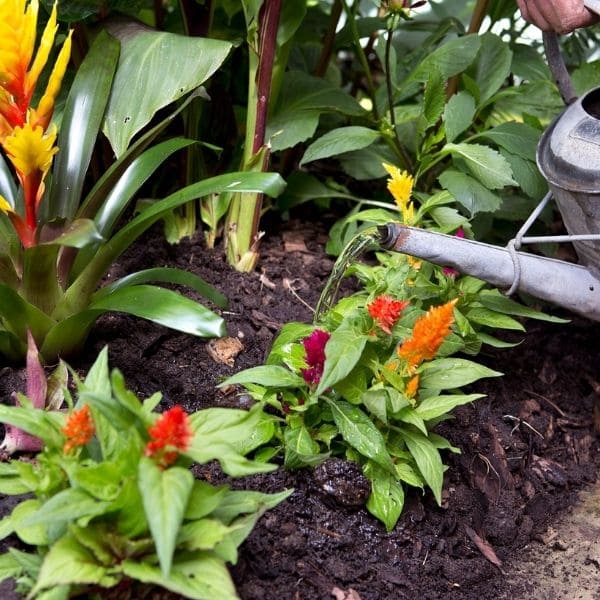
Once the seedlings were a few inches tall, thin them to 10-12 inches apart to prevent overcrowding.
In addition, I also make use of the soil to plant peas together with celosia to improve soil nitrogen levels and enhance the overall health of the garden.
Care for Celosia Flowers
Here are main requirements for Celosia flowers:
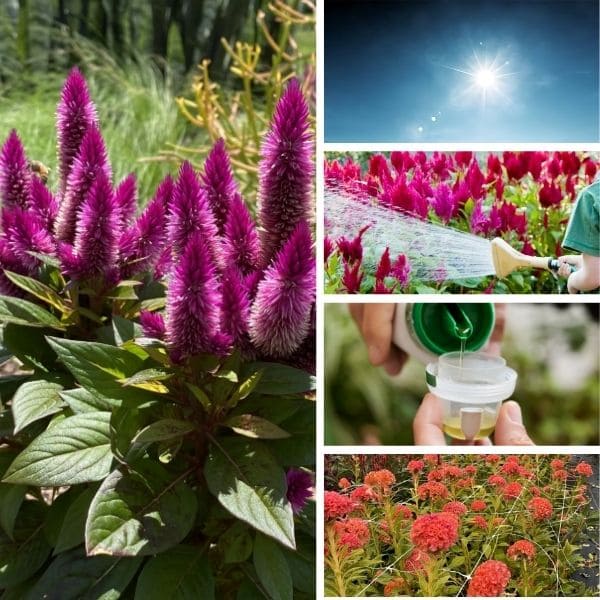
- Plant in well-draining soil with a well-drained potting mix; Richer soil produces more vibrant blooms.
- Ensure Celosia receives at least six hours of full sun daily.
- Water regularly but allow the soil to dry out between waterings.
- Apply a balanced, high-nitrogen fertilizer once a month.
Light
Celosia absolutely loves soaking up the sun. In the garden, you should let them get at least 6-8 hours of direct sunlight daily.
Adequate sunlight is crucial for celosia’s vibrant blooms and healthy growth.
I remember one summer when I experimented by planting some Celosia in a slightly shaded area. Those plants ended up leggy and didn’t flower as abundantly as their sun-soaked counterparts.
Soil
Celosia thrives in soil with a pH of 6.0-7.0 so you should amend the garden soil with compost to retain moisture and regulate the soil temperature.
Also, you need to remember that the excess moisture led to root rot, and the plants struggled to survive.
Trust me, taking the time to prepare your soil properly will pay off when you see your celosia blooming brilliantly.
Water
You need to ensure good drainage. Without it, water can accumulate around the roots, leading to root rot and stunted growth. So, 1 inch of water per week is adequate.
One trick I’ve learned is to water at the base of the plants, avoiding the foliage to prevent fungal diseases.
Temperature and Humidity
Celosia thrives in warm temperatures between 70-80°F (21-27°C) and prefers moderate humidity with USDA Hardiness Zones 10-11.
I always keep an eye on the forecast especially in early spring and late fall to protect my Celosia from unexpected frost or cold drafts.
If you face with unexpected cold snap, you need to cover them or bring them inside immediately.
Pruning
You should cut 1-2 inches below spent blooms at a 45-degree angle to encourage continuous flowering.
In addition to deadheading, it’s important to remove any damaged or diseased foliage. Using the same 45-degree angle cut, carefully trim away any unhealthy parts.
One summer, I noticed a few leaves starting to wilt and yellow. Promptly pruning them off helped my celosia bounce back quickly.
Staking
For taller varieties of Celosia, staking prevents plants from toppling in wind conditions. You can use gentle ties and stakes to ensure stability without damaging the plants.
Fertilizer
When fertilizing celosia, start with a balanced 10-10-10 fertilizer or a high-nitrogen option.
You should apply once a month during the growing season to support for the development of root, foliage and blooms.
Pests and Diseases
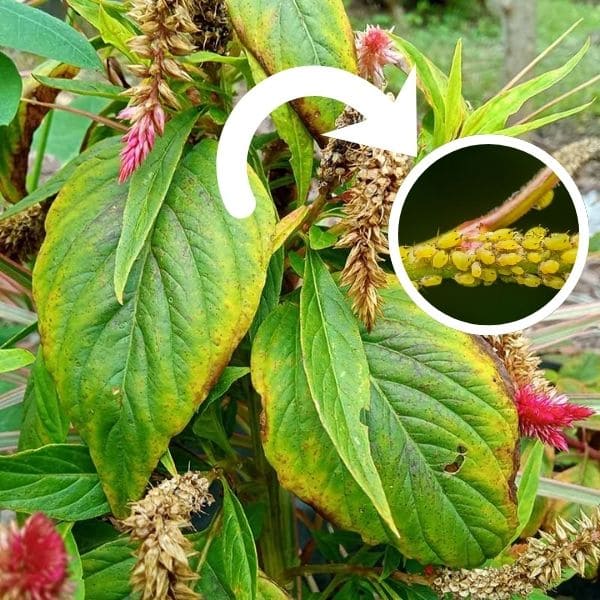
When planting celosias, you can clearly see tiny, pear-shaped insects clustering on the undersides of their leaves and stems.
These aphids, under 1/8 inch long, were sucking the sap, causing distorted growth and yellowing leaves.
Unluckily, the honeydew they excreted led to sooty mold. You can consider using insecticidal soap and neem oil to control the aphids without harming the beneficial insects.
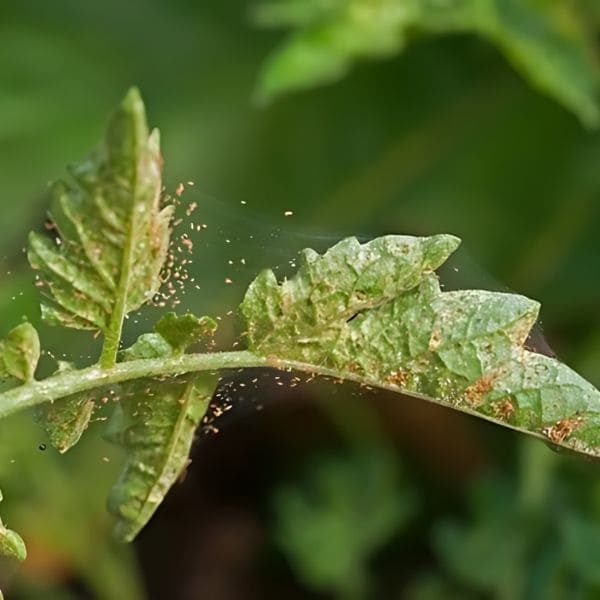
In addition, you can easily discover fine webs on the undersides of the leaves.
These tiny invaders, spider mites, are only about 1/50 inch long but can cause significant damage. They suck sap from the leaves, leading to stippling, yellowing, and eventually, leaf drop.
To combat spider mites, you need to rise humidity around the plants by misting the leaves regularly.
When the infestation persisted, turn to miticides and insecticidal soap.
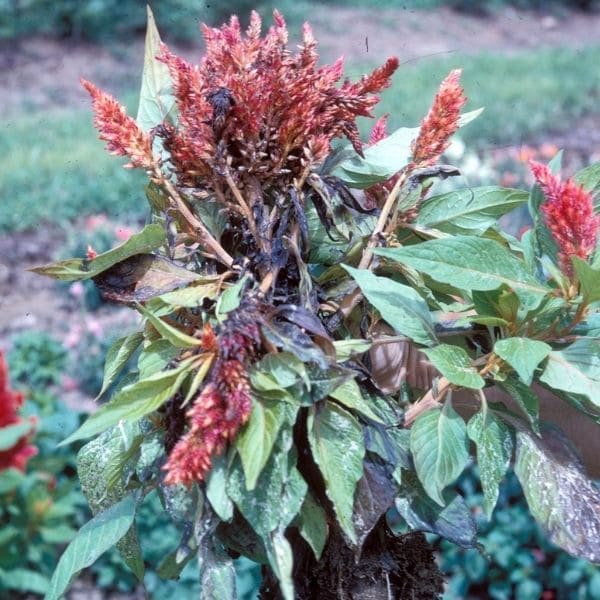
Root rot is one of the trickiest problems I’ve faced in my garden. It sneaks up on you with subtle signs like wilting, yellowing, and stunted growth, often masking the real issue underground.
When I finally unearthed the roots, they were dark and mushy, a clear indication of root rot.
This condition severely impairs water and nutrient absorption, leading to a rapid decline in plant health. I learned the hard way that ensuring good soil drainage is crucial.
Common Problems
Yellowing Leaves
Yellowing leaves can be caused by overwatering, poor drainage, or nutrient deficiencies.
You need to ensure well-draining soil, avoid waterlogging, and provide balanced fertilization to prevent yellowing.
Stunted Growth
Stunted growth is often due to inadequate sunlight, poor soil nutrition, or root-bound conditions. Provide full sun exposure, enrich the soil with nutrients, and transplant if needed.
Harvest
From sowing seeds, you can typically start harvesting celosia in about 90 to 120 days.
Once they begin blooming, celosia can be harvested continuously throughout the growing season, typically from late spring to the first frost of fall.
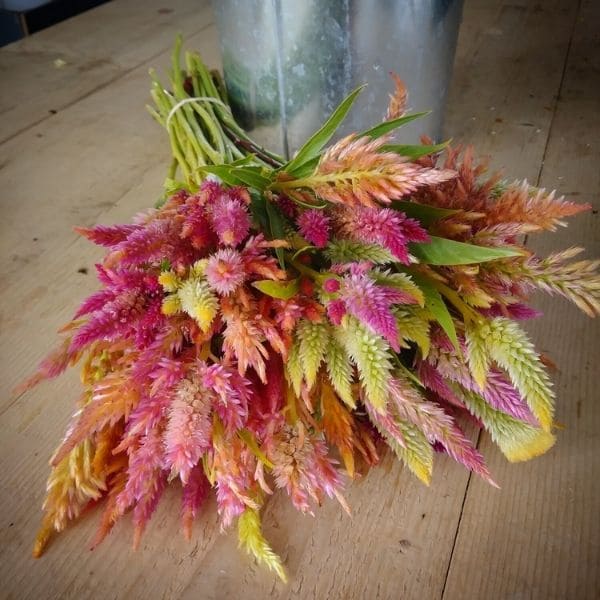
In the early morning, you should use clean, sharp scissors or garden shears to harvest. When cutting the stems, aim just above a leaf node or lateral bud.
The garden looks a bit bare right after harvesting, but within days, new blooms start appearing.
Preservation
Fresh Celosia Flowers
Start by filling a vase with clean, room-temperature water, adding a floral preservative if have.
Next, you can arrange the freshly cut celosia in the vase and ensure that no leaves are submerged in the water.
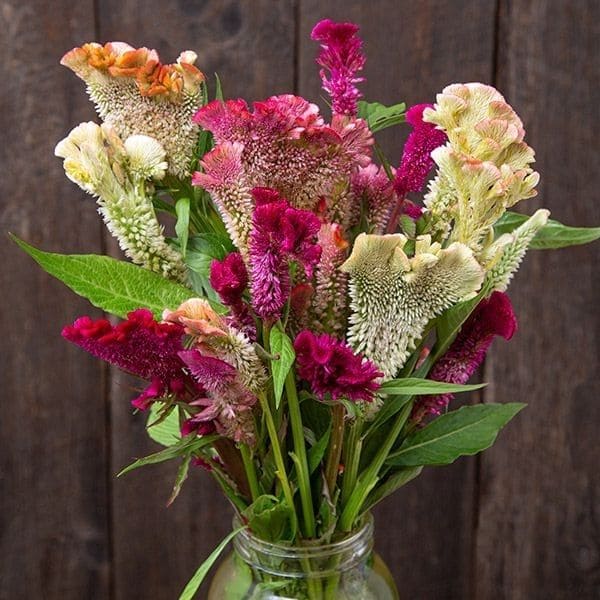
In addition, you should change the water every few days and re-cut the stems at an angle to help the flowers continue to take up water effectively.
With proper care, fresh celosia can last up to two weeks.
Dried Celosia Flowers
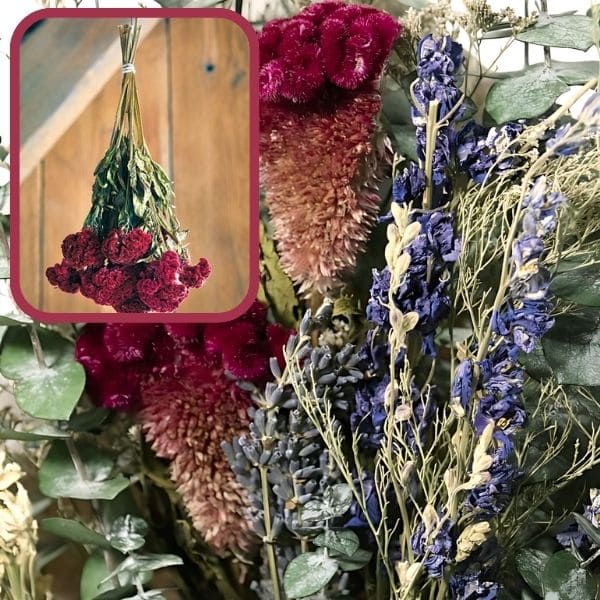
Start by bundling the stems together using a rubber band or string. I’ve found that smaller bundles dry more evenly, so don’t be afraid to split a large harvest into several groups.
Next, hang these bundles upside down in a cool, dark, and well-ventilated area. Let the flowers dry for about two to three weeks.
This method to help you enjoy the beauty of celosia up to a year and have a bit of summer indoors even in winter conditions.
Storing Seeds
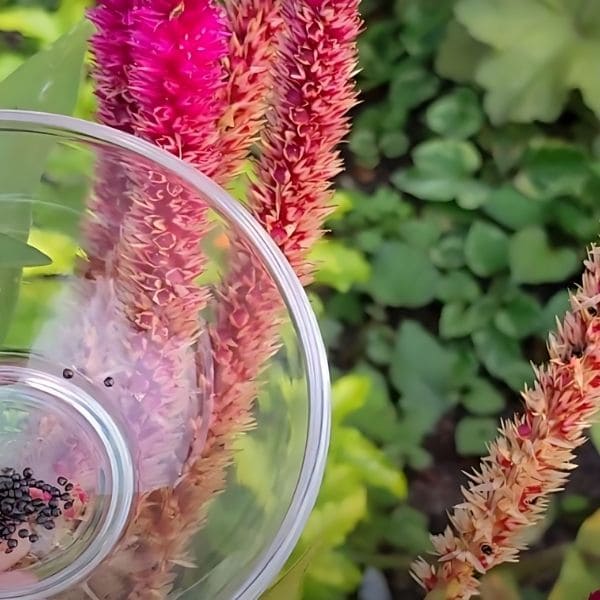
Finally, you can store celosia seeds by waiting till the flower heads are dry, then you cut them and place them in a paper bag.
Also, you can shake the bag to release most of the seeds, but sometimes gently rub the flower heads to ensure all the seeds are collected.
After separating the seeds, let them dry and use paper envelopes or glass jars with tight-fitting lids, labeling each with the date and variety.
