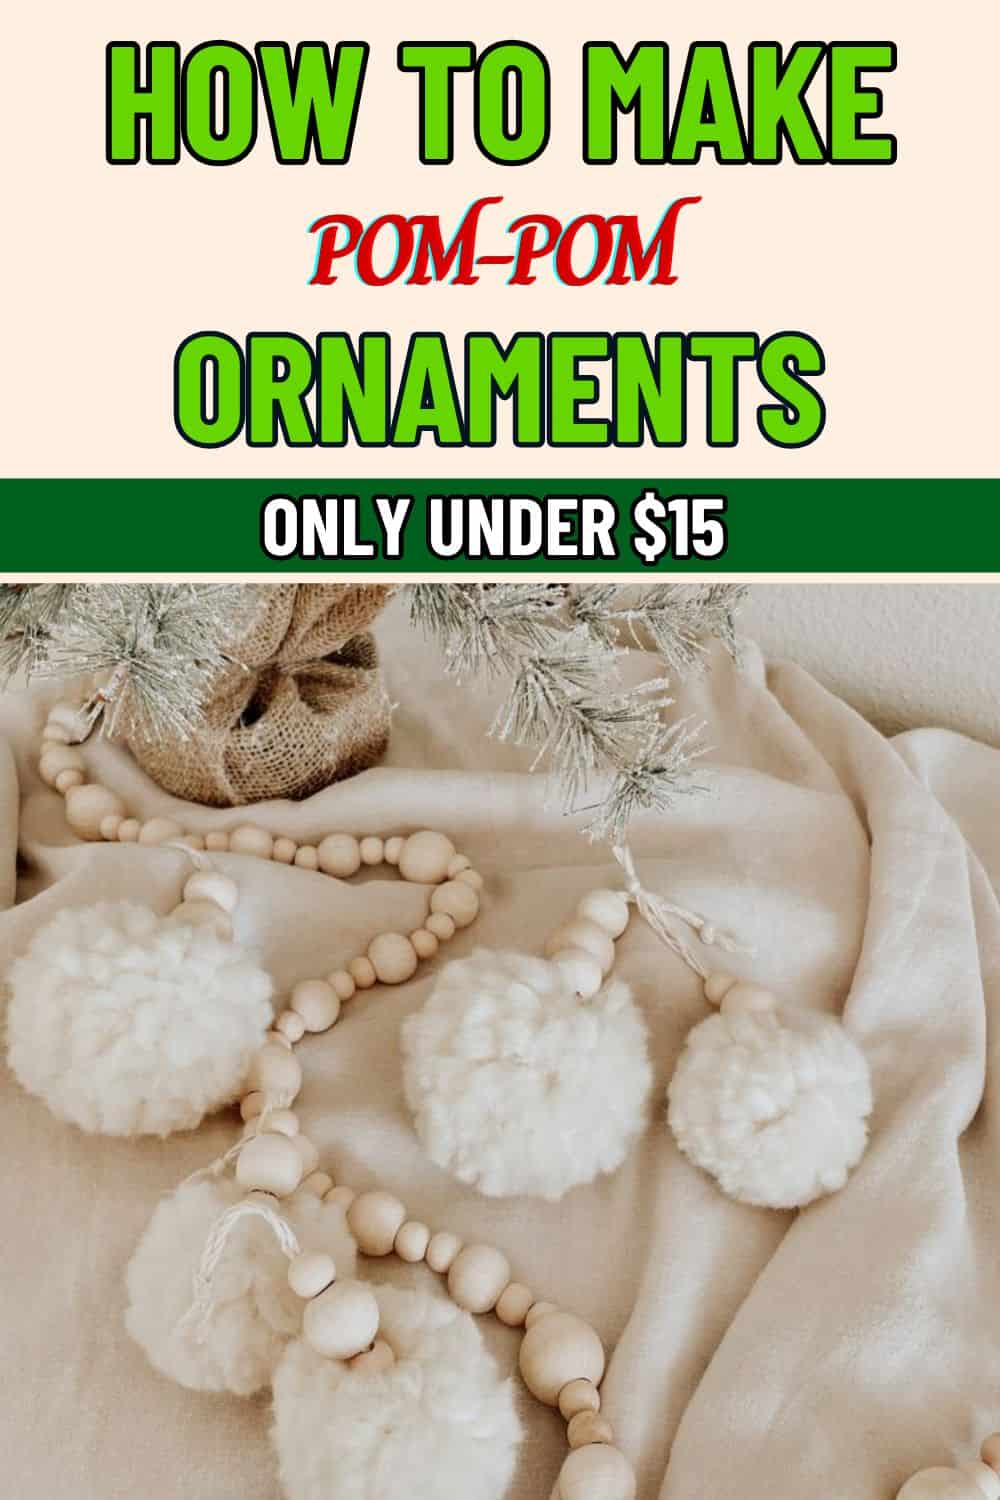
If you’re looking to add a bit of handmade warmth to your holiday decor, pom-pom ornaments are an easy and adorable project that brings a cozy touch to any space.
They’re fluffy, festive, and surprisingly simple to make. I tried this project myself and loved how these soft, cloud-like ornaments turned out.
Not only are they budget-friendly, but they’re also customizable and make great DIY gifts!
Materials You’ll Need
- Yarn
- Cardboard
- Scissors
- String or twine
- Decorative ribbon
Step-by-Step Guide to Making Pom-Pom Ornaments
Step 1: Prepare Your Cardboard Rings
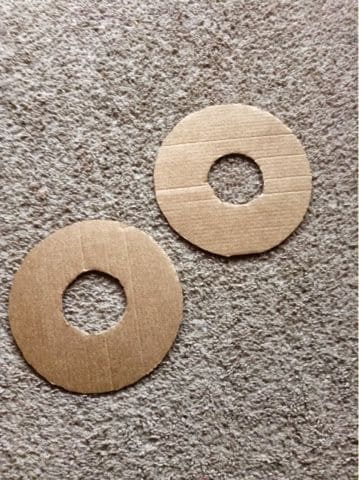
First, you’ll need two identical cardboard rings. I used some old cardboard from a shipping box.
Trace a circle (about 3-4 inches in diameter) and then a smaller circle in the middle, giving you a donut shape. Once you’ve got your two pieces, place them together.
The size of these rings will determine the size of your pom-pom, so feel free to make them larger or smaller depending on your preference.
Step 2: Wrap the Yarn Around the Rings
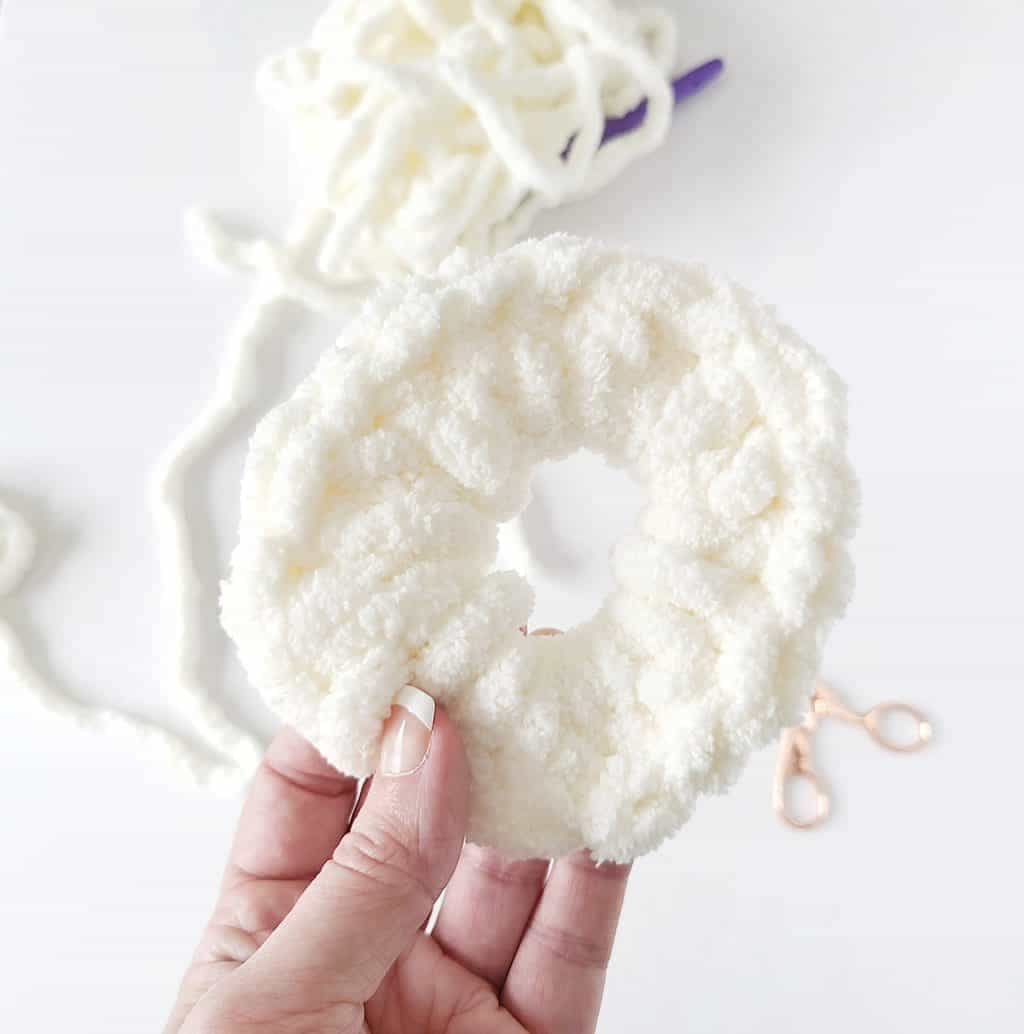
Hold the two cardboard rings together and start wrapping the yarn around them. I found that thicker yarn covers the cardboard faster and gives a fluffier result, but you can use whatever yarn you like.
Keep wrapping until the cardboard is fully covered, and don’t be afraid to go around a few times.
Step 3: Cut the Yarn Along the Outer Edge
Once your rings are fully wrapped with yarn, grab your scissors and carefully cut along the outer edge of the rings.
This part can be a bit tricky, you should hold the rings tightly to prevent the yarn from slipping out as you cut.
Step 4: Tie the Center with a String
You take a separate piece of yarn or string and slide it between the two cardboard rings. Pull it tightly around the middle of the yarn, tying a double knot to secure everything.
Step 5: Remove the Cardboard Rings
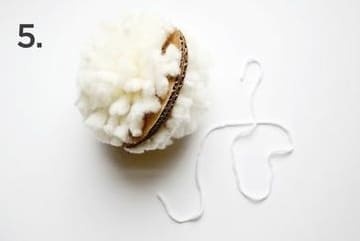
Now, you carefully pull the cardboard rings away from the yarn. If you’ve tied the center tightly, the rings should slide off easily.
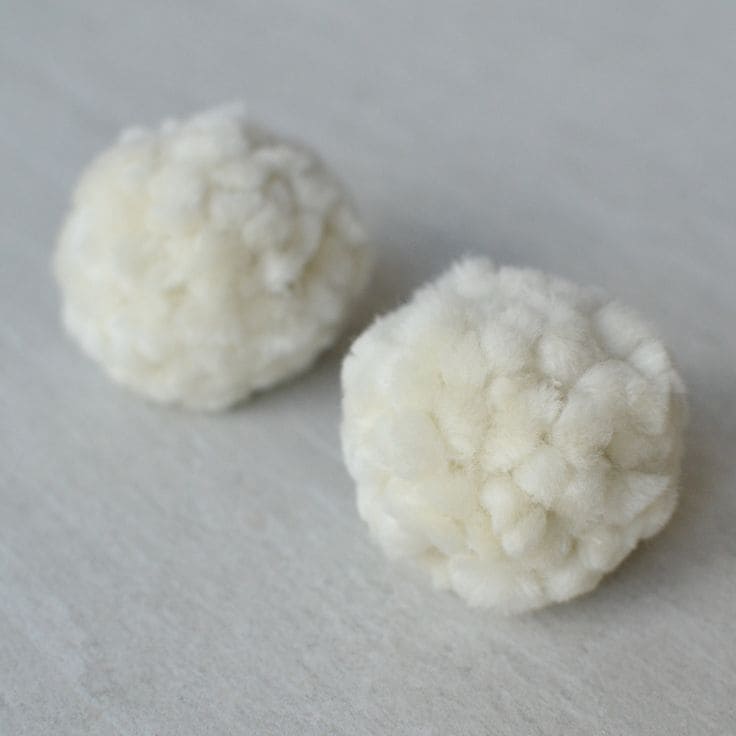
Step 6: Shape and Fluff the Pom-Pom
Your pom-pom might look a bit rough around the edges, so grab your scissors again and give it a little trim. Cut any uneven pieces to shape it into a nice, round ball.
You can also roll the pom-pom between your hands to fluff it up even more.
Adding the Finishing Touches
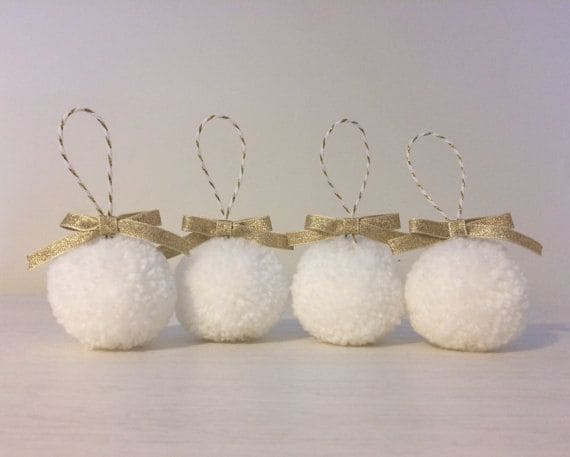
Now that you’ve got your pom-pom, you can cut a piece of string or twine and tie it around the middle knot, creating a loop for hanging.
If you want to add some extra holiday charm, tie a small ribbon at the top of the pom-pom, right under the loop. I chose a simple gold ribbon, which added a festive sparkle.
These look beautiful on the tree, but they’re also great for garlands, wreaths, or even as gift toppers.
