You’ll feel deeply satisfied about growing your own potatoes because they’re such humble little treasures, you plant one, and a few months later, you’re digging up a whole basketful.
But if you’re like me and don’t have endless rows of land, you need to get creative. That’s where the potato tower comes in.
The first time I tried building a tower, I had doubts whether it really work or not. Could a few seed potatoes in a vertical wire cage actually produce anything close to what I’d get in a proper garden bed?
To my surprise, not only did it work, it became my go-to method. The potatoes grew beautifully, harvest was easy, and it took up barely more space than a laundry basket.
So if you’re curious, or maybe just tired of watching rabbits snack on your potato patch, here’s how to build a sturdy, productive potato tower.
Why Build a Potato Tower?
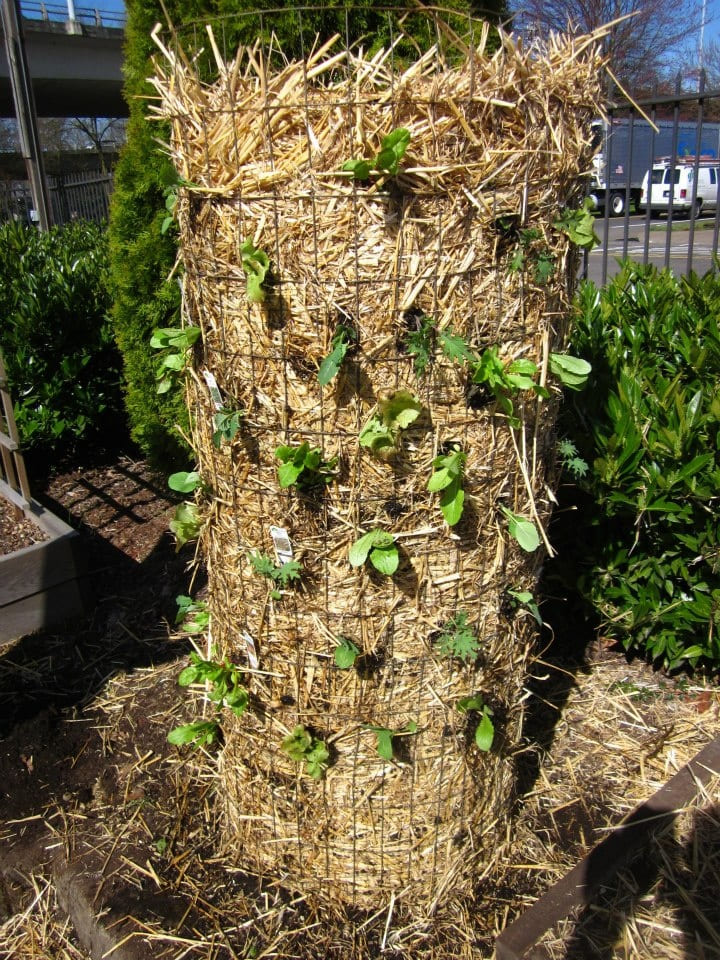
The idea behind a potato tower is simple, instead of growing outward, you grow upward. As the potato plants reach for the sun, you keep covering the lower stems with more soil. This encourages the plant to grow more tubers along the buried stems.
The more you hill up, the more potatoes you get. And when harvest time comes? No digging, no damage, you just tip the tower and collect your reward.
It’s also a great solution for gardeners with limited space or heavy clay soil. Plus, you feel fun about building this rustic-looking column of straw and soil and watching green shoots pop out from every side like a leafy volcano.
What You’ll Need
- 10 feet of chicken wire (about 3 feet tall)
- 1 wooden garden stake (at least 4 feet tall)
- 1 full bale of straw
- 6-7 cubic feet of compost-rich soil
- 8- 12 seed potatoes (sprouted with eyes showing)
- Wire cutters, gloves, twine or zip ties
If you’re using tools from past projects or gathering straw from a neighbor’s field, this setup can be incredibly affordable, especially when you compare the harvest to the cost.
How to Build Your Own Potato Tower
First, choose a sunny spot for your tower. Potatoes need at least 6 to 8 hours of sunlight daily, and they prefer warmth over wetness. You need to avoid low-lying areas that collect water after heavy rain.
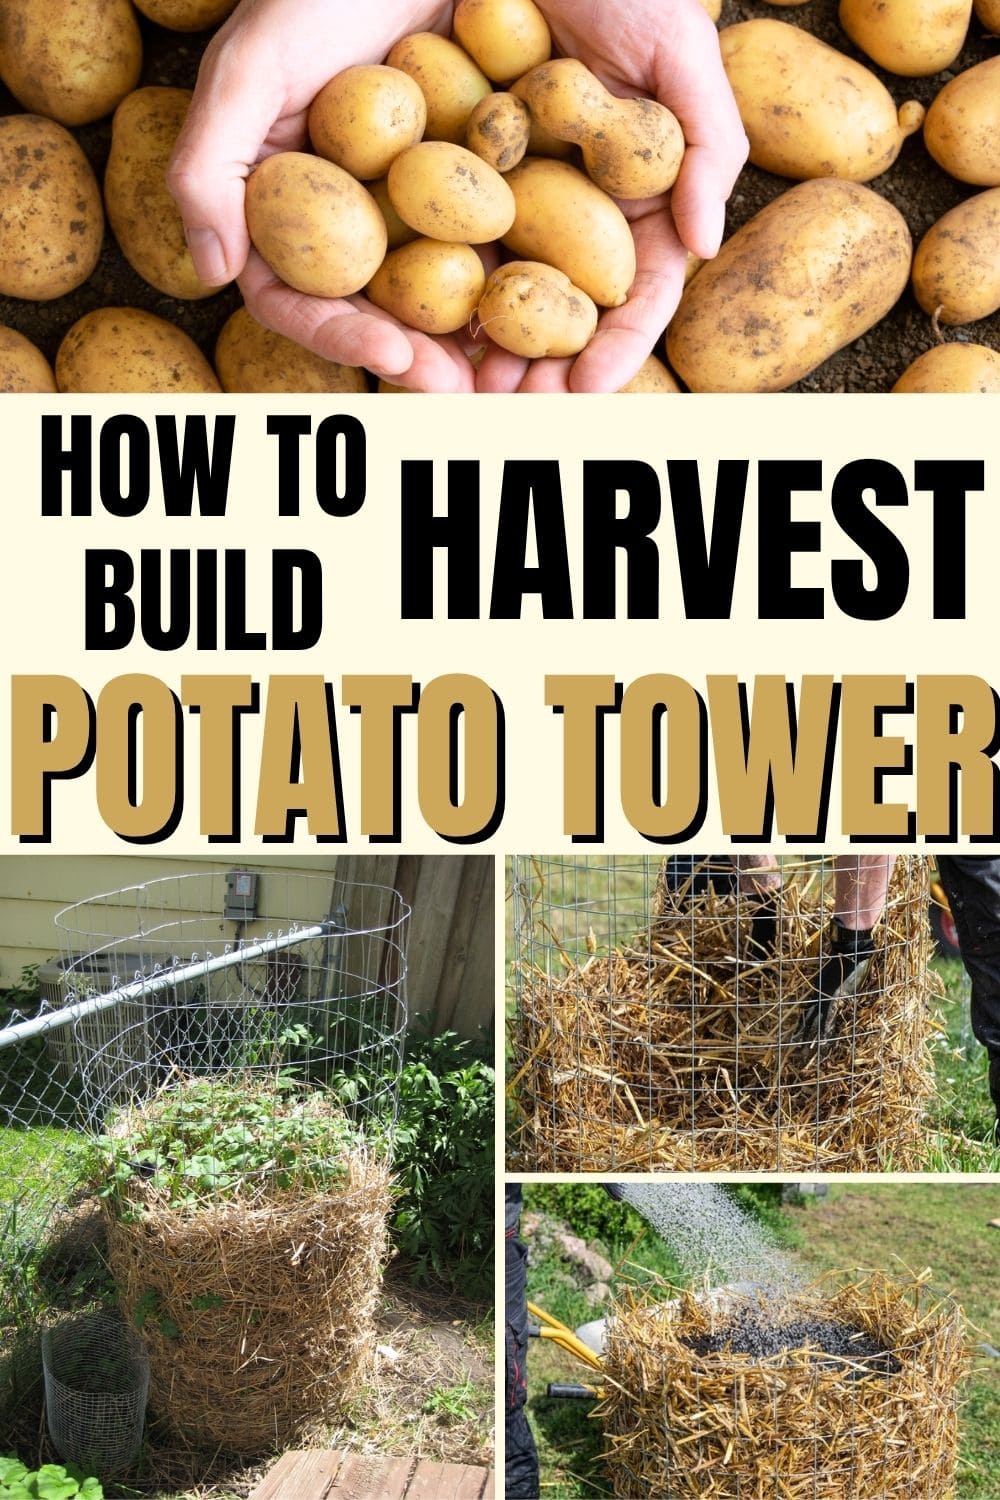
Start by forming your wire fencing into a cylinder, around three feet wide and three feet tall. I use a 10-foot length, which gives a perfect circle, then secure the ends together with zip ties.
To keep the tower stable, drive your wooden stake into the ground near the center, and fasten the wire to it.
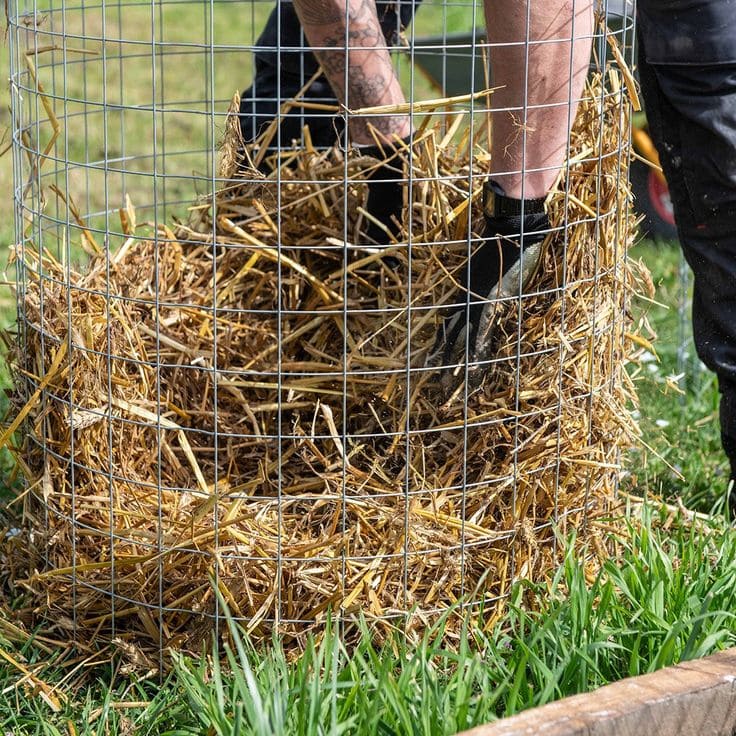
Then, start lining the inside of the wire with straw. This part is a bit messy but don’t worry if it’s not perfect. You just try to build up a wall about 4-6 inches thick around the inside. Once that’s in place, fill the center with about 6 inches of soil.
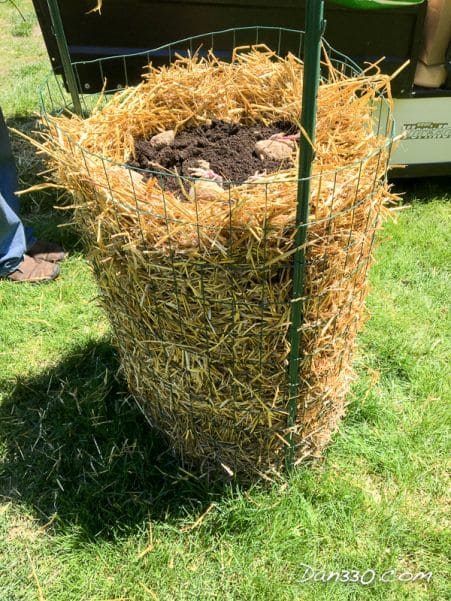
Next, lay down your first layer of seed potatoes, spacing them out evenly with the sprouts facing outward. I usually place 3 to 4 per layer, about 4 inches from the edge. Cover them with another 6-8 inches of soil.
Then add another layer of straw around the inside wall and repeat the process: soil, potatoes, cover. With a three-foot tower, you’ll get about three layers of seed potatoes from bottom to top.
Caring for the Potato Tower
As they grow taller, you can gently mound more soil around the base of each stem. This is what encourages more tubers to form. Keep watering regularly, especially during dry weeks. Because the tower is above ground, it will dry out faster than a regular garden bed.
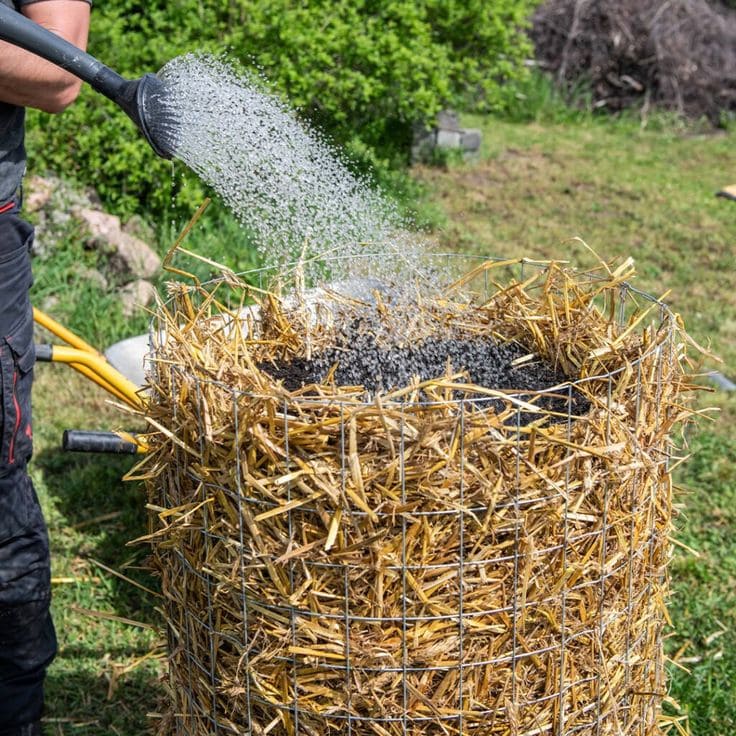
Also, make sure the tower doesn’t lean or collapse. If you notice it shifting, adjust your support post or press down lightly to stabilize the base.
Potatoes are surprisingly low-maintenance, but they do love rich, loose soil. If your mix starts to settle too much, you can add a blend of compost and straw to keep it light and nutritious.
I also add a bit of wood ash or bone meal halfway through the season to give the tubers an extra boost.
Harvesting Your Potato Tower
Once your plants have flowered and the foliage begins to yellow and wilt, it’s time to stop watering. You should give the tower about a week to dry out.
To harvest, you don’t need a shovel. Just remove the wire fencing or tip the entire tower onto a tarp or patch of lawn. Use your hands to sift through the layers of soil and straw.
You should find clusters of healthy potatoes nestled along the layers where you placed your seed tubers. The skin will be firm, the yield surprisingly generous for such a compact tower.
A Few Extra Tips I’ve Learned
Use early or mid-season potato varieties, they do better in vertical systems. Yukon Gold, Red Norland, and Kennebec are great starters.
Make sure your tower has good drainage. I made the mistake once of building one on a patch of heavy clay, and the bottom layer rotted out. Raised beds, gravel, or sandy ground underneath work best.
Rotate your tower location each year if you can. This helps avoid disease buildup and keeps your soil healthy.
In addition, don’t rush the harvest. If you pull the plants too early, the skins won’t be set, and your potatoes won’t store well.
And finally, don’t be afraid to experiment. Some people grow their towers with straw only, layering in compost. Others use leaves, grass clippings, or even shredded newspaper. As long as you give the tubers loose soil and consistent moisture, they’ll find a way to thrive.
