Garden & Crafty - Garden, DIY, Home
No Result
View All Result
  • GARDEN
    • Garden Tips
    • Garden Guide
    • Garden Care
    • Garden Ideas
  • DIY
    • Diy Project
    • Crafty Ideas
  • HOME
    • Decoration
    • Cleaning
    • Tips & Hacks
  • About Us
  • GARDEN
    • Garden Tips
    • Garden Guide
    • Garden Care
    • Garden Ideas
  • DIY
    • Diy Project
    • Crafty Ideas
  • HOME
    • Decoration
    • Cleaning
    • Tips & Hacks
  • About Us
No Result
View All Result
Garden & Crafty - Garden, DIY, Home
Home GARDEN Garden Tips

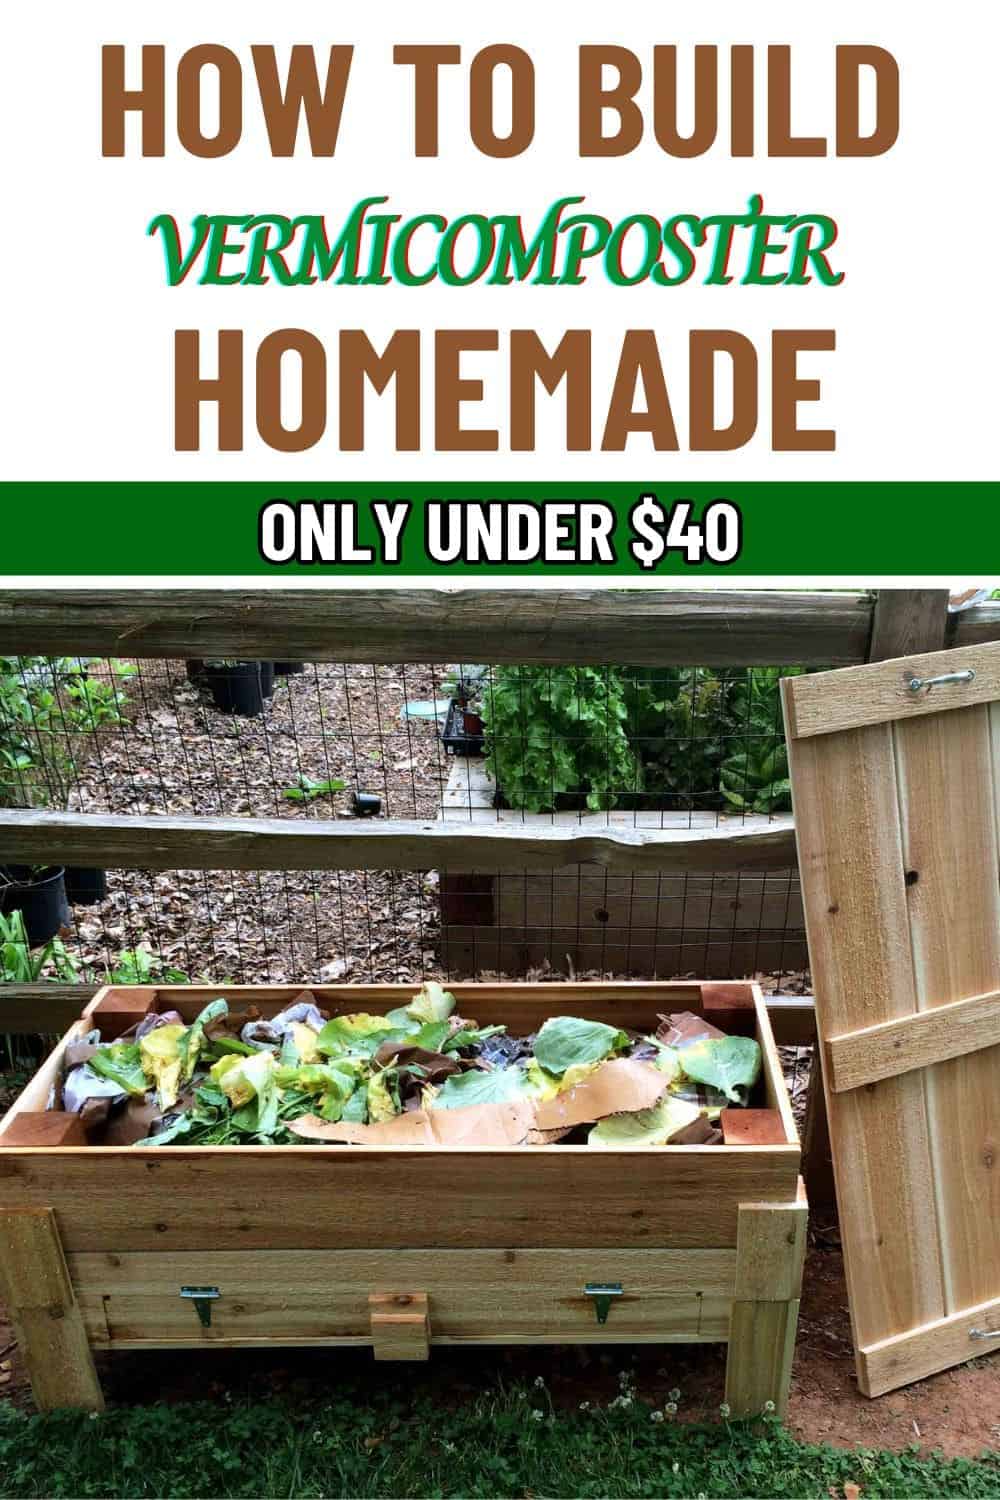
How to Build a Homemade Vermicomposter: A Step-by-Step Guide for Beginners

Lois Capone by Lois Capone
November 8, 2024
in Garden Tips
Reading Time: 3 mins read

IN THIS ARTICLE:

Toggle
  • Materials Needed for a Homemade Vermicomposter
  • Step-by-Step Guide to Building Your Vermicomposter
  • Troubleshooting Common Vermicomposting Issues

If you’re interested in reducing kitchen waste and creating rich, organic compost for your plants, then a homemade vermicomposter is a perfect project to try.

Vermicomposting, which uses worms to break down organic material, turns food scraps into nutrient-packed compost, and it’s surprisingly easy to set up.

I’ve been vermicomposting at home for a while, and it’s rewarding to see how a simple bin full of worms can create such valuable “black gold” for my garden.


Materials Needed for a Homemade Vermicomposter

You’ll need to prepare:

  • Container: You can use a plastic storage bin, a wooden crate, or any sturdy container. Choose a container that’s at least 12-18 inches deep and has a lid.
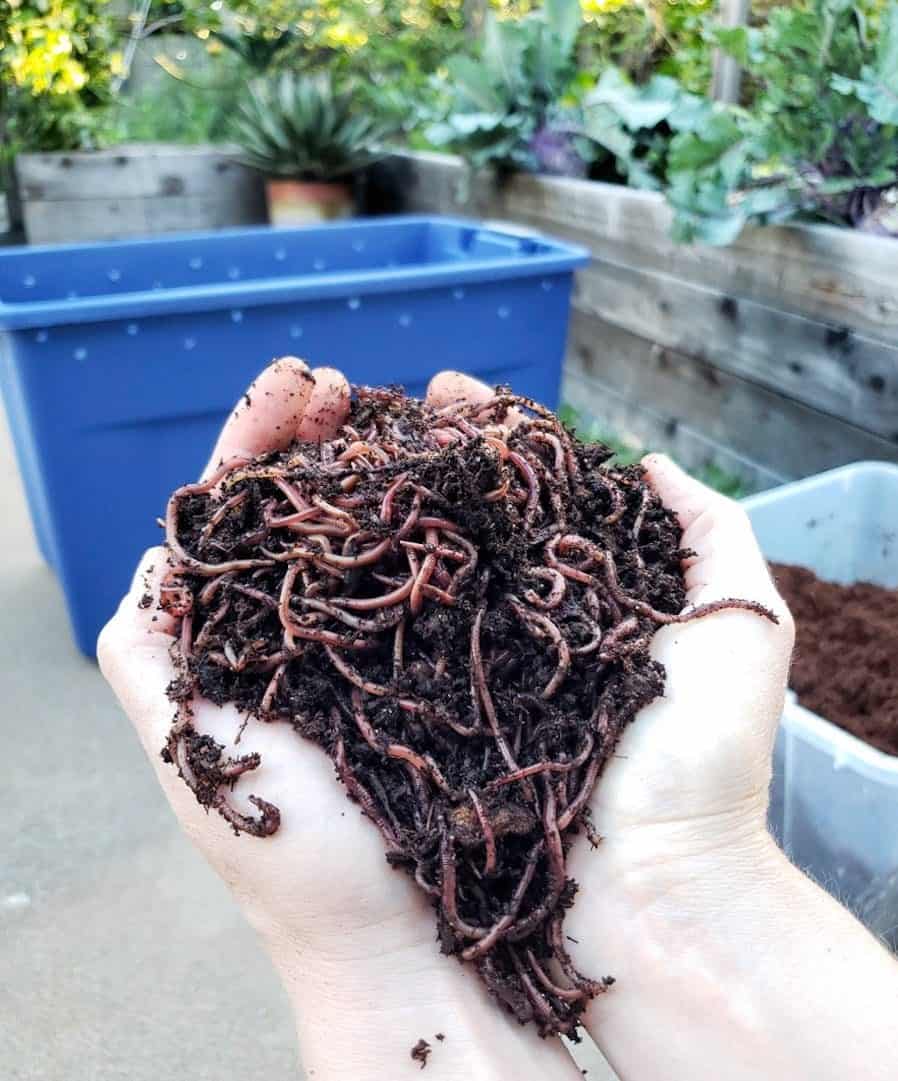
  • Worms: For vermicomposting, red wigglers (Eisenia fetida) are the best choice as they thrive in composting conditions, unlike garden earthworms.
  • Bedding Materials: Worms need bedding to live in, such as shredded newspaper, coconut coir, or cardboard.
  • Additional Supplies: a spray bottle, a drill, food scraps like vegetable peels, coffee grounds, and eggshells.


Step-by-Step Guide to Building Your Vermicomposter

Step 1: Choose and Prepare the Container

First, grab your container and lid. You’ll want to add several small holes in the sides and lid to allow for airflow, which prevents odor and keeps the worms healthy.

I used a drill with a 1/8-inch bit to add about a dozen holes along the upper edges and lid.


Step 2: Add Bedding

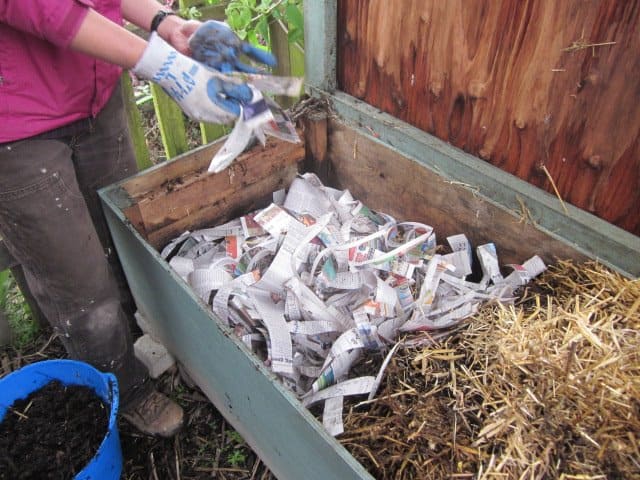
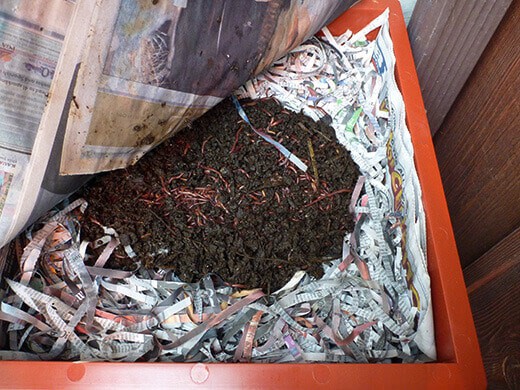
Next, let’s add bedding for the worms to nest in. Fill the container about one-third full with shredded newspaper, cardboard, or coconut coir.

You can spray it with water to get the right consistency, then fluff it up a bit to give the worms space to move around.

Tip: If you use newspaper, avoid glossy or colored sections, as these may contain inks that aren’t worm-friendly. 
How to Build a Homemade Vermicomposter: A Step-by-Step Guide for Beginners


Step 3: Introduce the Worms

Now, gently place your red wigglers on top of the bedding, and they’ll start burrowing down naturally to escape the light.
How to Build a Homemade Vermicomposter: A Step-by-Step Guide for Beginners


Step 4: Start Adding Food Scraps

After the worms have settled, you start with a small amount of food, like fruit and vegetable scraps, coffee grounds, or eggshells. Bury the scraps under the bedding to prevent odors and discourage fruit flies.

You should avoid foods that can attract pests or upset the worms’ environment, such as citrus fruits, meat and dairy products, oily or salty foods, large amounts of bread or grains.
How to Build a Homemade Vermicomposter: A Step-by-Step Guide for Beginners


Step 5: Maintain the Vermicomposter

Here’s what to keep an eye on:

  1. Moisture Levels: The bedding should always feel like a wrung-out sponge. If it’s too dry, the worms will struggle, and if it’s too wet, it can get smelly.
  2. Temperature: Red wigglers thrive in temperatures between 55-77°F (13-25°C). Extreme temperatures can harm them, so keep the bin indoors or in a shaded area if you live in a hot climate.
  3. Feeding Schedule: Worms are efficient eaters, but they only need food every 3-5 days. I usually check the bin once a week and add more scraps only if the previous batch is mostly decomposed.
  4. Occasional Turning: Every couple of weeks, I like to lightly turn the bedding with a small garden fork to aerate it.


Troubleshooting Common Vermicomposting Issues

While vermicomposting is low-maintenance, a few common issues may arise.

  • Foul Odors: If you notice strong odors, it’s likely due to overfeeding or poor ventilation. Try removing some food scraps, adding dry bedding, or adjusting the ventilation holes.
  • Worms Escaping: If you find worms trying to escape, check the moisture, temperature, and food levels, as worms will seek new conditions if their environment isn’t right.
  • Pests and Fruit Flies: To prevent fruit flies, always bury food scraps under bedding, and avoid adding overly wet foods.
 

How to Build a Homemade Vermicomposter A Step-by-Step Guide for Beginners
Tags: Vermicomposter
SharePin12
Lois Capone

Lois Capone

Lois Capone is a wife and mom in her 50s who enjoys sharing gardening, DIY tips, and home decor ideas. She believes that with some inspiration, anyone can create a special feel in their home and garden.

Related Posts

How to Keep Your Holiday Greenery Fresh and Fragrant All Season Long
Garden Tips

How to Keep Your Holiday Greenery Fresh and Fragrant All Season Long

There’s something special about decorating your home with fresh holiday greenery. The scent of pine, cedar, or fir instantly fills...

by Lois Capone
November 6, 2025
How the First Nations Preserved Blueberries Naturally for Years
Garden Tips

How the First Nations Preserved Blueberries Naturally for Years

Before modern canning jars or dehydrators ever existed, Indigenous peoples had already mastered ways to keep their harvests fresh through...

by Lois Capone
November 5, 2025
How to Use Solar Lights to Brighten Your Home During Power Outages
Garden Tips

How to Use Solar Lights to Brighten Your Home During Power Outages

When storms roll through and the lights go out, your home can feel unfamiliar and unsettling in the dark. Candles...

by Lois Capone
October 31, 2025
Peppermint Castile Soap: The Natural Cure-All for Plant Pests
Garden Tips

Peppermint Castile Soap: The Natural Cure-All for Plant Pests

If you’ve ever spotted tiny webs, sticky leaves, or mysterious holes in your houseplants, you know the sinking feeling that...

by Lois Capone
October 31, 2025
How to Turn Thrifted Curtain Rods Into Stylish Garden Plant Supports
Garden Tips

How to Turn Thrifted Curtain Rods Into Stylish Garden Plant Supports

For me, it’s not the clothes or dishes that catch my eye in a thrift store, it’s the unexpected items...

by Lois Capone
October 30, 2025
The Secret of Rabbit Poop Fertilizer in the Garden
Garden Tips

The Secret of Rabbit Poop Fertilizer in the Garden

If you’ve ever dreamed of finding the perfect natural fertilizer that’s safe, nutrient-rich, and easy to use, you might be...

by Lois Capone
October 30, 2025
Load More

Leave a Reply Cancel reply

Your email address will not be published. Required fields are marked *

Recipe Rating


Categories

  • Cleaning (6)
  • Crafty Ideas (186)
  • Decoration (169)
  • DIY (8)
  • Diy Project (270)
  • GARDEN (39)
  • Garden Care (64)
  • Garden Guide (141)
  • Garden Ideas (360)
  • Garden Tips (147)
  • Guide (687)
  • HOME (90)
  • Tips & Hacks (22)


Garden & Crafty - Garden, DIY, Home

© 2024 gardenandcrafty.com

Navigate Site

  • About Us
  • Privacy Policy
  • Terms Of Service
  • Disclaimer
  • Cookie Policy
  • Webstories
  • Sitemap

Follow Us

No Result
View All Result
  • GARDEN
    • Garden Tips
    • Garden Guide
    • Garden Care
    • Garden Ideas
  • DIY
    • Diy Project
    • Crafty Ideas
  • HOME
    • Decoration
    • Cleaning
    • Tips & Hacks
  • About Us