Why spend a fortune on Halloween decorations when you can create your very own creepy giant spider for under $20?
I recently put together a massive, terrifying spider, and not only did it turn out amazing, but it also cost next to nothing.
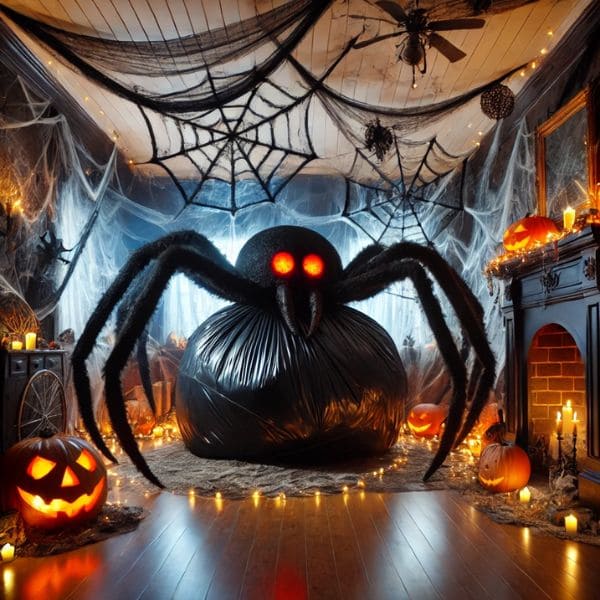
Here’s how you can make this spooky masterpiece, perfect for your fireplace, front yard or even haunted house, without breaking the bank.
Materials Needed
- Large black garbage bags: $3
- Black duct tape: $4
- PVC pipes or pool noodles: $6
- Styrofoam balls: $2
- Hot glue gun and glue sticks: $2
- Scissors: available
- Red LED lights or small red beads: $3
Total cost: $20
Step-by-Step Instructions
Step 1: Building the Spider’s Body

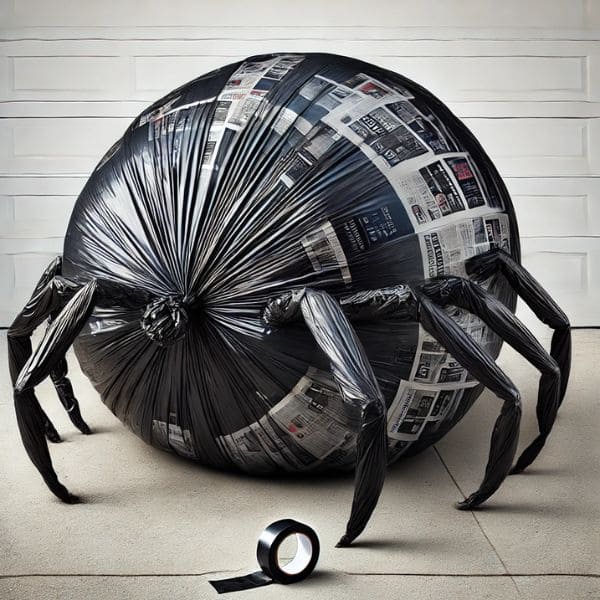
You can start by stuffing a large black garbage bag with crumpled newspaper or plastic bags to form the round, bulky body of the spider.
Then, you twist the end of the bag and seal it tightly with duct tape so it holds its shape.
Step 2: Crafting the Spider’s Head
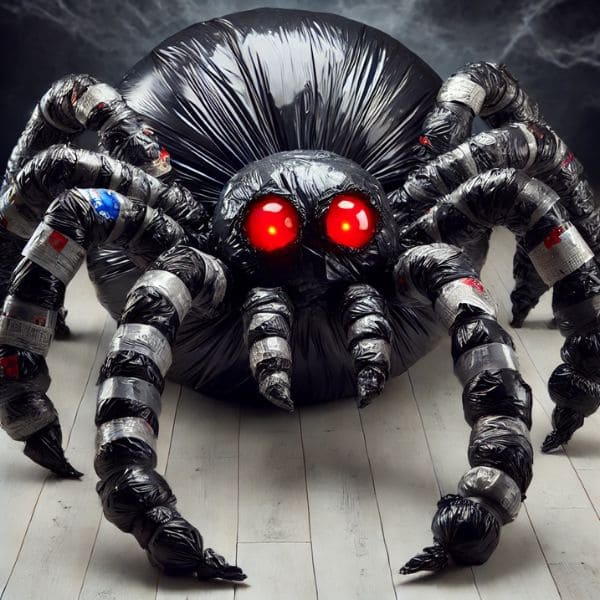
For the head, I used a medium-sized Styrofoam ball wrapped in a smaller black garbage bag. Attach the head to the body using hot glue.
You can adjust the head’s placement to give your spider a menacing or comical look.
Step 3: Making the Spider’s Legs

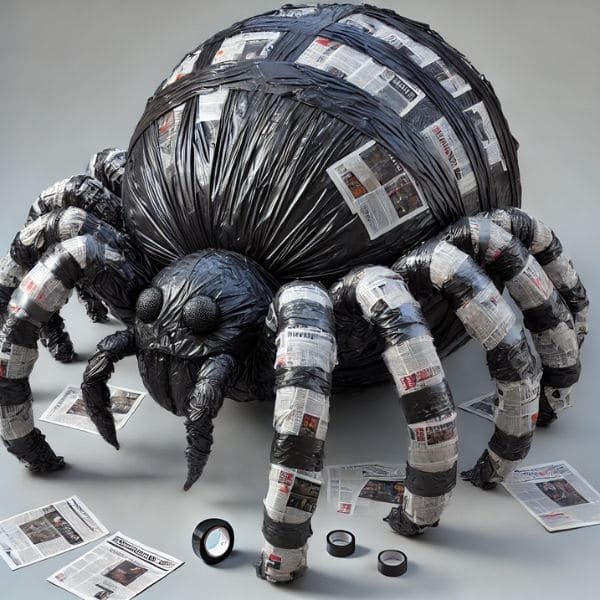
You take your PVC pipes or pool noodles and cut them into four equal sections for each side.
Then bend them slightly to create that iconic creepy leg bend, and wrap each one with black duct tape.
Now you only need to attach the legs to the body using glue and tape, making sure they’re positioned evenly to keep your spider looking balanced.
Step 4: Adding Eyes and Finishing Touches

For a creepy stare, you can use red LED lights inside your spider’s eyes if you want to add an extra eerie glow. You can paint them, too – whatever helps your spider stand out!

And there you have it – a giant spider for your Halloween display, all for under $20!
Whether you place it on your porch, in your front yard, or as a centerpiece for your haunted house, this budget-friendly DIY project is sure to give everyone a fright.


