If you’ve ever tried treating a chicken with bumblefoot, you know how tough it can be to keep them still long enough for a proper soak.
I learned that when my favorite hen, Daisy, developed a swollen foot one spring morning.
Every time I tried to soak her feet in a small tub, she’d flap, splash, and nearly escape. That’s when I realized I needed a better solution.
After a bit of creativity, I came up with a simple DIY soaking box that changed everything.
It kept Daisy calm, her feet soaked, and my stress level low. Here’s exactly how you can make one too.
Understanding Bumblefoot and Why Soaking Helps
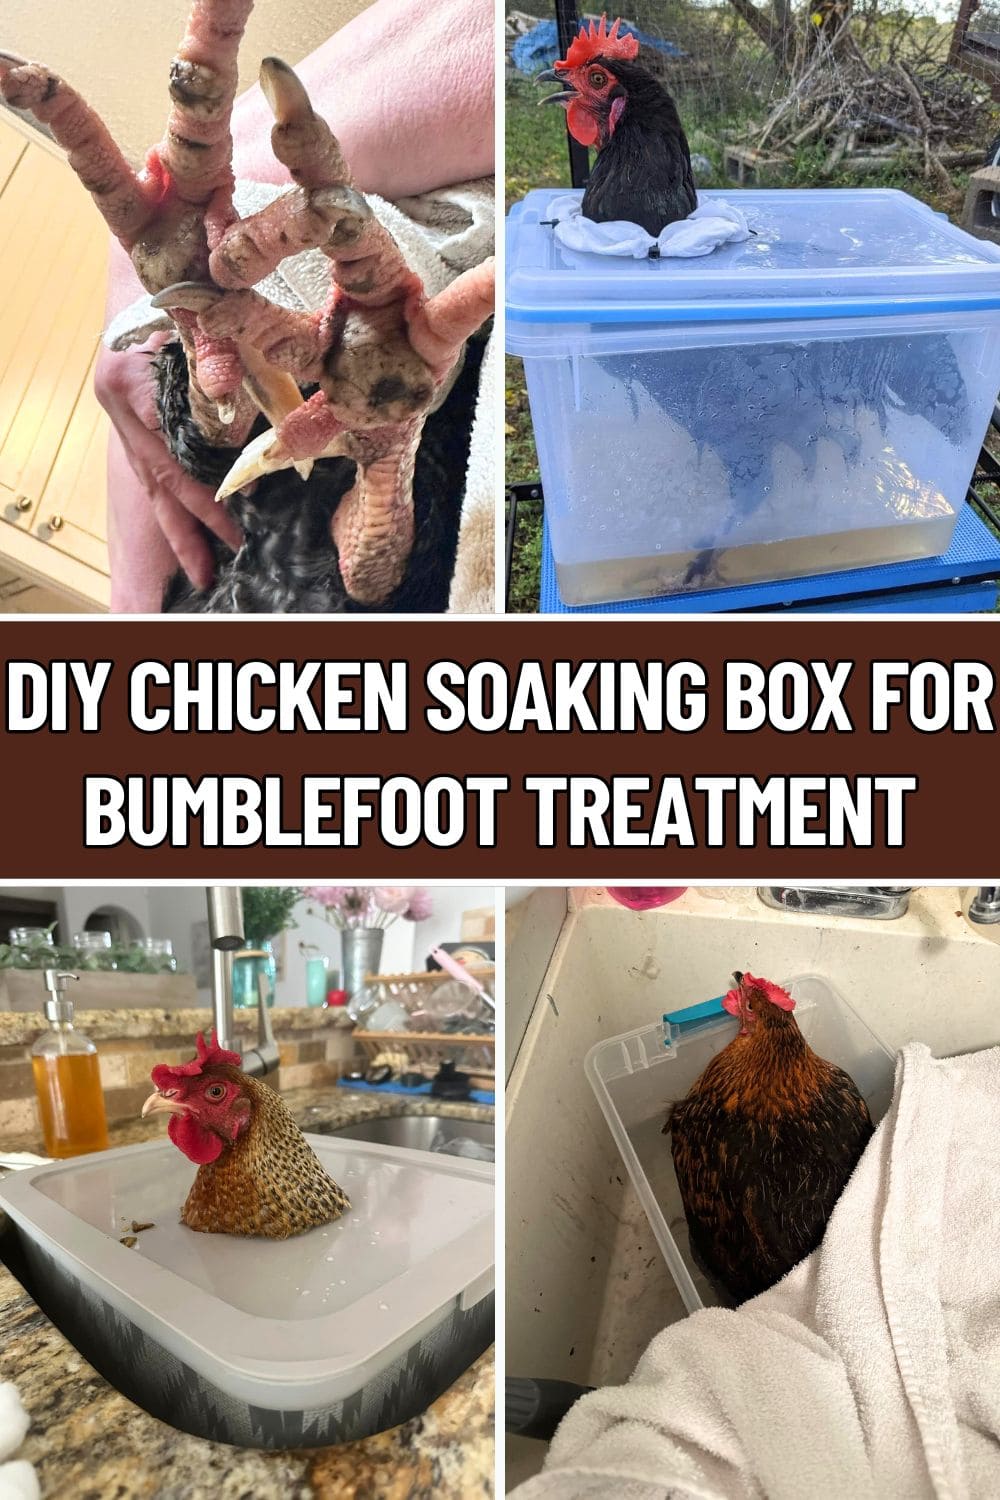
Bumblefoot is a common foot infection in chickens, often caused by a small cut or splinter that lets bacteria enter the skin.
You’ll usually notice swelling, redness, or a dark scab on the bottom of the foot. It might start small but can grow painful and serious if untreated.
However, soaking the foot in warm Epsom salt water can make a huge difference.
The salts help draw out infection, reduce swelling, and soften the tough scab, making it easier to clean and treat.
The tricky part is getting your chicken to sit still for a 20-30 minute soak. That’s where this soaking box comes in handy.
What You’ll Need
- A plastic tote with latching sides (large enough for your hen to stand comfortably)
- A soft washcloth or towel for padding
- Scissors or a utility knife
- Zip ties or duct tape
- Warm water and Epsom salt
- A towel for drying feet
- A healing salve or antiseptic spray for treatment
Optional: non-slip mat or rubber shelf liner for the bottom of the tote so your chicken doesn’t slip.
Step-by-Step Instructions
Step 1: Pick the Right Tote
Choose a clear plastic tote that’s sturdy and easy to clean.
It should be tall enough so your hen can stand comfortably inside with her feet covered in water but not so deep that she’s submerged.
A tote with latches on both sides is ideal as it keeps the lid secure while giving you easy access when needed.
Step 2: Cut a Head Hole
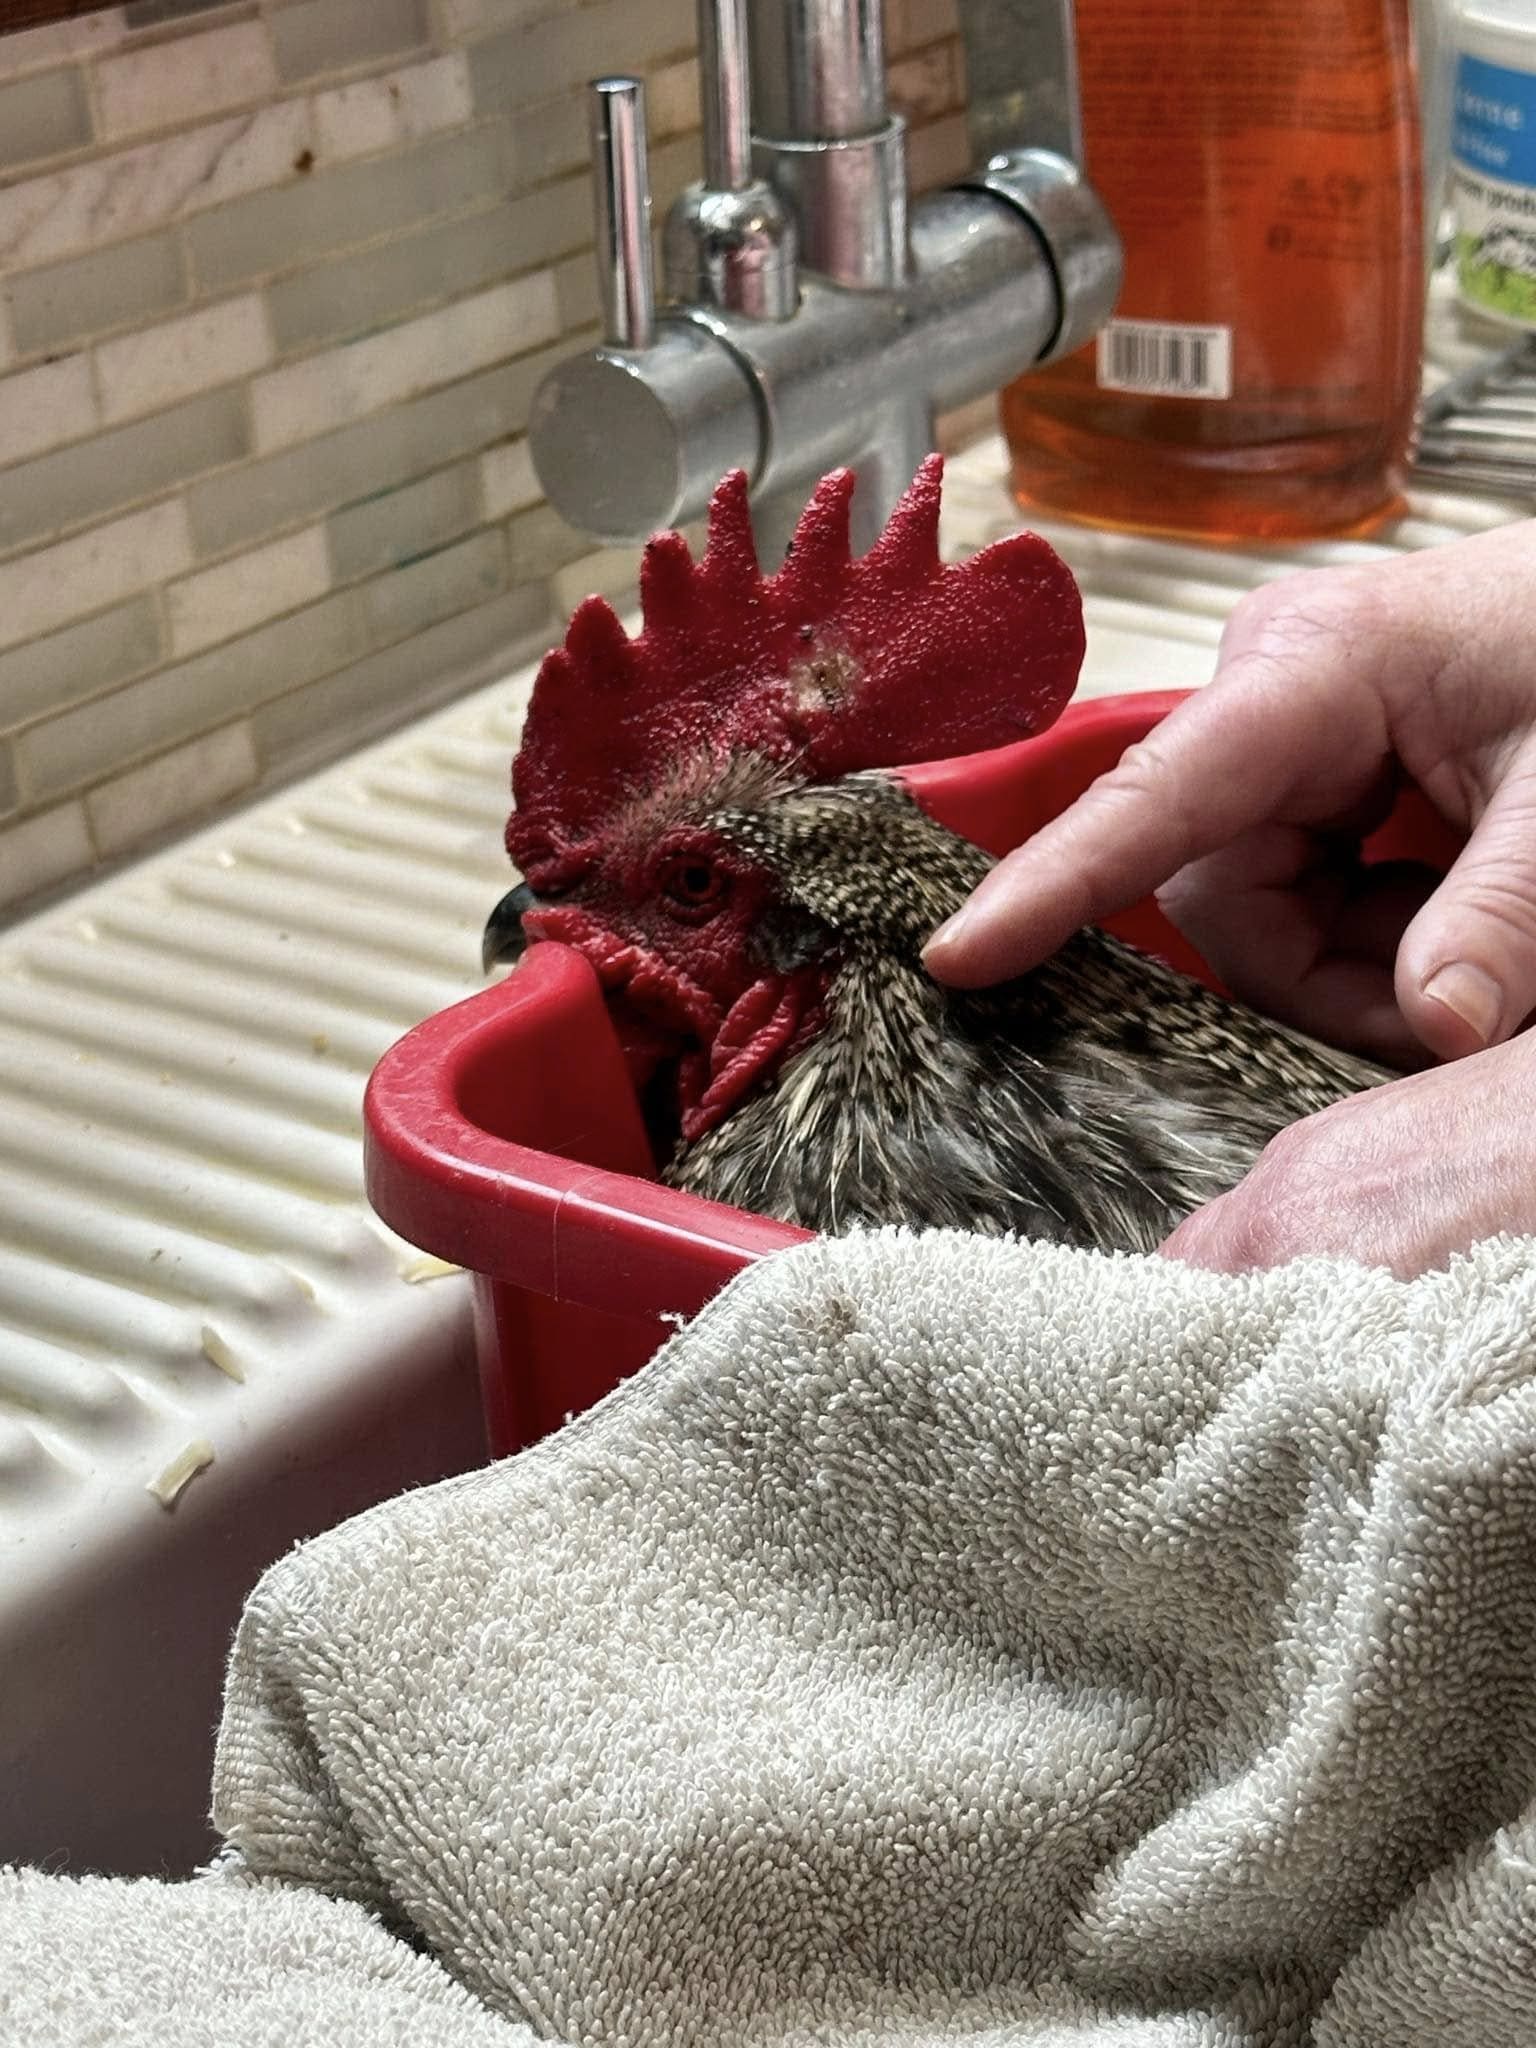
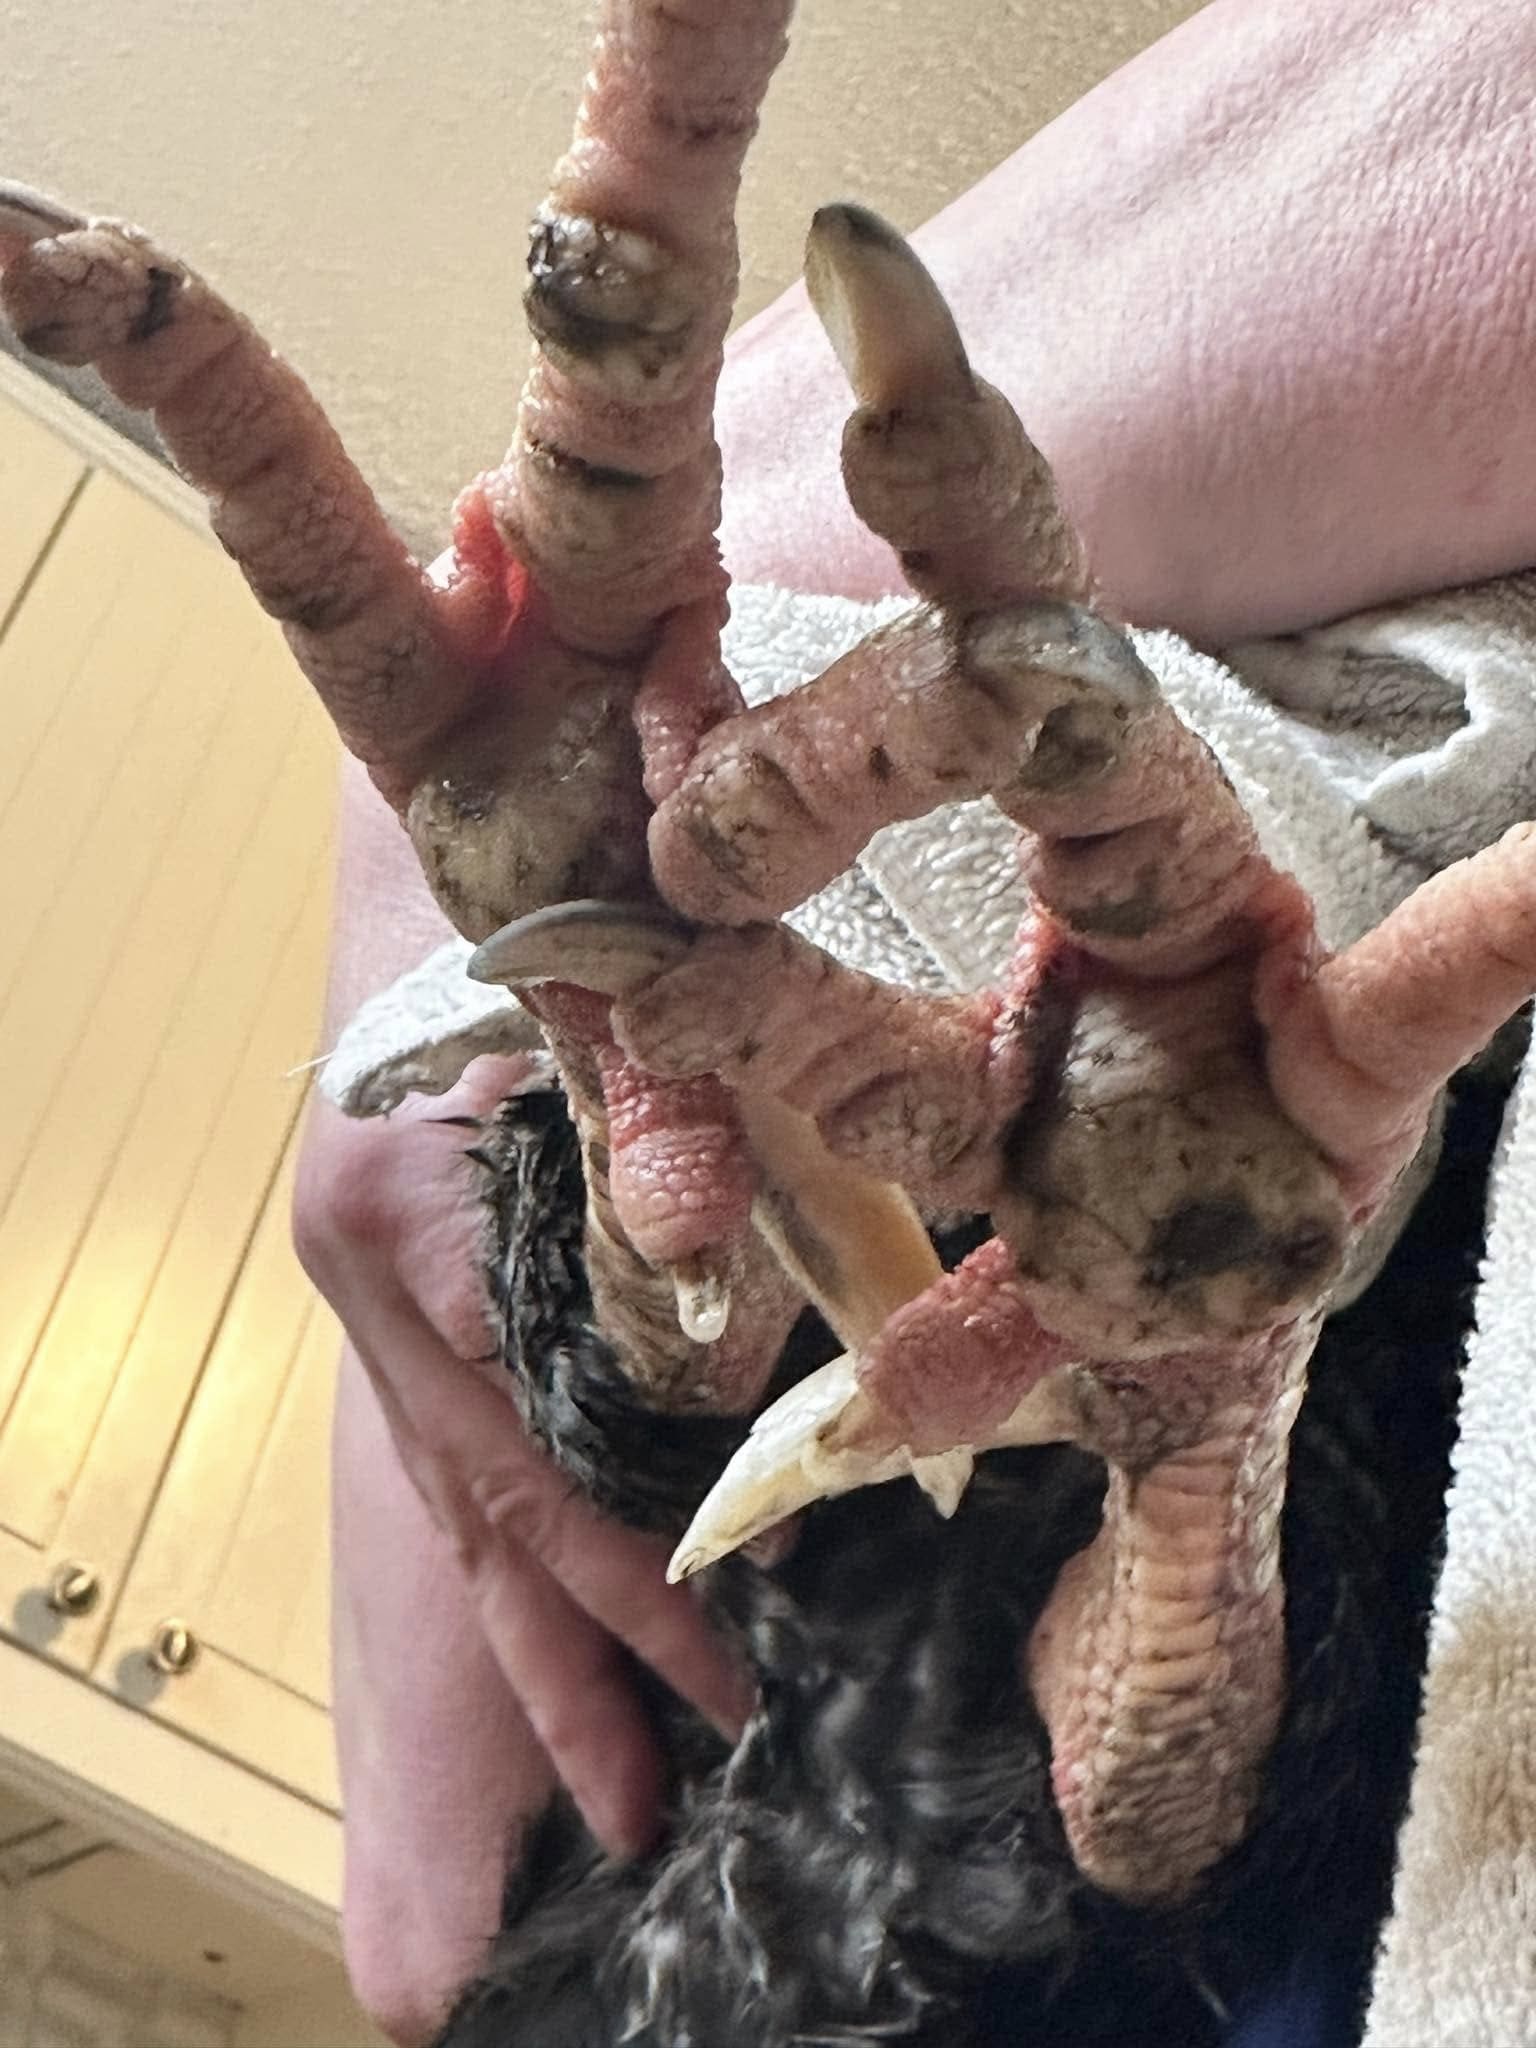
Trace a circle on the lid just large enough for your chicken’s head to fit through. You don’t want it too big, or she’ll try to wriggle out.
Once cut, smooth the edges with sandpaper or line them with duct tape to prevent scratches.
Step 3: Add Padding
Cut a soft washcloth or towel to wrap around the hole’s edge. Then secure it with zip ties or tape to make it comfortable for your chicken’s neck.
This small step keeps your bird calm and prevents irritation during the soak.
Step 4: Prepare the Soak
You fill the tote with warm (not hot) water, just enough to cover your chicken’s feet and lower legs.
Next, add about ½ cup of Epsom salt per gallon of water and stir until dissolved.
The warmth helps relax your bird, and the salts begin drawing out infection right away.
Step 5: Settle Your Chicken
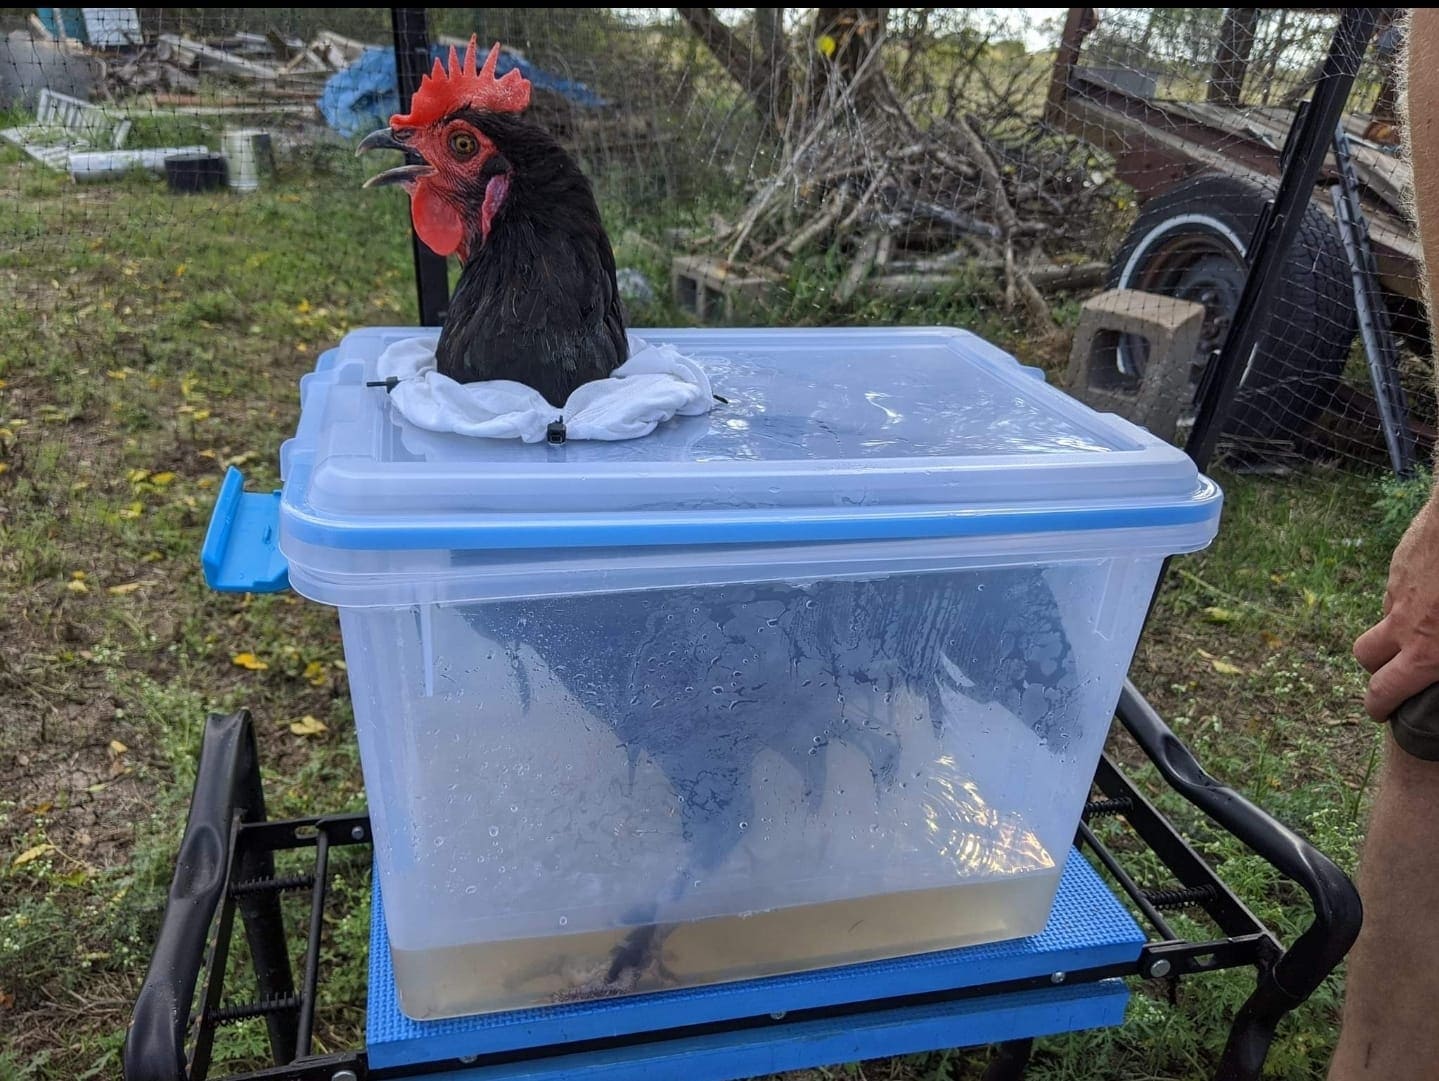
Now, gently place your chicken inside the tote so that her feet rest in the water. Guide her head through the padded hole and close the lid.
You need to latch it securely on both sides, leaving enough space for air circulation.
Most chickens calm down after a few minutes once they realize they can’t move much.
Step 6: Soak and Wait
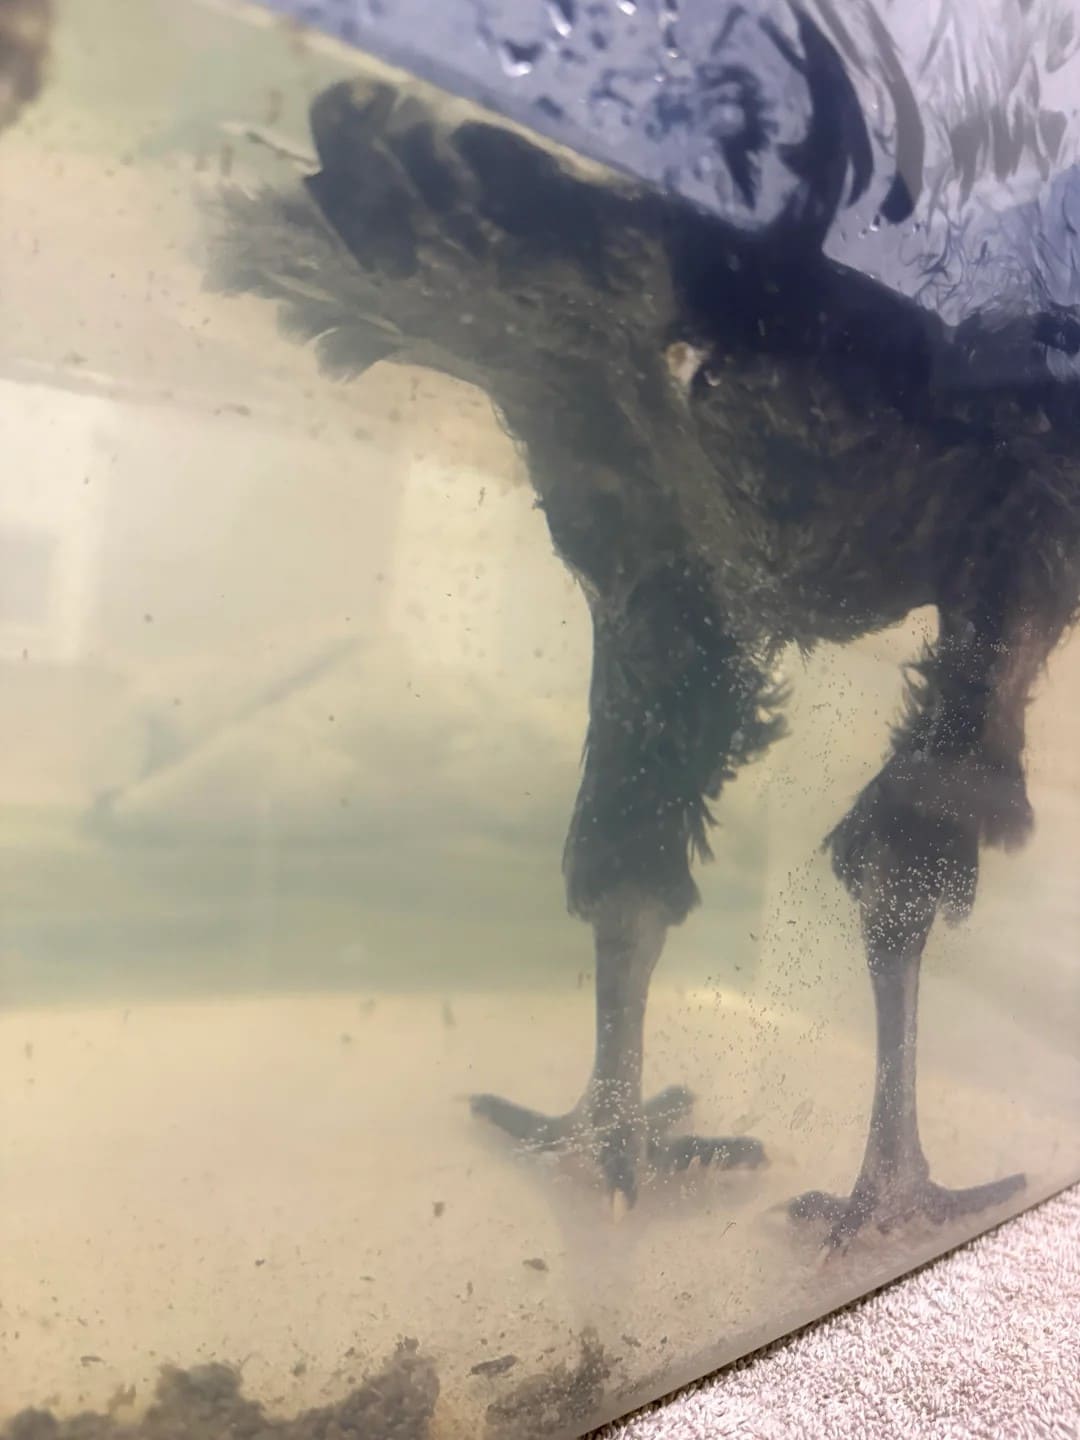
Let her soak for 25 to 30 minutes. I usually set a timer and sit nearby to keep her company. Speaking softly helps keep her relaxed.
You’ll see the water cloud up a bit as the salts do their work, this is normal.
Step 7: Dry and Treat
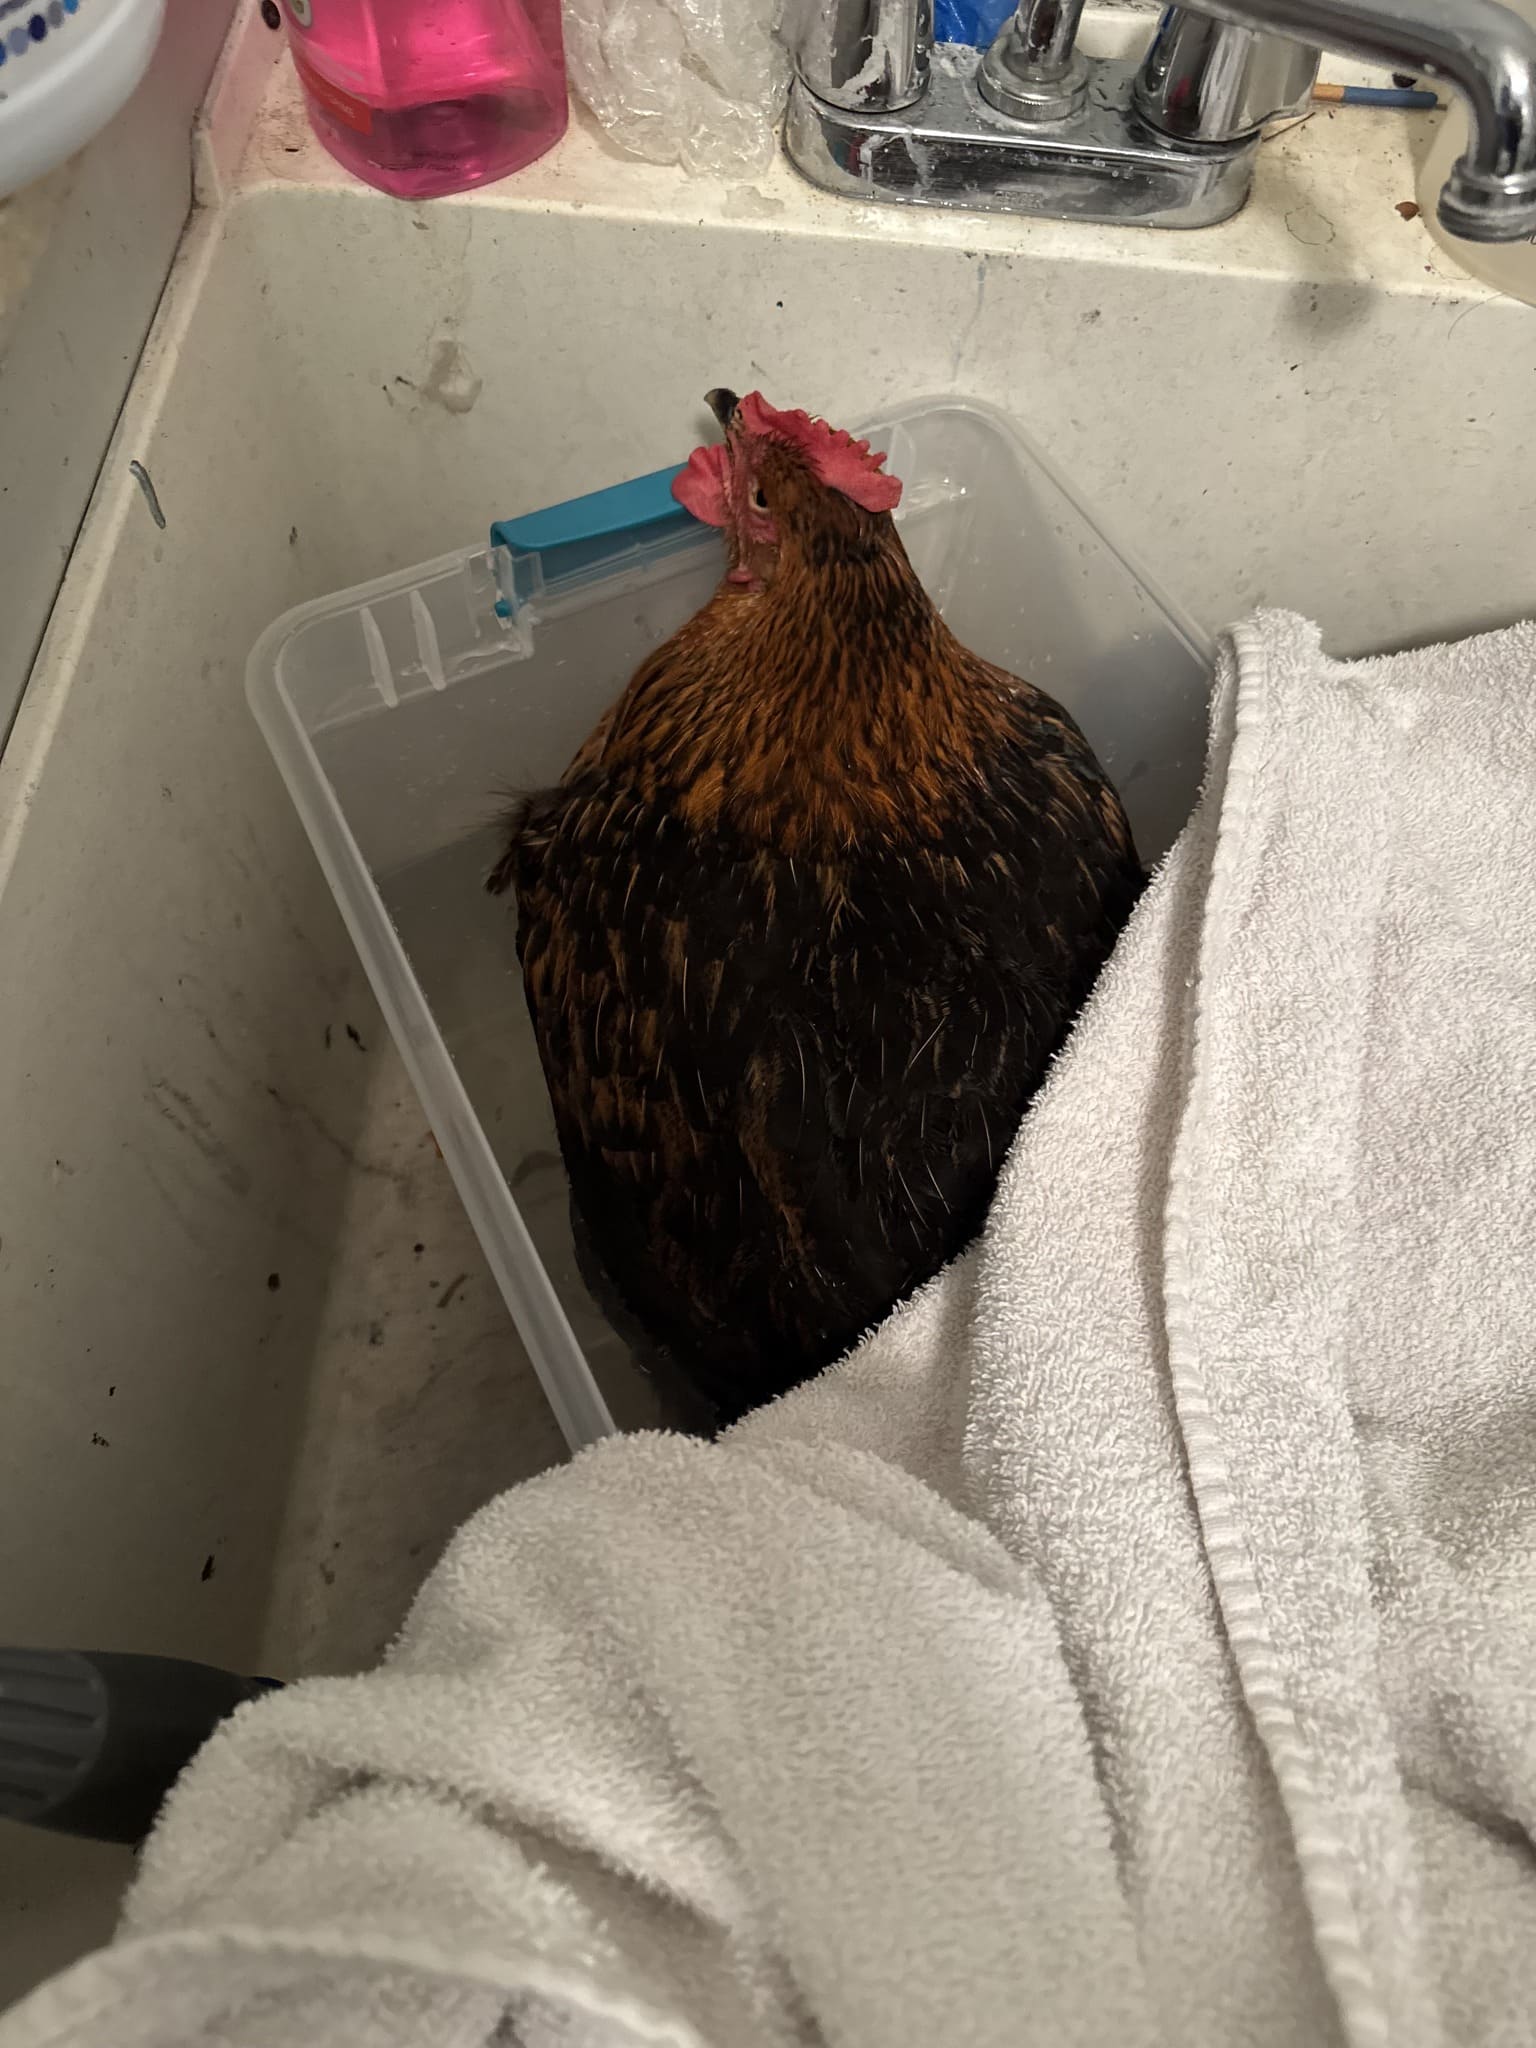
When the timer’s up, lift your hen gently out of the tote and pat her feet dry with a clean towel. Inspect the foot.
If the scab has softened, you can apply your favorite bumblefoot treatment like a healing salve or antiseptic spray.
Then wrap it lightly with vet wrap if needed. Keep her in a clean, dry area afterward.
Tips for Success
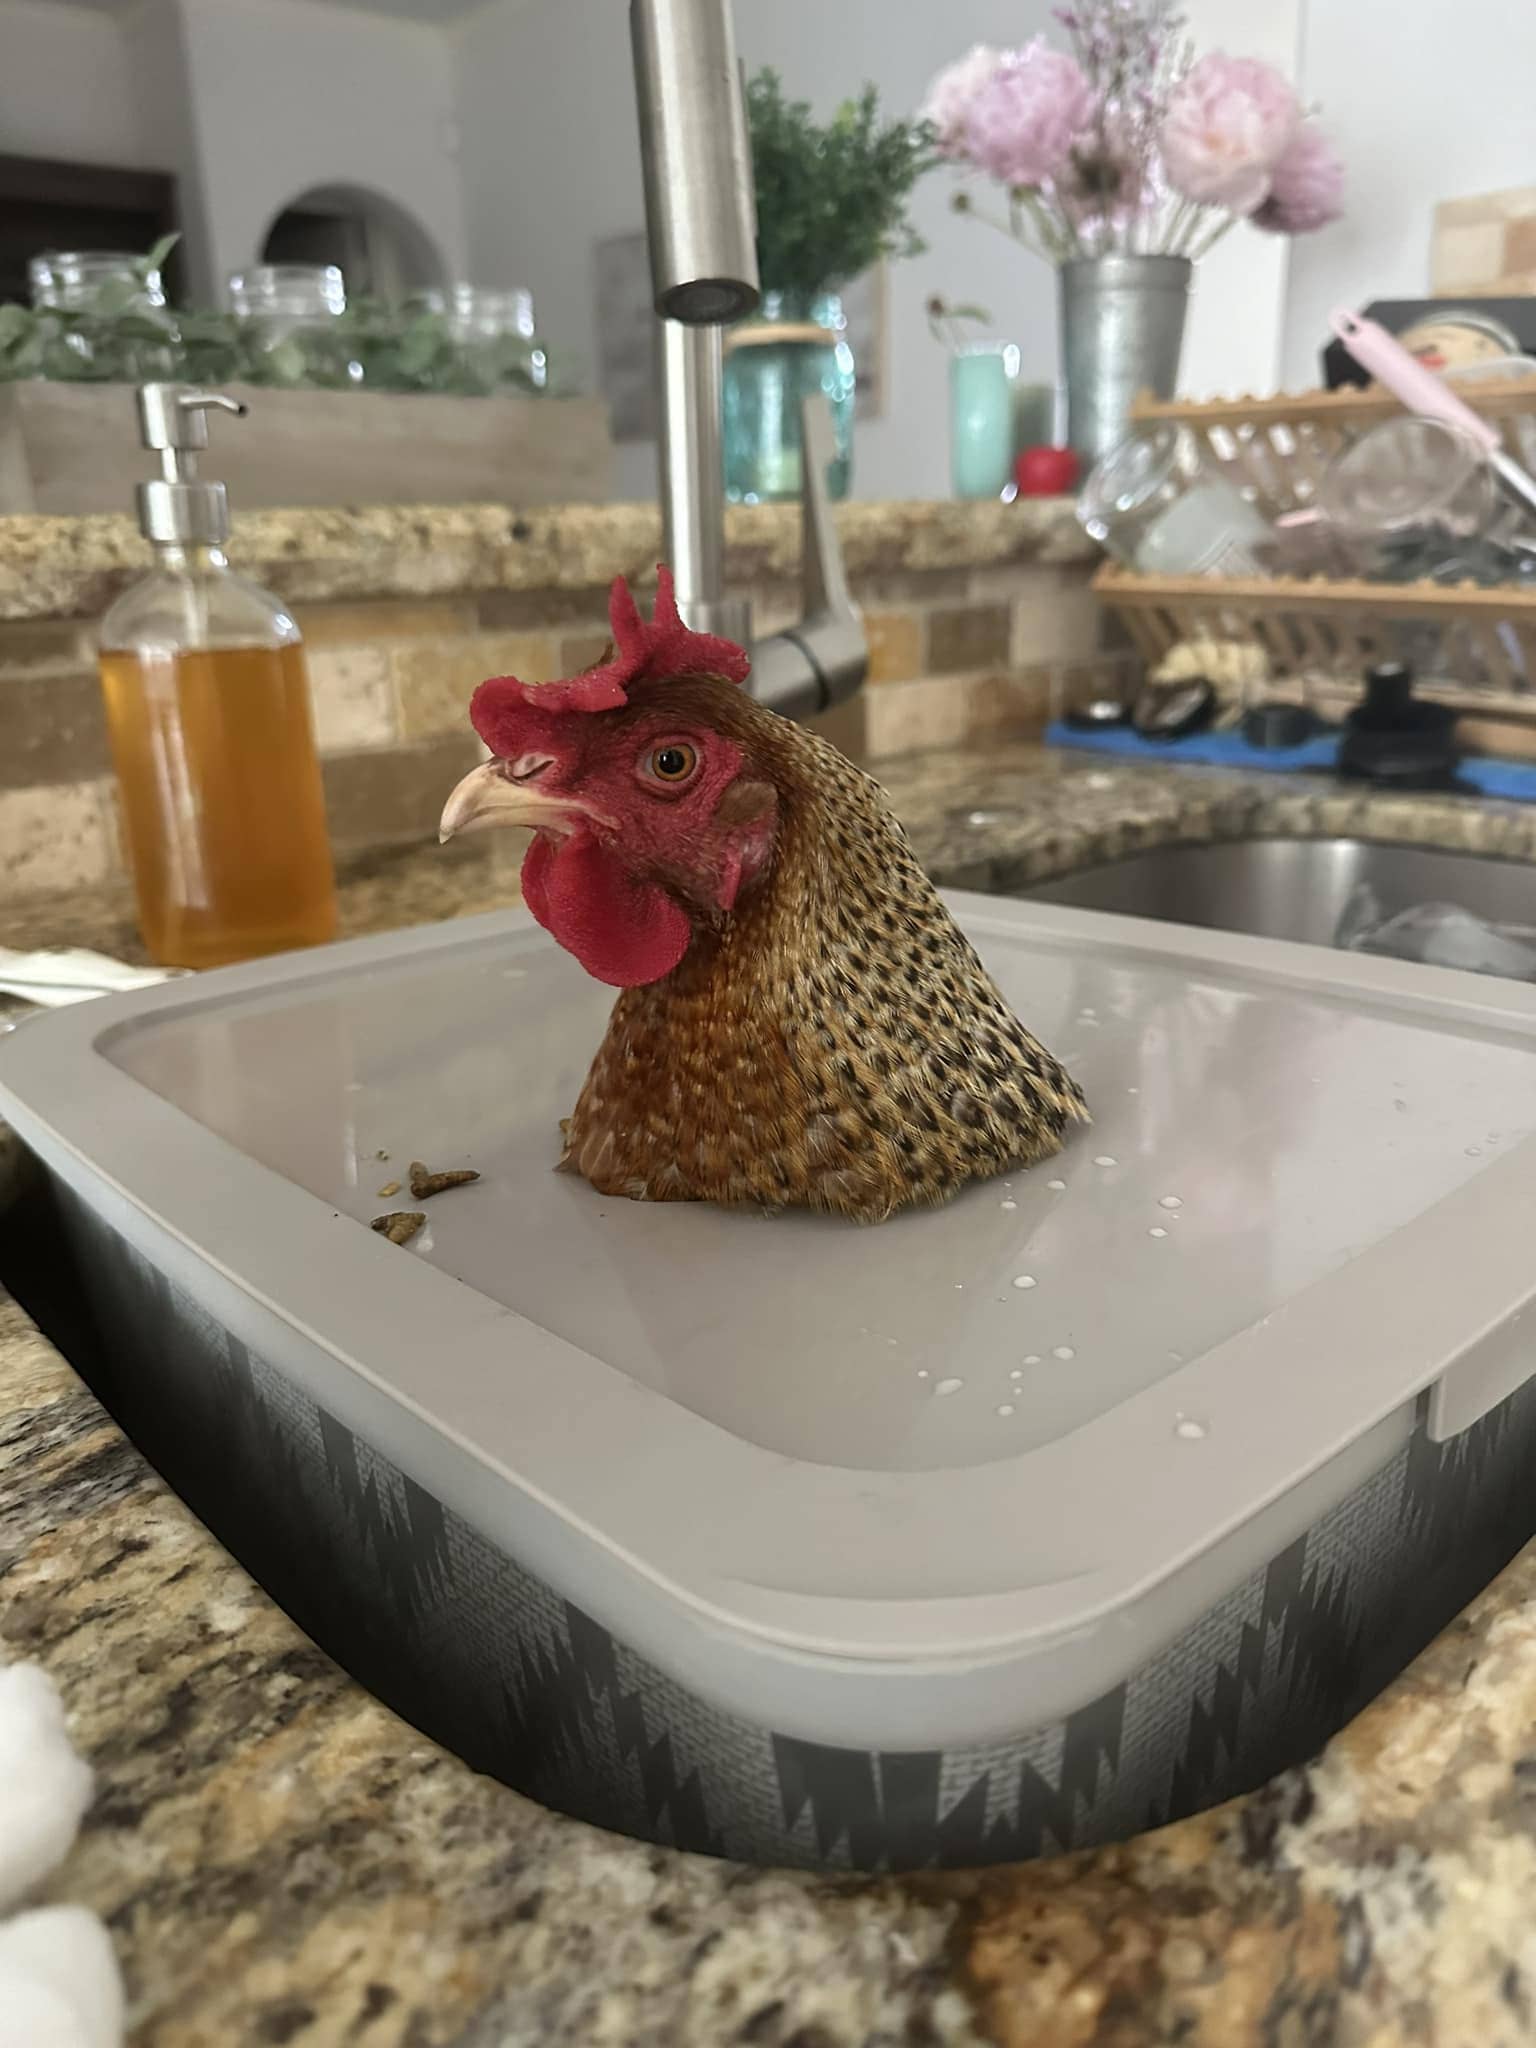
When using your chicken soaking box, the key is keeping your bird comfortable and calm.
Always check the water temperature before starting, it should feel warm and soothing to your touch, never hot.
It also helps to place a non-slip mat or towel at the bottom of the tote. This small detail prevents your hen from slipping and makes her feel more stable.
Cleanliness is another important part. Always use fresh water and a clean tote for each session, then disinfect it afterward with mild soap or vinegar water.
If you plan to reuse the box often, label it clearly for animal use only. These small habits keep your chicken safe, relaxed, and healing faster.
Maintenance and Cleaning Tips
Good hygiene is key when treating an infection like bumblefoot. After each soak, you need to:
- Empty the water and rinse the tote thoroughly.
- Wash with mild soap or a vinegar-water mix.
- Rinse again and let it air dry completely before storing.
- Replace the neck padding if it becomes worn or stained.
Keeping the soaking box clean ensures every treatment session stays sanitary and effective.
When to Seek Veterinary Help
Sometimes, even with consistent soaking and care, bumblefoot doesn’t improve on its own.
If you notice that the swelling gets worse, or if the scab becomes darker and starts to ooze pus, it’s time to consult a veterinarian.
Persistent limping or signs of pain are also clear signals that the infection might be deeper than it appears.
In severe cases, the infection can spread or form a hard core beneath the skin that requires professional cleaning or minor surgery.
Your vet can safely remove infected tissue and may prescribe antibiotics to prevent further complications.
Frequently Asked Questions
1. Can I reuse the soaking water?
No, always use fresh water for each session to avoid spreading bacteria.
2. How often should I soak?
Once daily for 5-7 days or until the swelling and scab improve.
3. Can I add anything besides Epsom salt?
You can mix in a few drops of povidone-iodine for extra antibacterial support, but Epsom salt alone is effective for most cases.
4. Will my chicken panic inside the box?
Most hens calm down after a few minutes. And keeping your tone gentle and staying nearby helps.
See also: 20 Budget-Friendly DIY Chicken Feeders That Reduce Waste
