Raspberry plants can be generous producers, but only if they get a little attention every year.
Left on their own, they quickly turn into a thicket of tangled stems that steal light, crowd each other out, and stop making those sweet, ruby-red berries you love.
Pruning isn’t complicated, it’s more like giving your plants a gentle reset so they can focus their energy where it matters most: fruit.
Know What You’re Growing
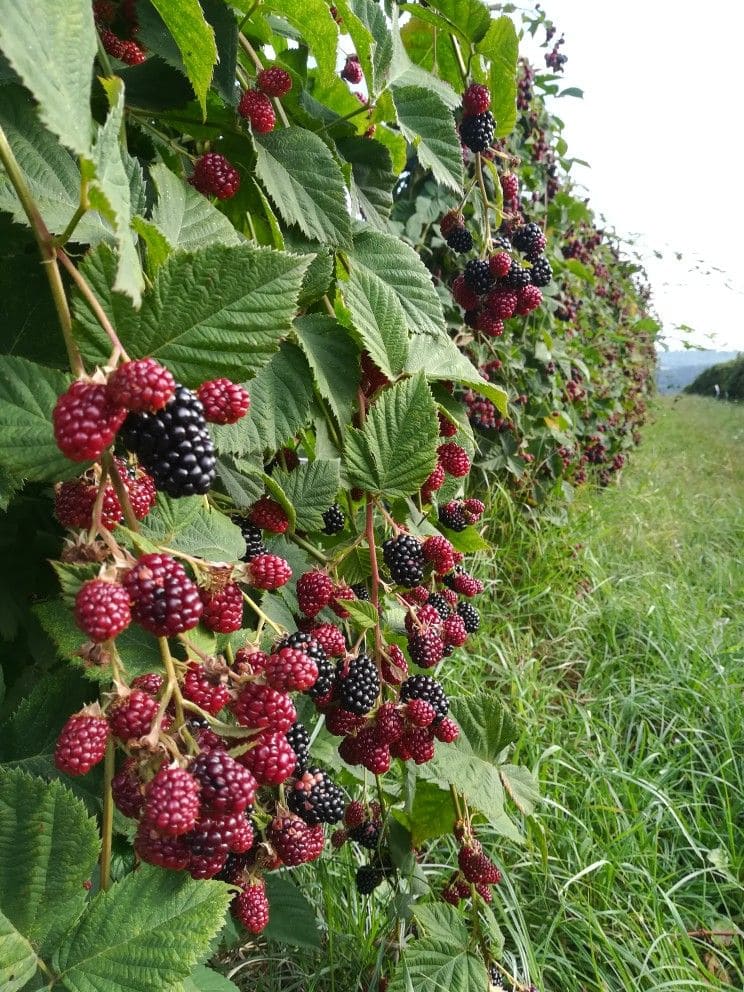
There are two main raspberry kinds including summer-bearing and fall-bearing (everbearing) and each has its own rhythm.
Summer-bearing raspberries produce on canes that grew the previous year. Those older canes die after fruiting and need to be removed.
Fall-bearing raspberries are simpler, they produce on new canes that grow in spring and bear fruit later the same season.
If you’re not sure which you have, pay attention to when they fruit.
Summer bearers ripen once (mid-season), while fall bearers can give you berries twice if managed right, once in late summer and again the following fall.
When to Prune Raspberries
Timing depends on the variety:
- Summer-bearing: Prune right after harvest, in midsummer.
- Fall-bearing: Cut them down in late winter or early spring, before new shoots appear.
You need to avoid pruning during freezing weather or when the soil is soggy as raspberries hate having their roots disturbed when conditions are harsh.
Step-by-Step: How to Prune Raspberries
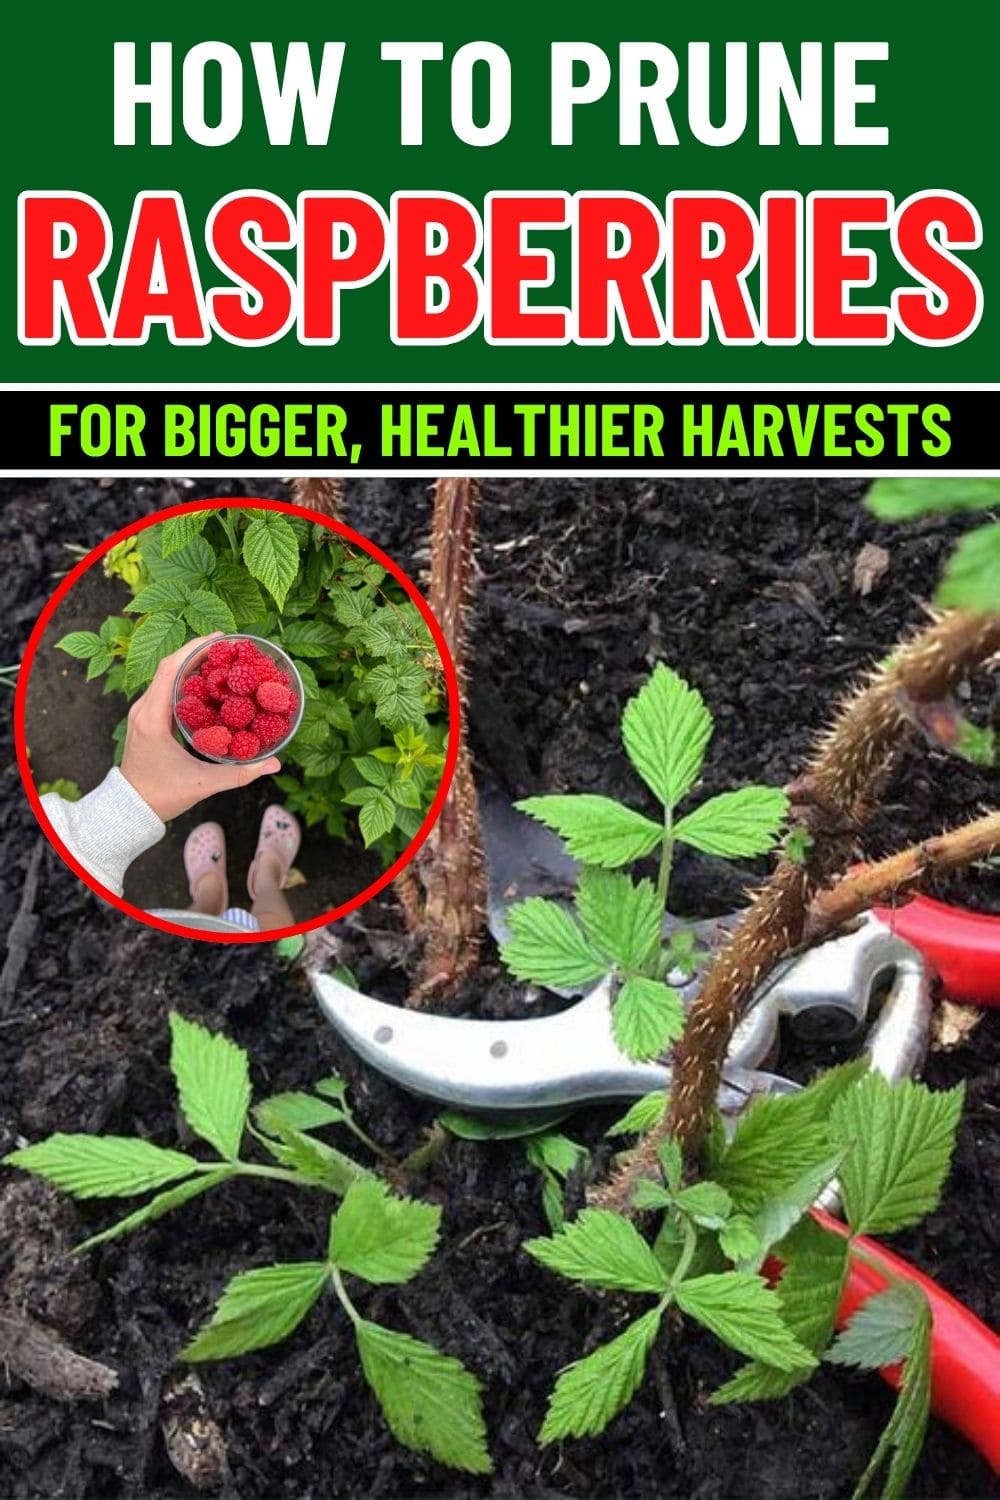
1. Clear Out the Old Wood
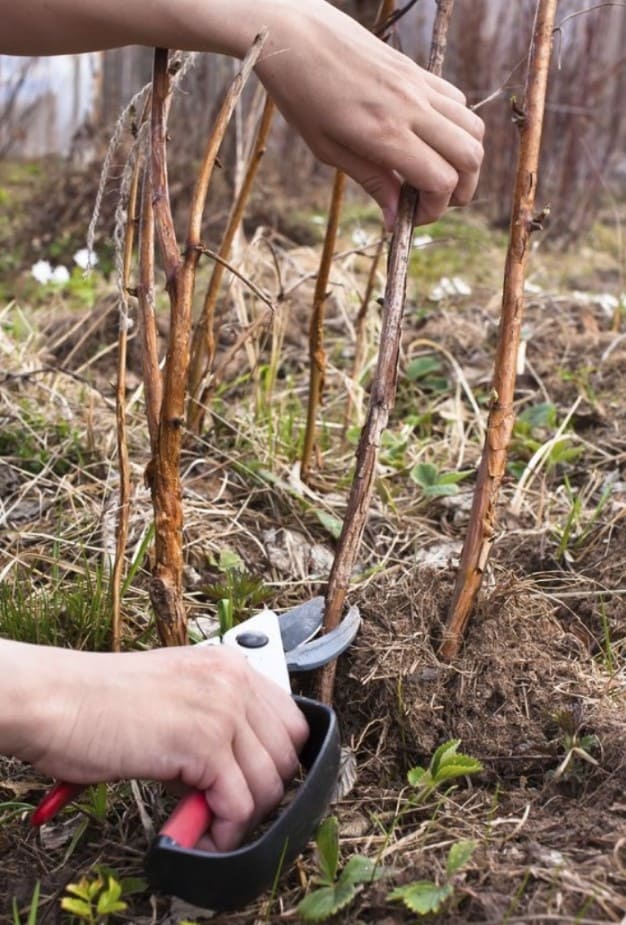
Start by removing any canes that already fruited. They’ll look dry, brown, or grayish, those are last year’s stems.
Next, cut them all the way down to the ground. Leaving them encourages disease and blocks sunlight from reaching new canes.
2. Thin the Patch
Now, keep only the strongest green canes, about six to eight per plant is ideal. Space them so that air and light can pass through easily.
If you can’t reach into the row without scratching your arm, it’s too dense.
3. Tidy the Borders
Raspberries love to wander. You pull or dig out any new shoots that pop up far from the main clump.
Keep your rows about a foot wide. This makes picking easier and stops the patch from taking over your garden.
4. Trim the Tops
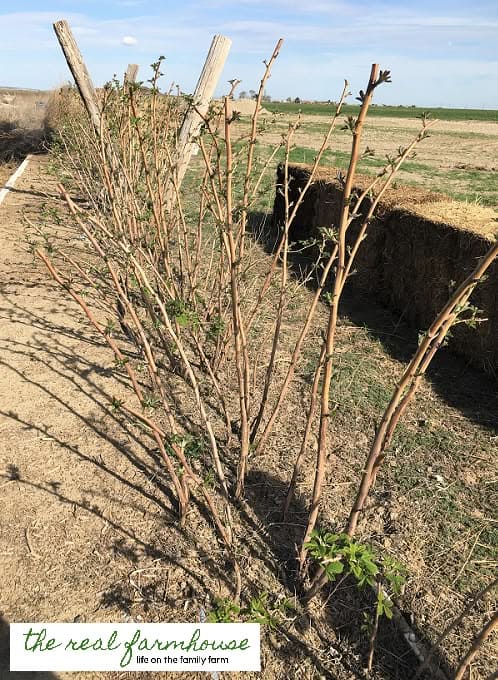
Once your canes are chosen, shorten them to about four or five feet tall.
That’s the sweet spot, tall enough for good yields, but not so long that they flop or break under the weight of fruit.
5. Support and Secure
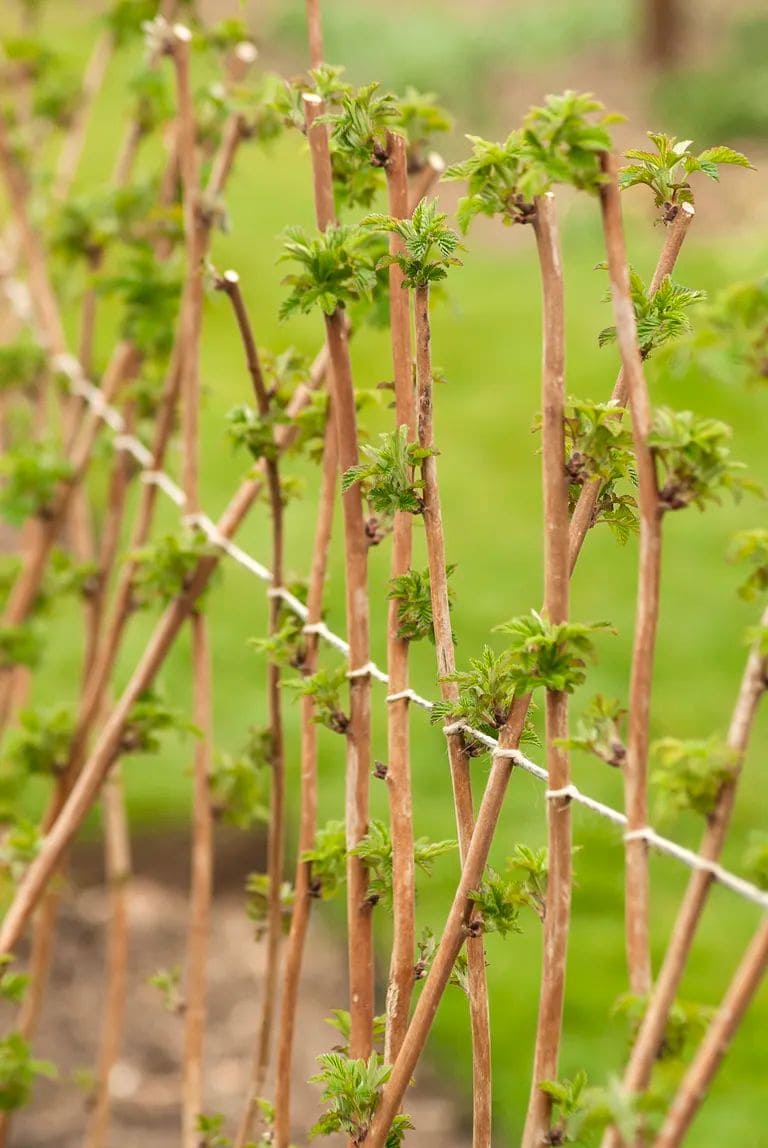
Finally, tie the canes gently to a wire or trellis.
This simple step keeps them upright, improves airflow, and makes harvesting a lot cleaner and faster. Plus, it just looks better.
Why Pruning Matters So Much
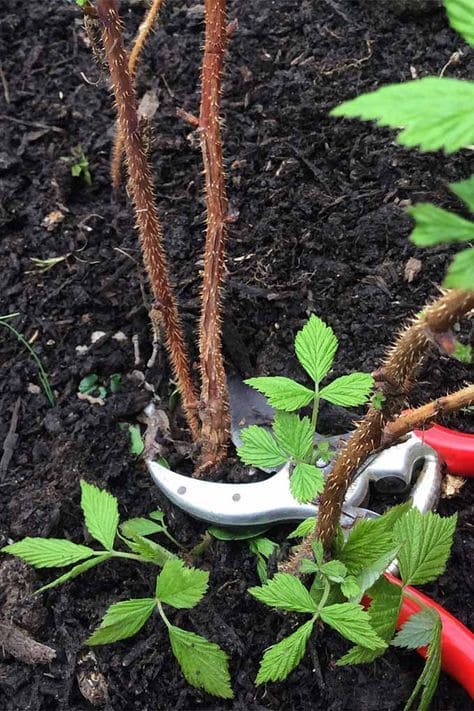
Every cut you make tells the plant where to send its energy.
By removing old or weak canes, you help it focus on new growth, the canes that will actually produce berries next season.
It also keeps diseases like cane blight and powdery mildew at bay and prevents pests from hiding in old wood.
Caring for Raspberries After Pruning
Once you’re done cutting, clear away all the debris, add a two-inch layer of mulch, and give them a deep watering if the soil is dry.
A sprinkle of compost or aged manure around the base will help feed the next flush of canes.
If you garden in a windy area, check the trellis ties once in a while, raspberries are flexible but can snap easily when loaded with fruit.
Common Mistakes Gardeners Make
A few missteps can cost you a whole season of berries. The biggest one is cutting the wrong canes.
Many people mistakenly remove the new, healthy green stems on summer-bearing plants, not realizing those are next year’s fruiting canes.
Also, never leave pruned canes lying nearby as they attract pests and spread diseases fast.
And don’t overcrowd. A wild patch might look lush, but fewer canes with more sunlight always produce better berries.
Read more: 10 Proven Tips Help Gardeners Harvest Buckets of Raspberries
