When I planted my first blueberry bushes, I didn’t realize how picky they could be about their growing conditions.
I tried wood chips, leaves, and even straw, but nothing seemed to keep them as happy as pine needles.
The soil stayed moist, weeds were less of a battle, and the bushes rewarded me with bigger, sweeter berries than ever before.
That’s when I became convinced that pine needles are the best mulch for blueberries.
Why Blueberries Need the Right Mulch
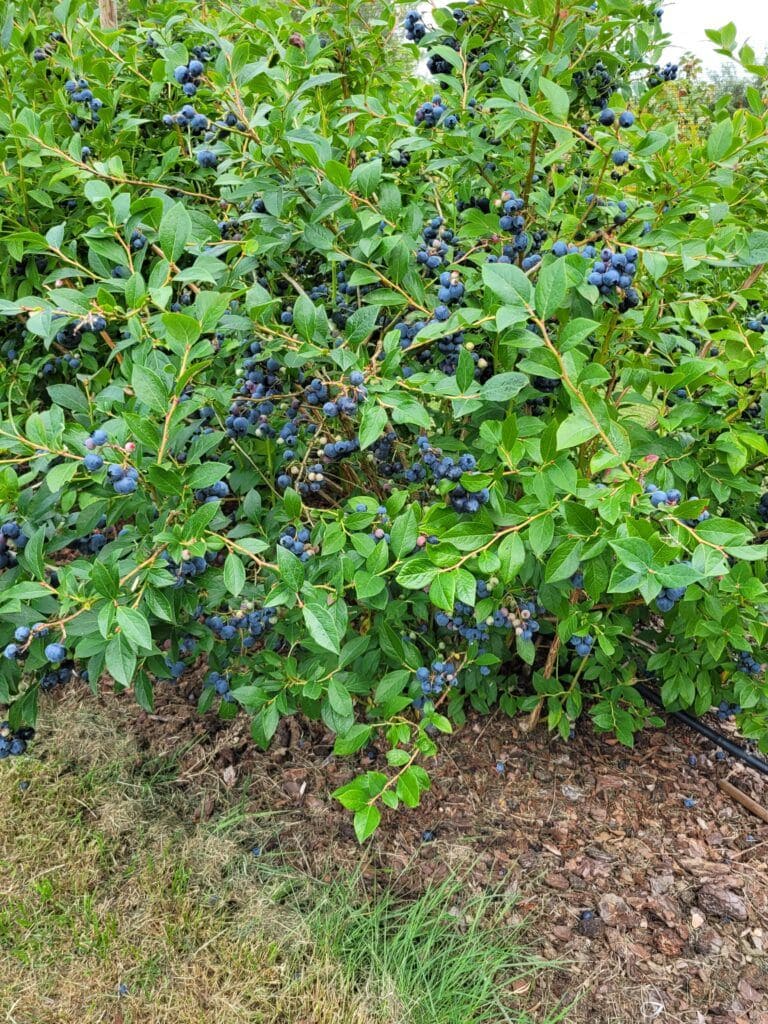
Blueberries have shallow root systems that dry out quickly and suffer if the soil gets too hot. They also thrive in acidic soil with a pH between 4.5 and 5.5.
Without the right conditions, the bushes struggle to produce healthy growth and generous harvests.
Mulching is more than just a finishing touch for blueberry beds.
It plays a key role in protecting roots, maintaining soil structure, and creating the perfect environment for strong, productive plants.
Benefits of Pine Needles Mulch for Blueberries
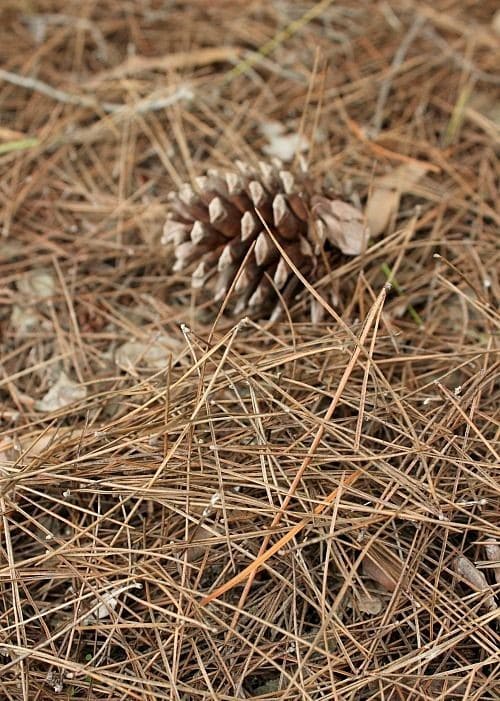
Weed Control
A dense layer of pine needles blocks sunlight from reaching weed seeds.
Fewer weeds mean less competition for nutrients and less time spent pulling them up.
Moisture Retention
Pine needles help the soil hold onto water. This is especially important in the summer, when shallow blueberry roots need steady moisture.
Soil Acidity Support
Although pine needles don’t drastically change soil pH, they help maintain the slightly acidic conditions that blueberries love.
Over time, they gently support soil health in the right direction.
Organic Enrichment
As pine needles break down, they add organic matter to the soil. This improves structure, encourages earthworms, and supports a healthier root zone.
Easy to Work With
Pine needles are light, simple to spread, and create a neat, natural look in the garden.
They also don’t compact easily, so water can flow through without trouble.
How to Mulch Blueberries with Pine Needles
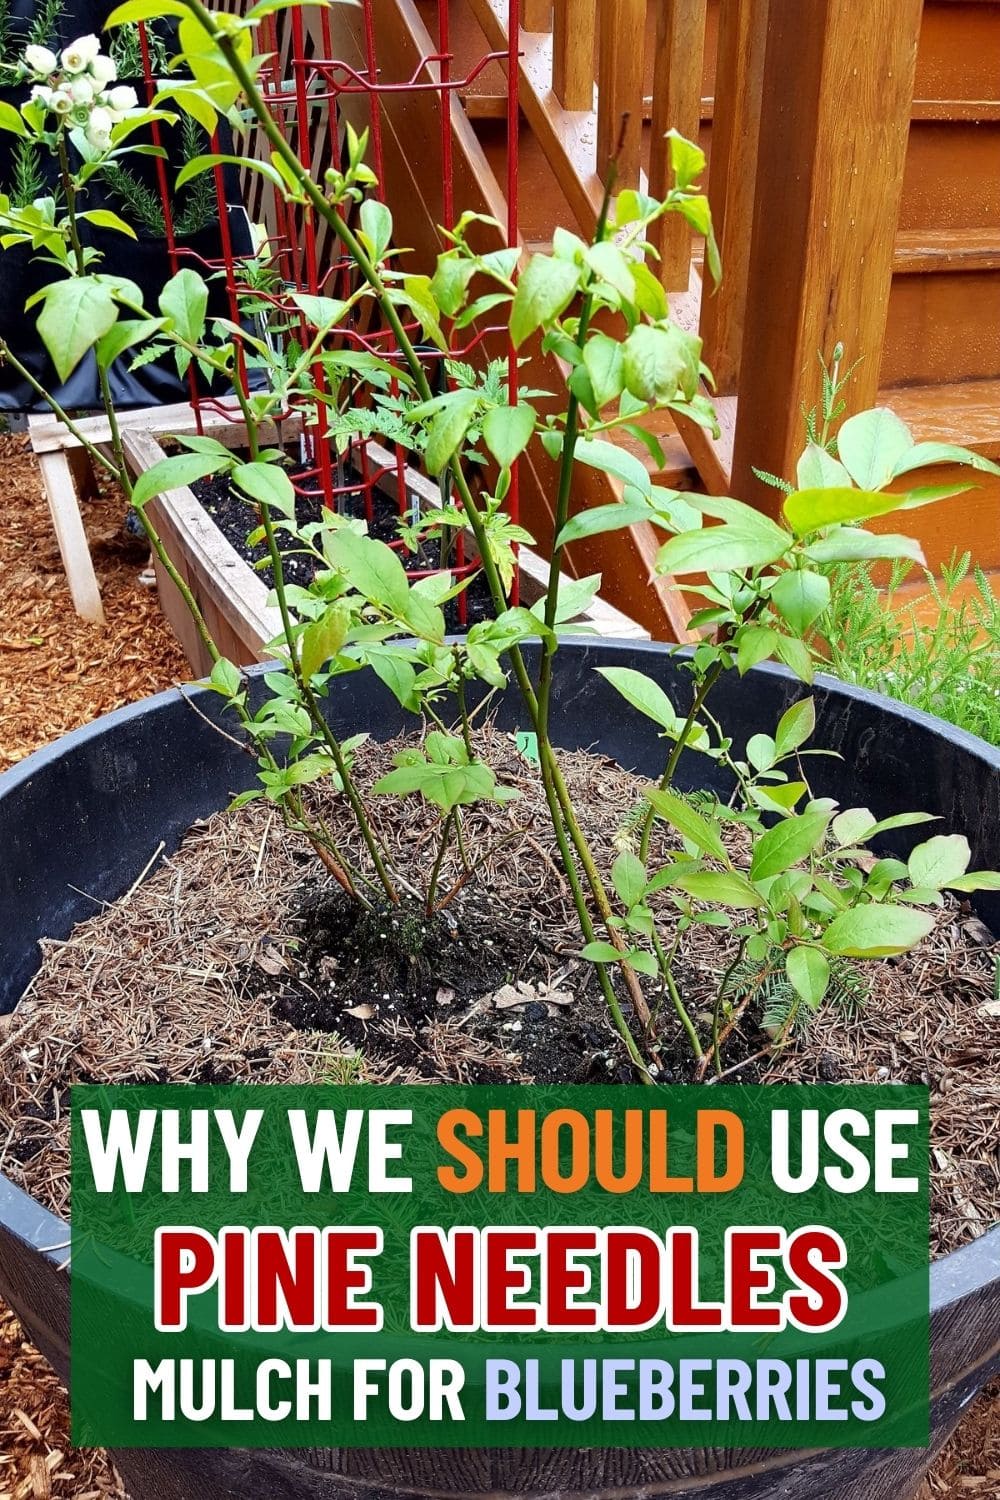
Start by gathering fresh or fallen needles from pine trees, or pick up bales of pine straw if you don’t have access to your own.
I like to make sure the ground around the bushes is free of weeds before I spread the mulch, so the benefits of weed control really last.
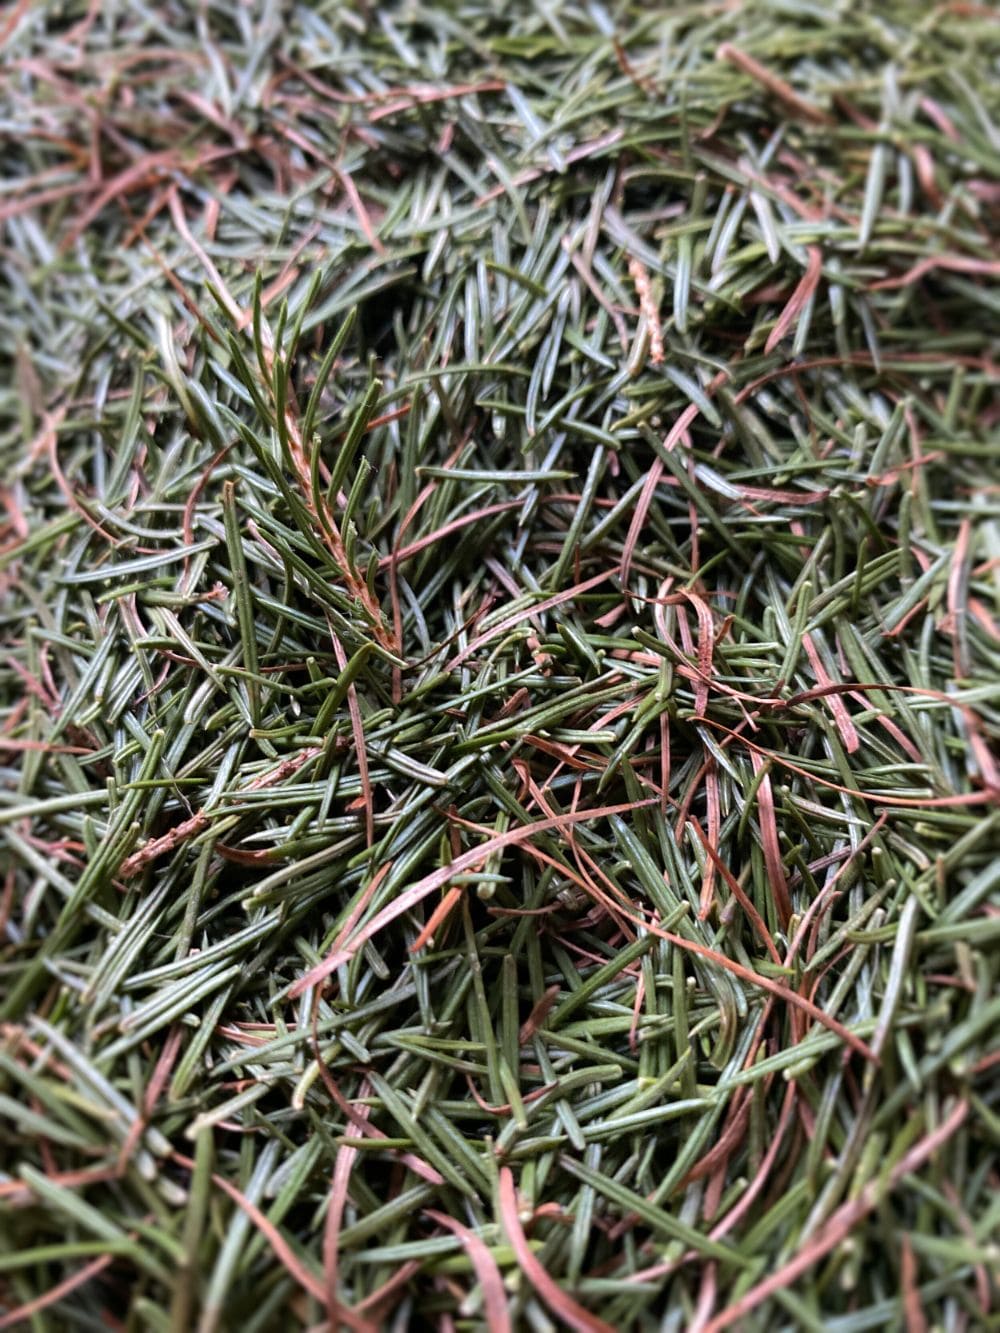
When you’re ready, lay down a layer about four to six inches thick around each bush. Be mindful not to press the needles right up against the stems.
Leaving a couple of inches of space prevents moisture buildup and rot around the base of the plant.
Next, spread the needles evenly, keeping the mulch light and fluffy so water can soak through easily.
As time passes, the mulch will gradually break down. Instead of removing what’s left, I simply add more on top each year to maintain the right depth.
That way the soil stays protected season after season, and the older needles enrich the soil as they decompose.
When to Apply Pine Needle Mulch
Although you can mulch blueberries any time of year, certain seasons make a bigger impact. I find that fall is the best time to give my bushes a fresh layer.
As the weather cools, a thick bed of pine needles insulates the roots, protecting them from winter’s constant freezing and thawing.
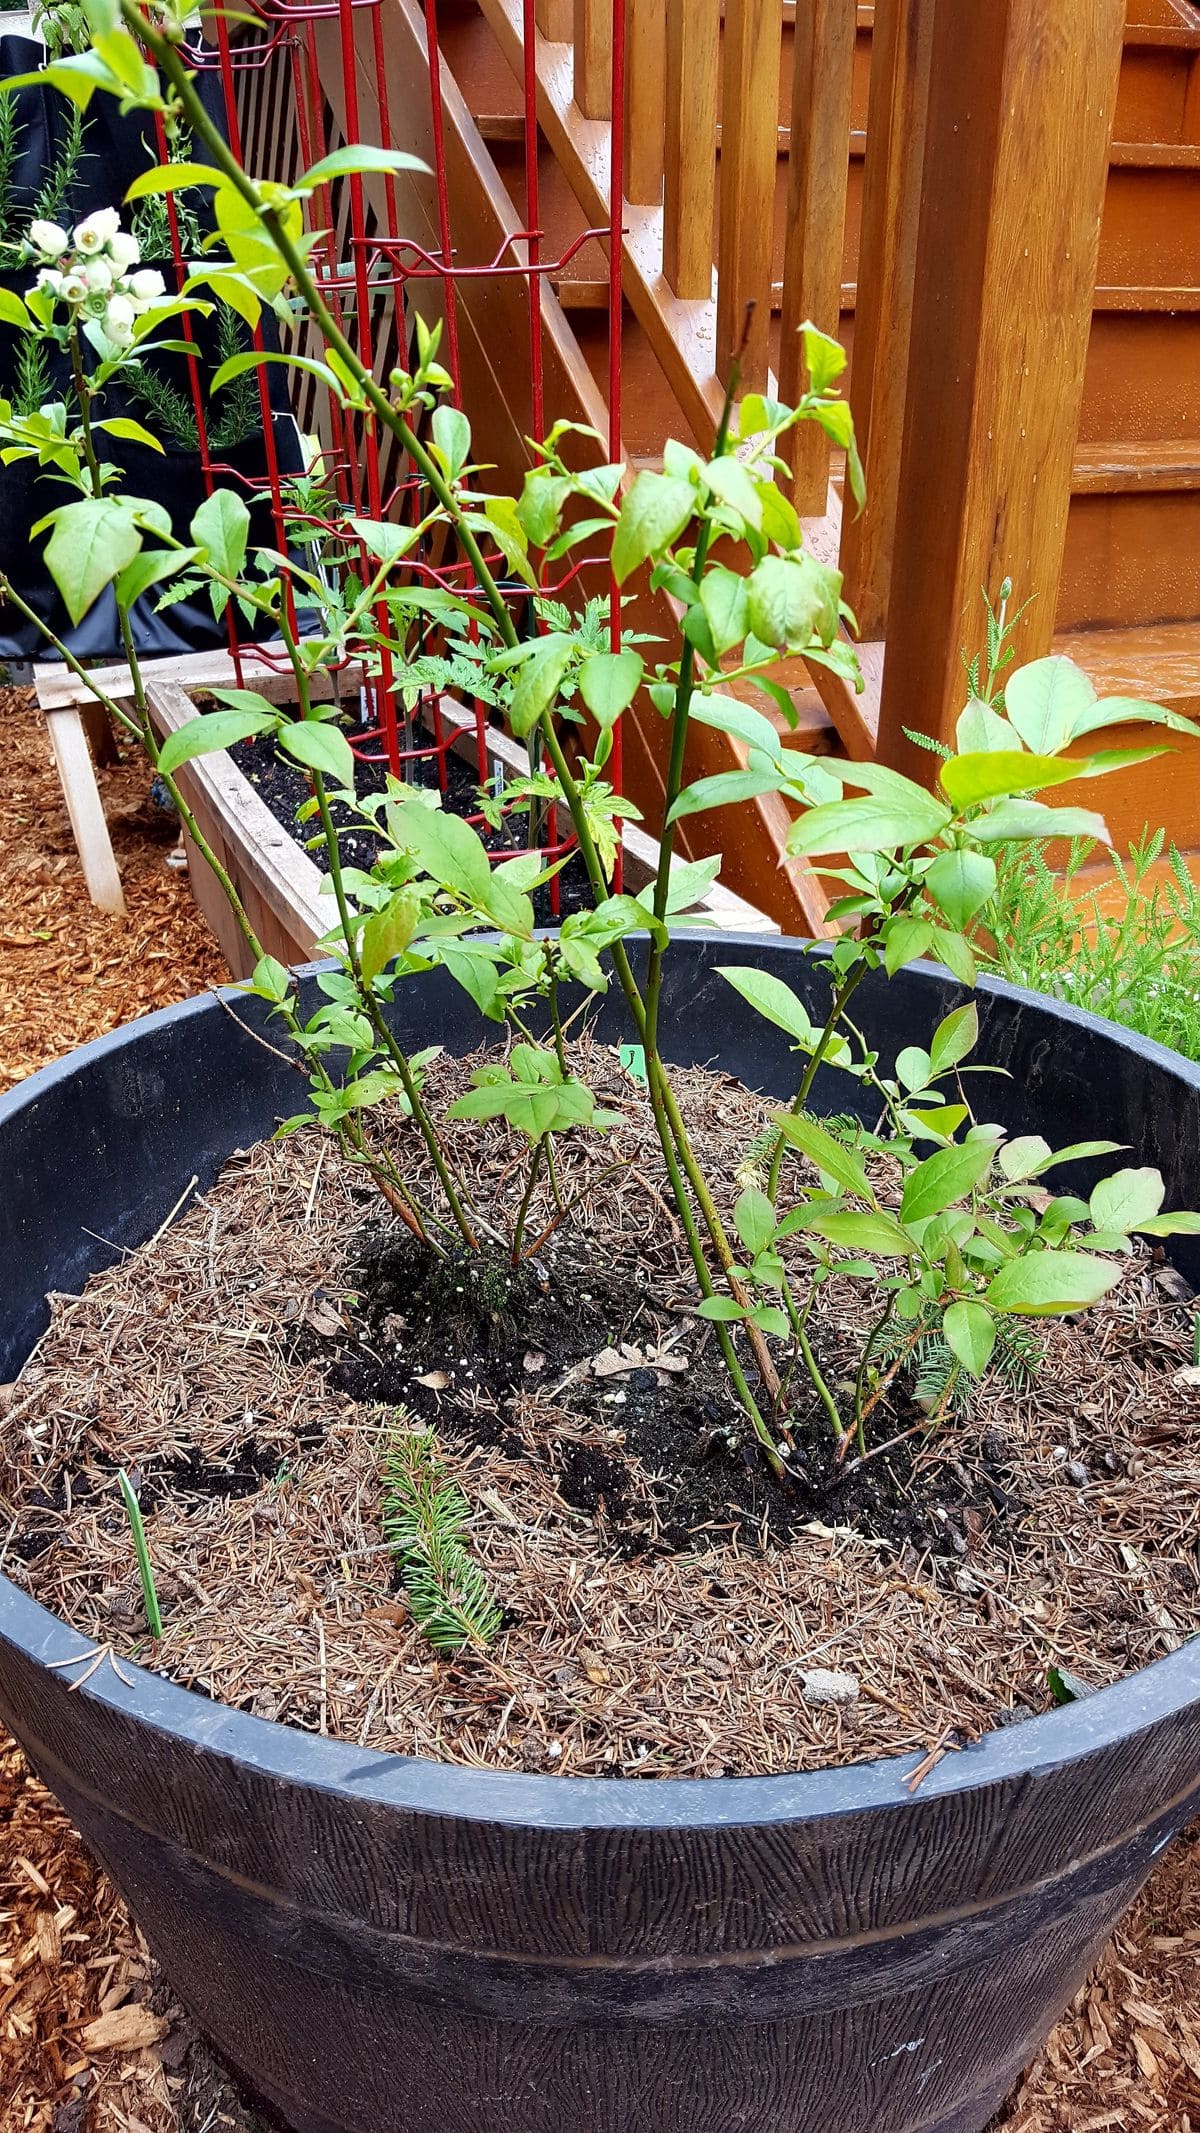
By spring, the soil beneath is soft, moist, and ready for new growth.
Spring mulching is also beneficial, especially if you notice the soil drying out quickly.
A fresh layer in early spring helps lock in moisture before summer arrives, giving the bushes a strong start to the growing season.
Many gardeners refresh their mulch both in fall and spring, creating year-round protection that keeps the plants stable no matter what the weather brings.
Alternatives to Pine Needles
Sometimes pine needles just aren’t available, and that’s when other mulches can step in.
Wood chips are a common choice because they hold moisture well and break down slowly.
Pine bark nuggets are another good option, especially since they gradually add acidity as they decompose. Both create a clean look and offer long-lasting protection.
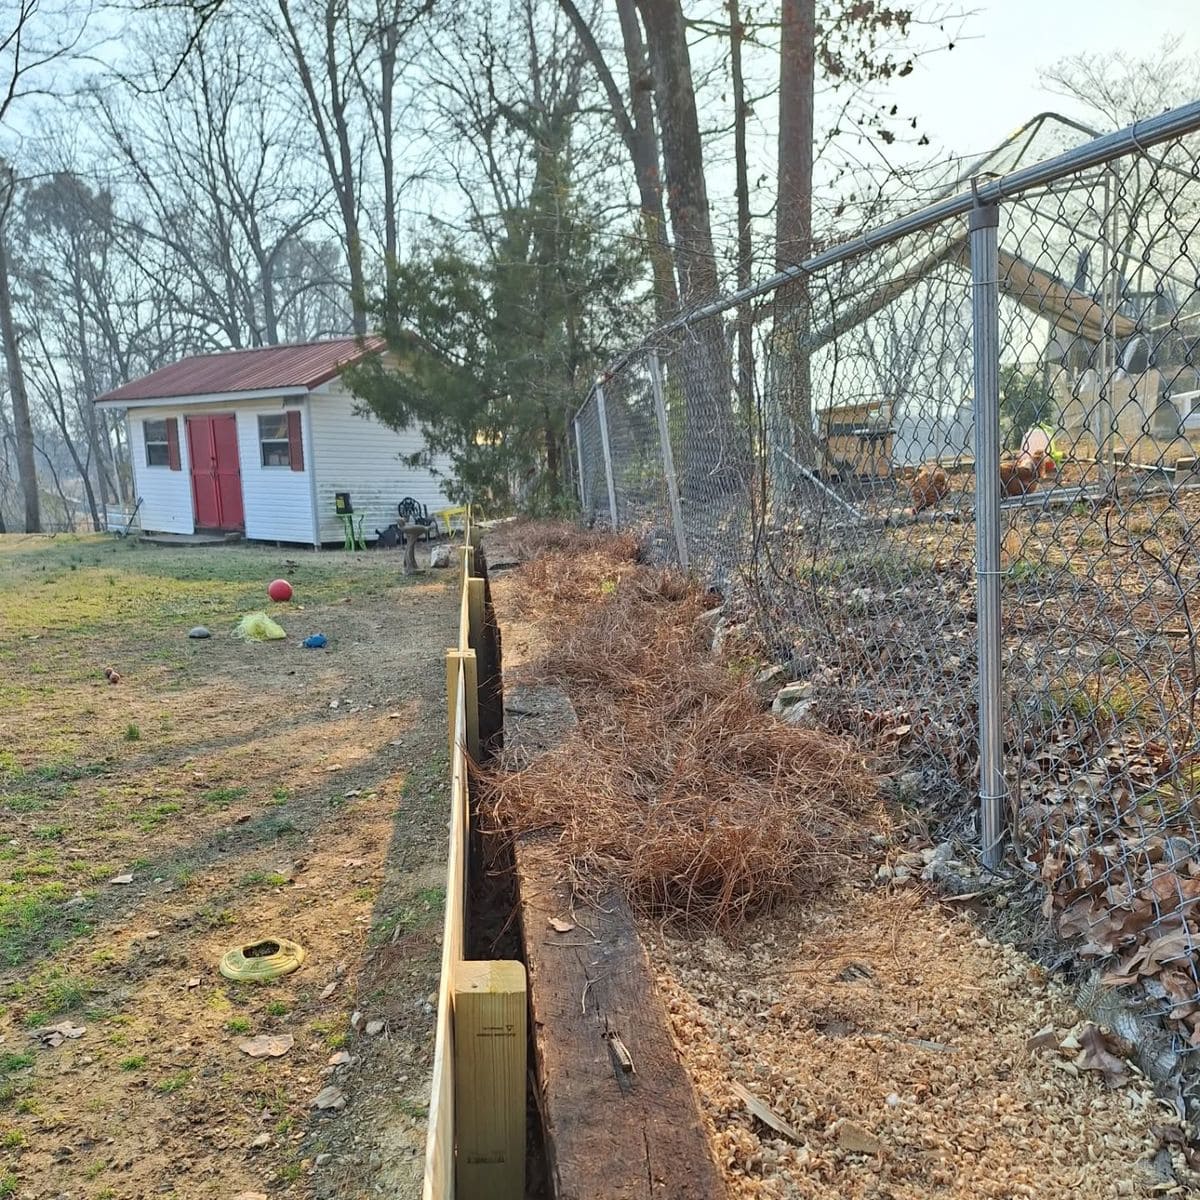
Grass clippings, straw, and shredded leaves are also useful for blueberries, though they tend to break down more quickly.
They’re great for adding organic matter to the soil, but you may find yourself replacing them more often.
Straw and hay are inexpensive but sometimes come with unwanted weed seeds, while large leaves can form a heavy mat unless they’re shredded before use.
Although many materials can work, not all are safe.
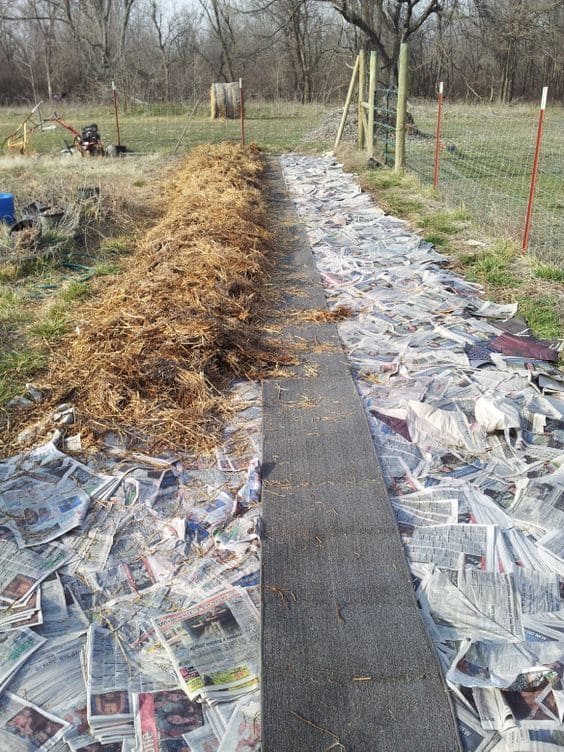
Cardboard and synthetic mulches, such as black plastic or landscape fabric, often cause more harm than good.
They can block air and water from reaching the soil and may even overheat the root zone.
Dyed mulches are another no-go, especially around edible plants, since they can contain chemicals that leach into the soil.
Common Mistakes to Avoid
One of the most common mistakes is piling the needles too close to the base of the plant.
This traps moisture around the stems and can lead to rot or disease. Always leave a small gap so air can circulate freely.
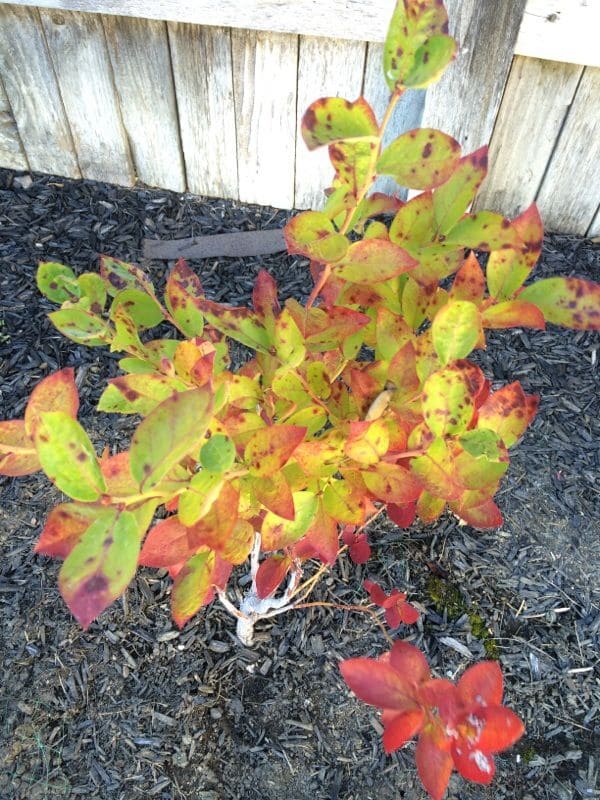
Another mistake is applying too much at once. A mulch layer that’s overly thick can suffocate roots and make it difficult for water to reach the soil.
On the other hand, applying too little won’t provide enough weed control or insulation.
Finally, remember that mulch doesn’t last forever. Pine needles gradually break down, so your bushes will need a fresh layer every year or two.
Neglecting to replenish it leaves the soil exposed again to weeds, drought, and temperature swings.
Where to Find Pine Needles
If you’re lucky enough to have pine trees nearby, the mulch is free.
Rake up fallen needles in autumn and store them in a dry place until you’re ready to use them.
If you don’t have access to pines, check with neighbors or look for pine straw bales sold at garden centers and landscaping suppliers.
