Aloe vera is one of those plants that almost everyone brings home at some point as it’s hardy, useful, and beautiful.
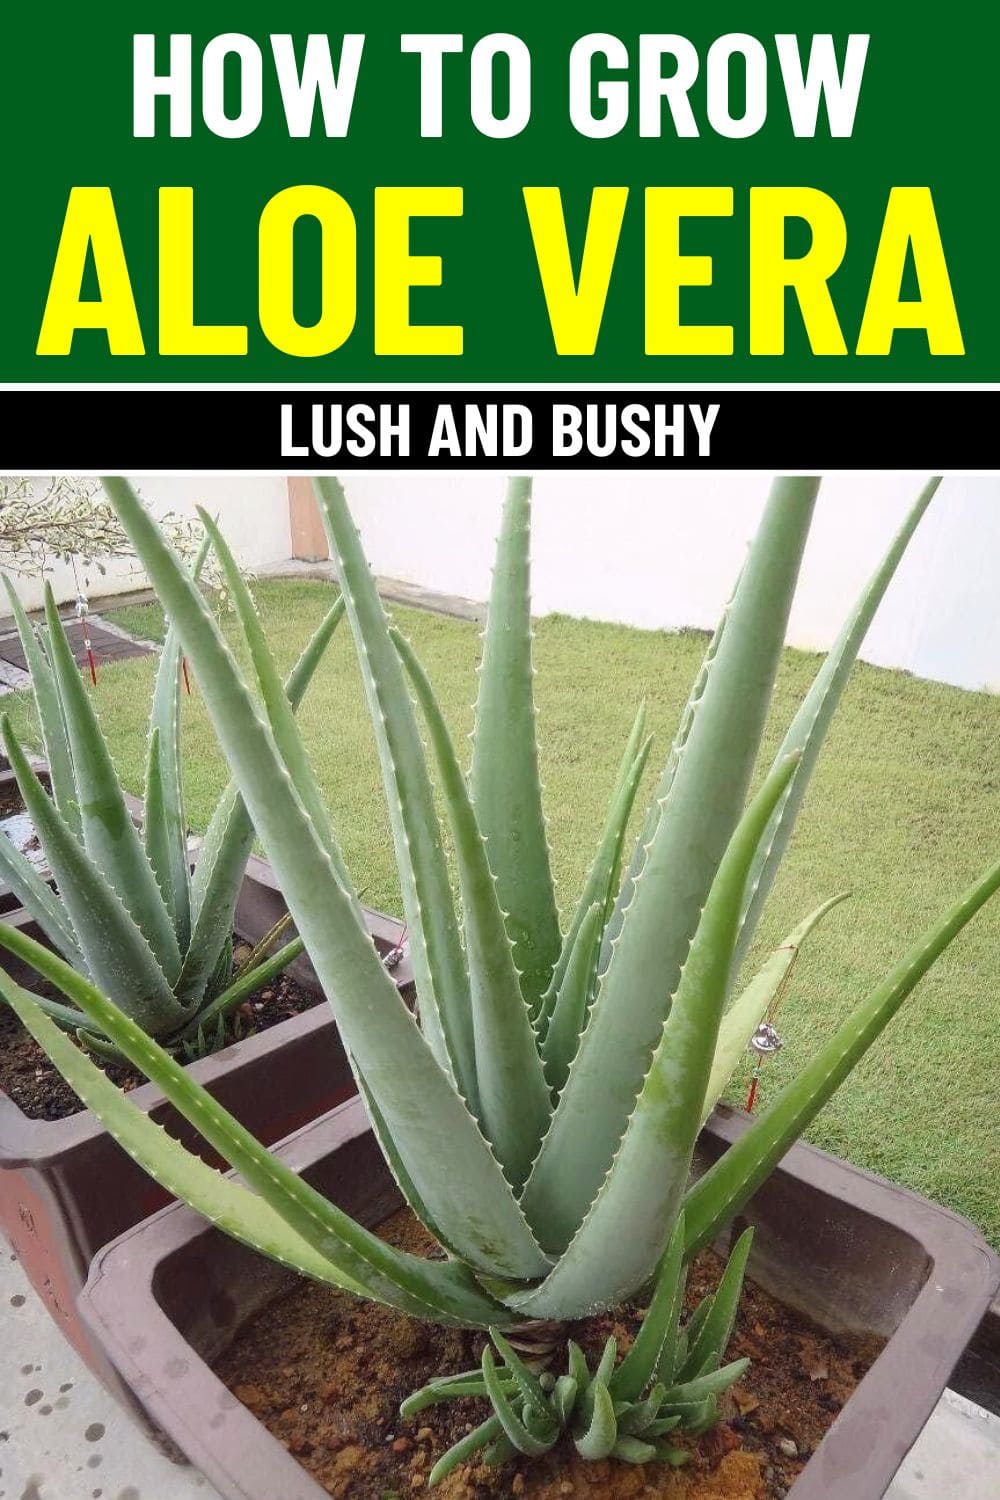
When it’s healthy, aloe has a striking look: a compact rosette of thick, green leaves packed with cooling gel. But over time, many gardeners notice a change.
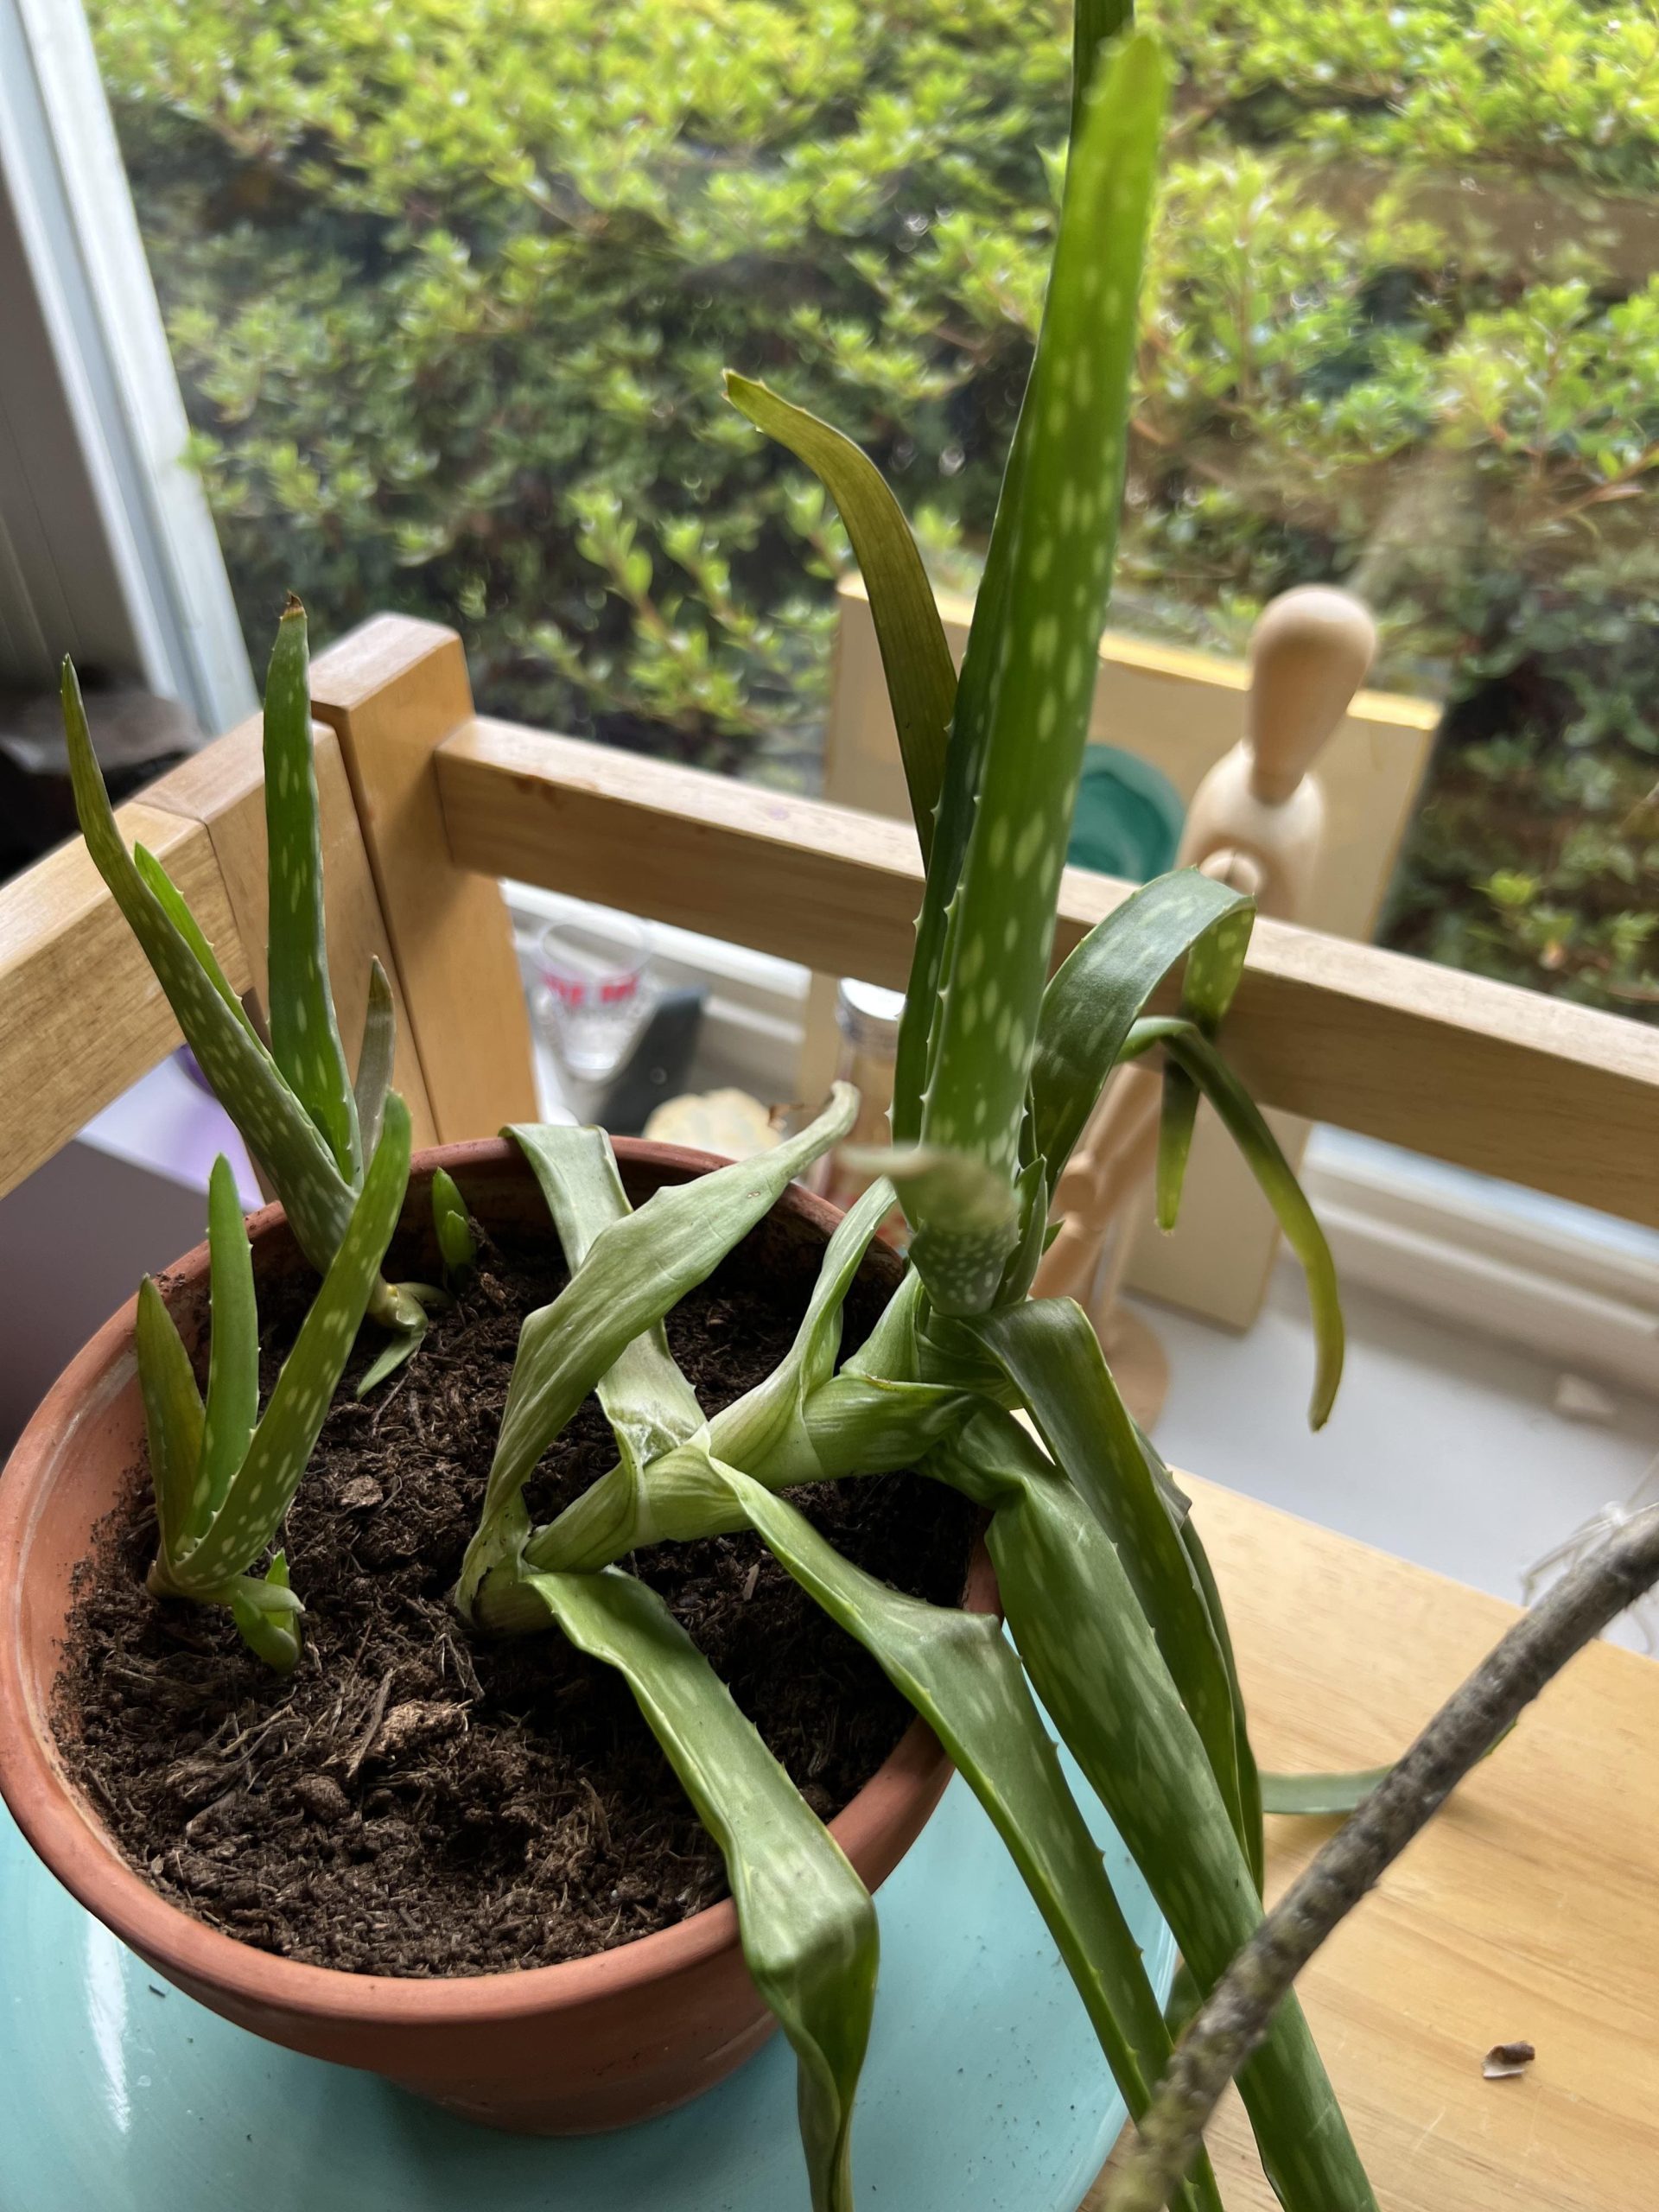
Instead of staying plump and full, the plant grows tall, leans to one side, or develops long, thin leaves that look more like a stretch than a sculpture.
This is what we call a leggy aloe. It happens more often than you might think, and the cause usually lies in its care.
The good news is aloe vera is forgiving. With the right changes, you can encourage your plant to grow back into the dense, bushy form.
Let’s explore why aloe becomes leggy and the detailed steps you can take to bring it back.
Why Aloe Vera Gets Leggy
Lack of Light
Aloe vera is native to deserts, where sunlight is strong and consistent.
Indoors, if it’s placed in low light like on a desk far from a window, it stretches toward the nearest source of brightness.
This stretching leads to long, weak leaves that flop over instead of staying upright.
Improper Potting
Aloe has shallow roots that spread sideways, not deep down.
When you put it in a deep or oversized pot, most of that soil stays unused, holding extra water around the roots.
This stresses the plant and makes the top growth lanky. A wide, shallow pot is much closer to what aloe experiences in the wild.
Watering Mistakes
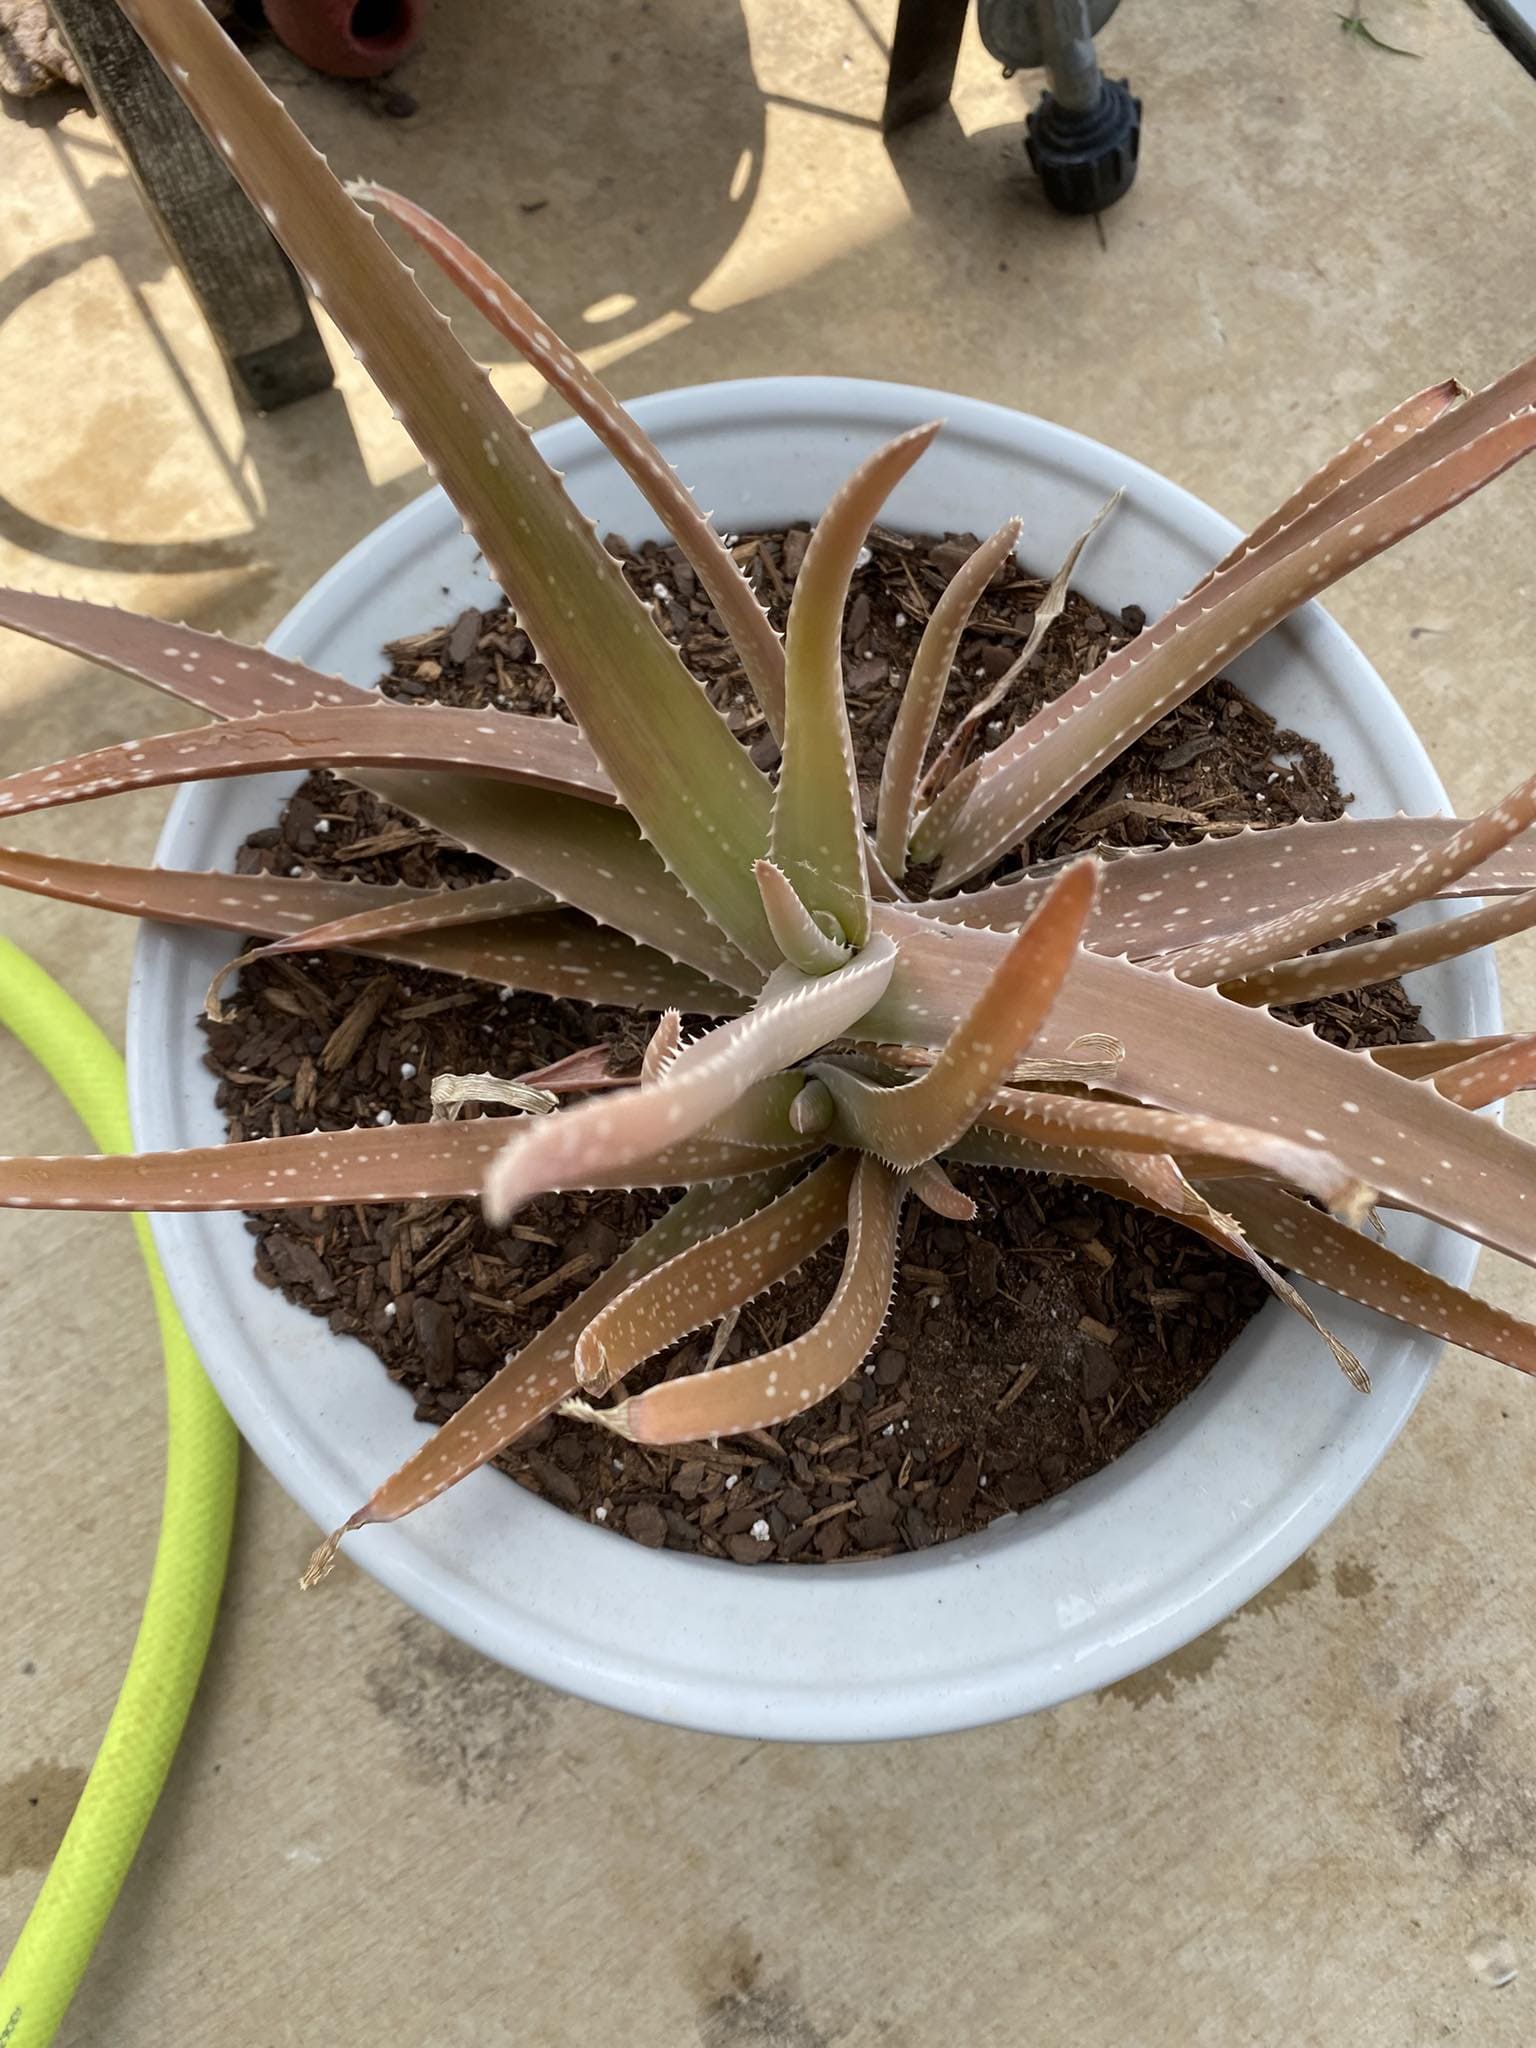
Overwatering is the biggest killer. Aloe leaves are designed to store water, so they don’t need frequent drinks.
When watered too often, the roots suffocate, and leaves lose their thickness.
On the other hand, if you neglect it for too long, the plant shrivels and uses up its reserves, leading to thin, weak growth.
Neglecting Pruning or Pup Division
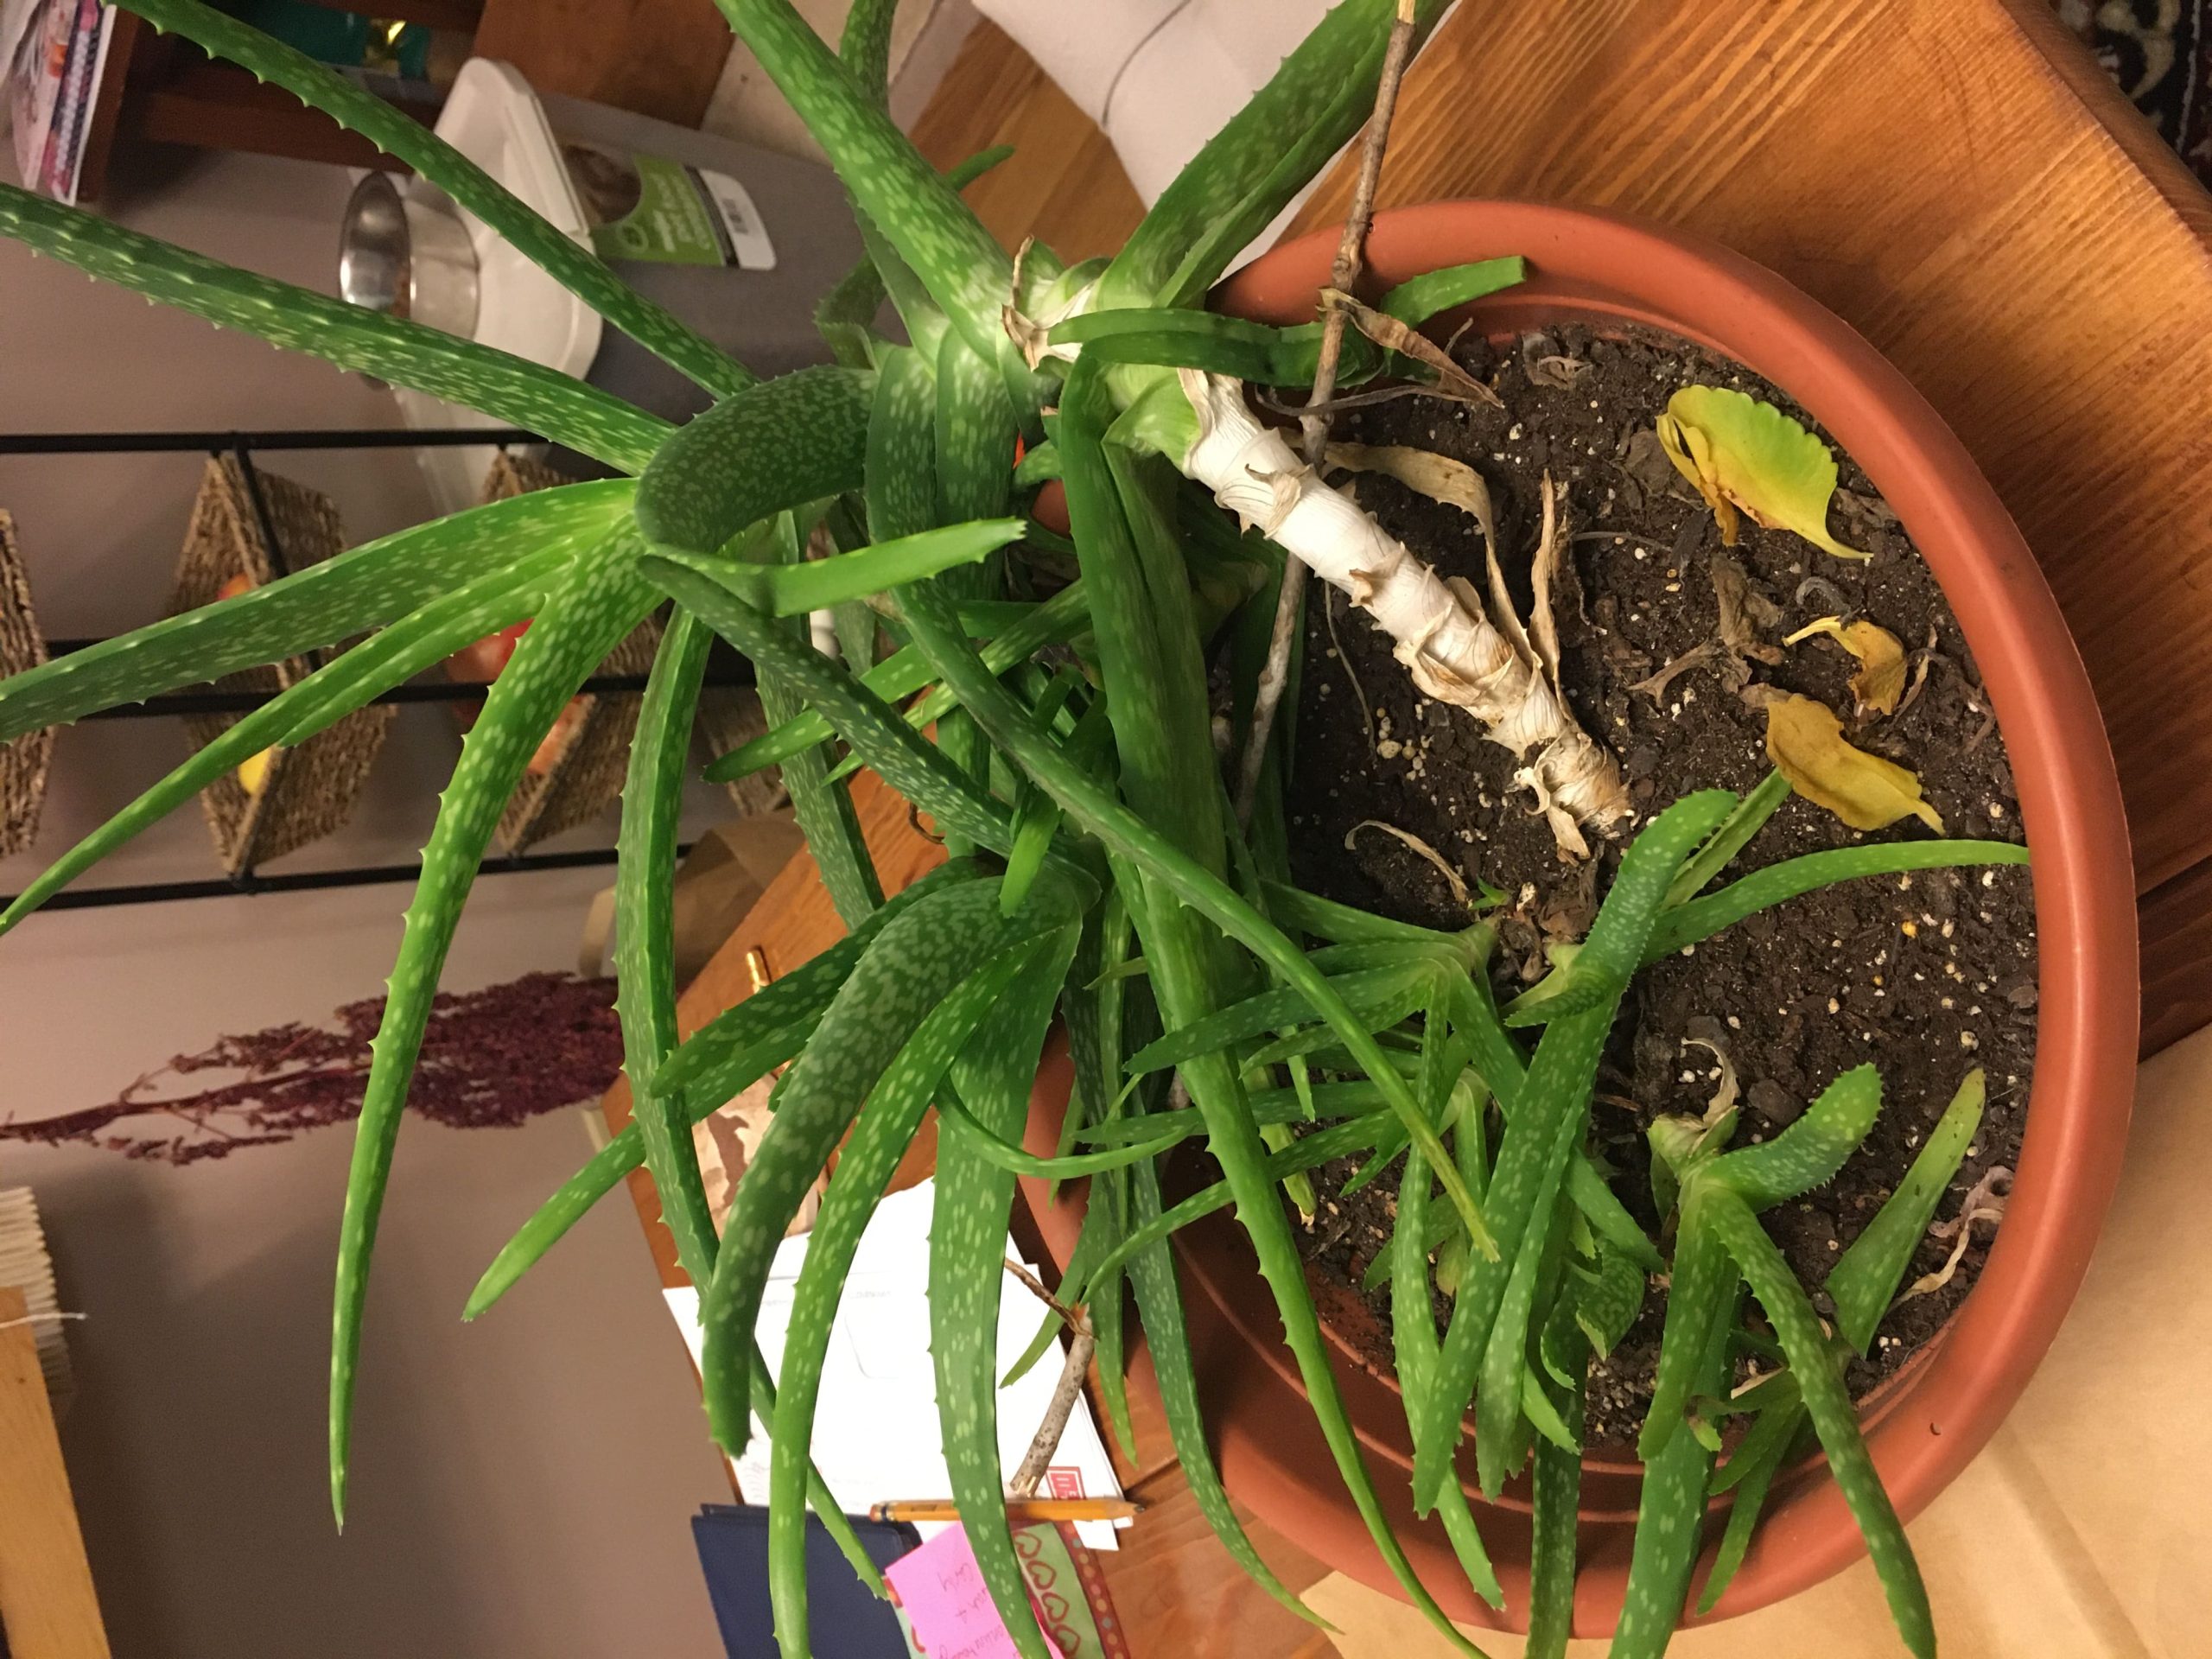
Aloe naturally produces pups or baby plants at its base. If these aren’t divided, they compete with the parent for resources.
At the same time, older leaves get tired but still consume energy.
Without pruning, the plant spends itself unevenly, stretching upward rather than putting energy into compact new leaves.
9 Steps to Make Aloe Vera Lush and Bushy
1. Fix the Lighting Conditions
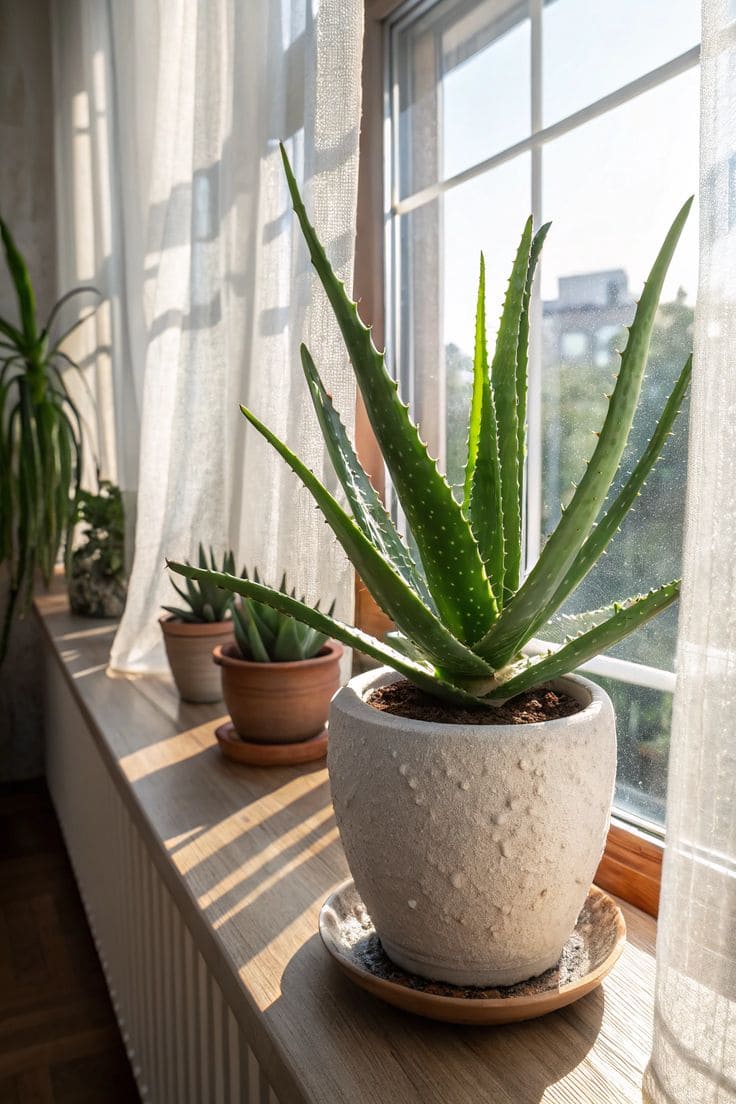
Aloe vera needs at least 6 hours of strong sunlight daily. Indoors, the brightest spot is usually a south or west facing window.
If you see your aloe leaning or reaching, it’s crying out for more light.
Additionally, grow lights are an excellent backup, even a small LED grow lamp can make a huge difference in leaf thickness and color.
Outdoors, it can handle full sun once acclimated, but move it gradually to avoid sunburn.
2. Repot Into the Right Container
You should choose a pot that’s wider than it is deep, with multiple drainage holes.
Terracotta is ideal because it breathes, letting excess moisture escape.
The snug fit encourages roots to spread sideways, which helps anchor the plant and often stimulates the growth of new pups creating that fuller look you’re after.
3. Refresh the Soil Mix
Aloe vera thrives in gritty, sandy soil. A good homemade recipe is:
- 2 parts cactus or succulent potting mix
- 1 part perlite or pumice
- 1 part coarse sand or orchid bark
This airy mix prevents root rot and mimics desert soil. Refreshing the soil every 2 years prevents compaction and ensures nutrients are replenished.
If your aloe has been in the same soil for years, repotting alone can trigger healthier, bushier growth.
4. Adjust Watering Habits
I recommend following the soak and dry method.
You water thoroughly until liquid drains out of the bottom, then wait until the soil is completely dry before watering again.
Depending on your climate, this could be every 2-3 weeks indoors, and more frequently outdoors in summer.
Signs of overwatering include mushy leaves and a soft base while signs of underwatering include thin, wrinkled leaves. Balance is everything.
5. Prune Tall or Weak Leaves
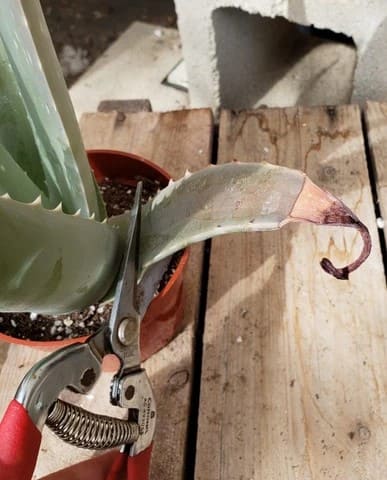
Cutting away older, leggy leaves at the base isn’t just about appearance, it redirects energy into new growth.
Always use clean, sharp shears. Then prune gradually, removing a few of the weakest leaves at a time, especially if they’re bent, damaged, or shading pups.
The center of the plant will respond by producing thicker, upright leaves.
6. Encourage Offsets (Pups)
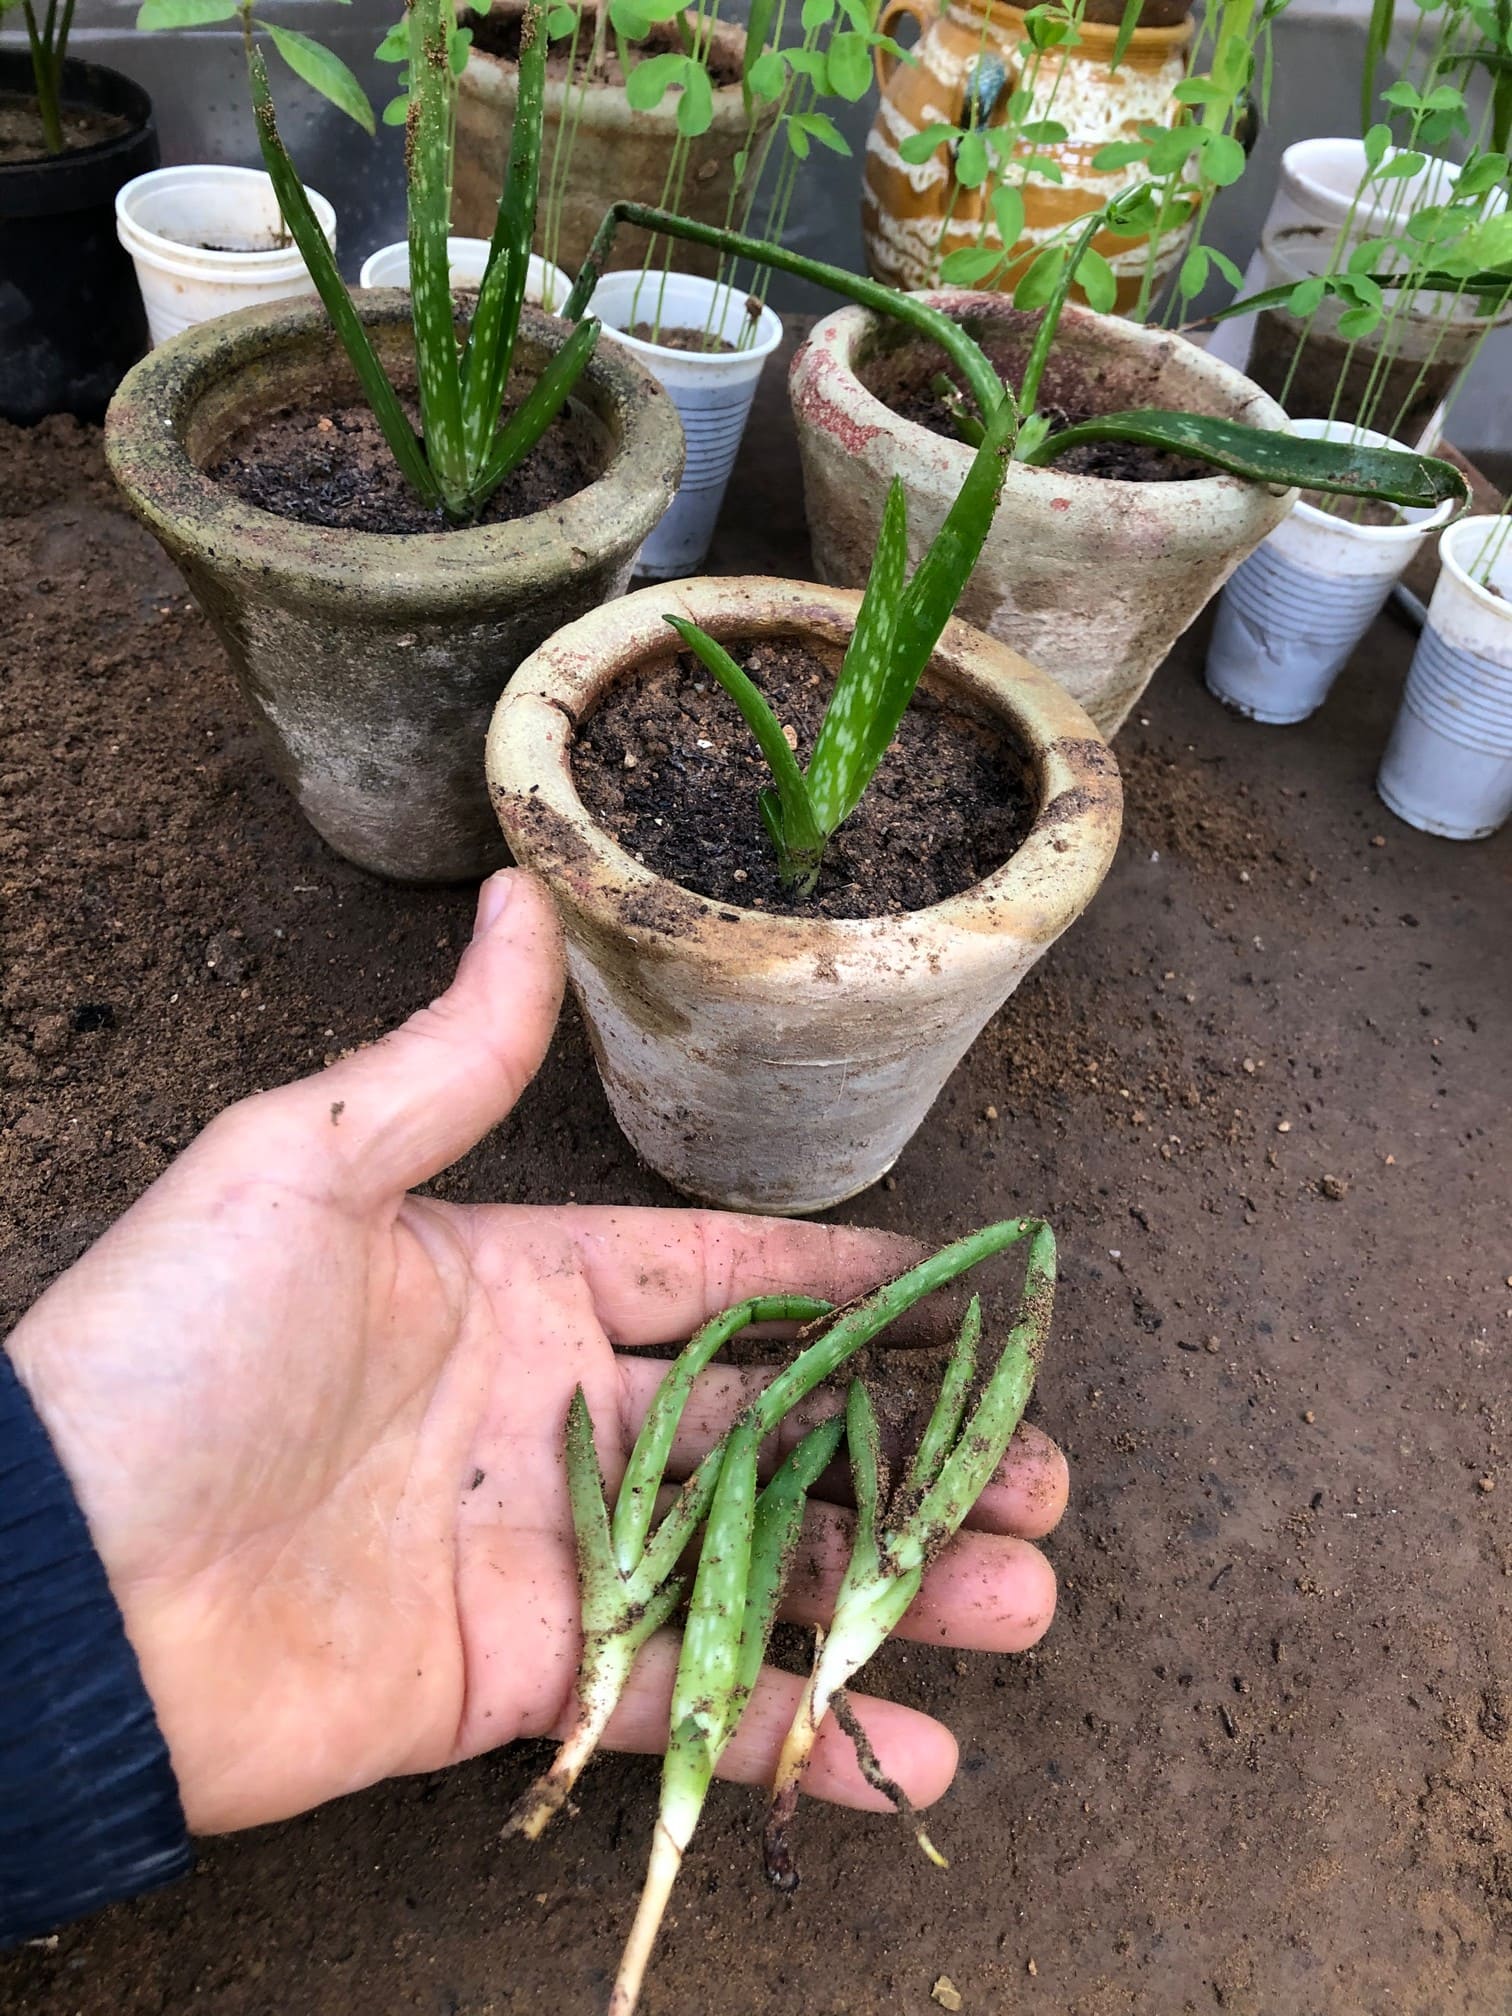
Those little baby plants around the base are your secret weapon for a bushier look.
Gently dig around them, separate with a clean knife, and repot into their own shallow pots. This not only relieves the mother plant but also gives you new aloe plants.
If you prefer, you can let pups cluster around the main plant for a family look, creating a naturally bushy container arrangement.
7. Fertilize Sparingly
Aloe doesn’t need much food, but a little boost helps. During spring and summer, apply a diluted succulent fertilizer (about half-strength) once a month.
You choose a balanced blend (10-10-10) or one slightly higher in potassium to support thick, strong leaves.
Avoid overfeeding, which can cause stretched, floppy growth. And skip fertilizing in fall and winter, when aloe naturally slows down.
8. Rotate the Plant Regularly
Indoor aloes often grow lopsided because they lean toward the sun.
Rotating the pot every 1-2 weeks keeps growth even on all sides, maintaining that compact rosette shape.
9. Maintain the Right Temperature
Aloe vera is happiest between 60-85°F (15-29°C). Cold drafts or long exposure to temperatures below 50°F (10°C) can weaken the plant, making new leaves thin.
If you live in a colder climate, bring your aloe indoors before frost, and keep it in a warm, bright spot all winter.
Long-Term Aloe Care for Bushiness
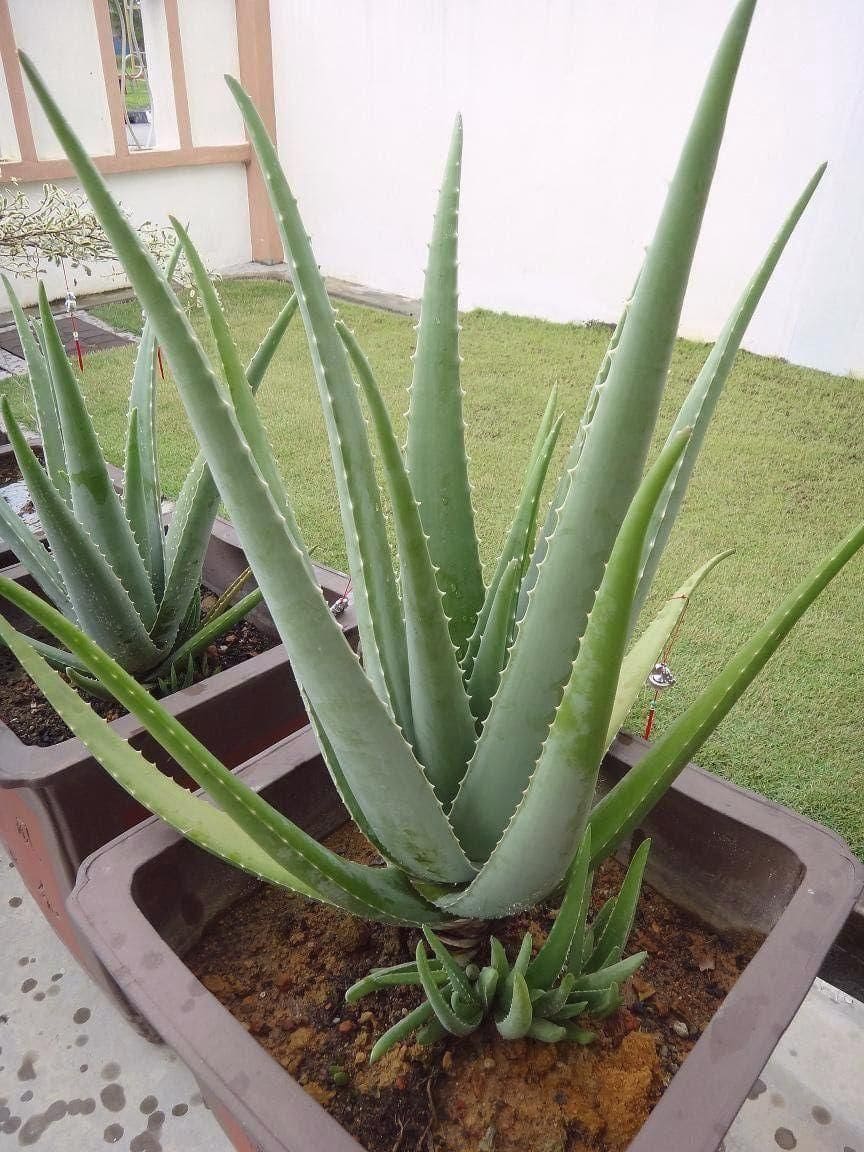
Consistency is what turns a leggy aloe back into a bushy one. Give it a reliable routine of bright light, infrequent watering, and seasonal feeding.
Every 2-3 years, refresh the soil and repot pups. Think of your aloe as a desert plant that thrives on stability and a little tough love.
Over time, you’ll notice the difference: thicker leaves, compact rosettes, and new pups crowding around the base.
Instead of one stretched stem, you’ll have a cluster of healthy aloes, a sculptural, bushy display that looks beautiful and provides plenty of gel-filled leaves for use.
Read more: These Are 10 Common Mistakes That Make Your Aloe Vera Plants Die
