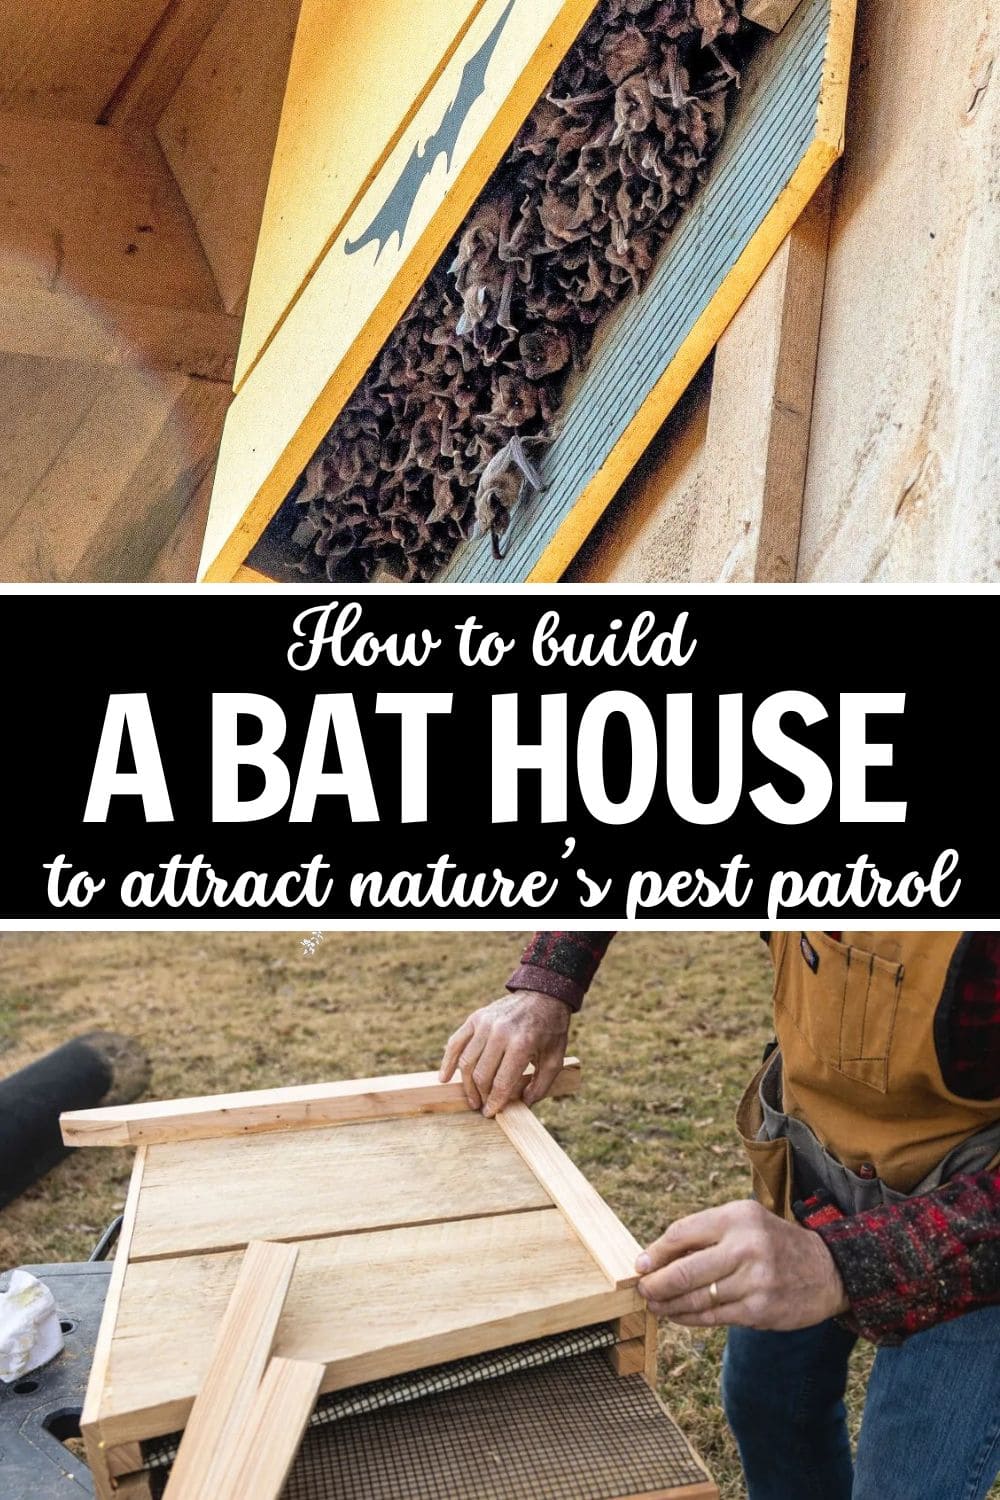
If you’re looking for a natural way to reduce mosquitoes and garden pests while supporting your local ecosystem, building a bat house is a rewarding project.
Bats are incredible insect-eaters, just one can devour up to 1,000 mosquitoes in an hour.
Unfortunately, due to habitat loss, bats are finding fewer safe places to roost. That’s where you come in.
Building a bat house is a simple, rewarding DIY project that not only supports these important animals but also benefits your garden.
Materials Needed
Materials:
- 1×12 untreated cedar or pine board, at least 6 feet long (for back and front)
- ⅜-inch exterior-grade plywood, approx. 24″x24″ (for the inner divider)
- 1×2 or 1×3 strips
- Exterior wood screws
- Wood glue (non-toxic, waterproof)
- Exterior caulk or sealant
- ¼-inch plastic mesh (optional)
- Exterior-grade paint
Notes: You need to avoid pressure-treated wood as it contains chemicals harmful to bats.
Tools:
- Saw (circular, table, or hand saw)
- Drill and bits
- Screwdriver
- Staple gun
- Sandpaper or rasp
- Measuring tape and pencil
Step-by-Step Guide
Step 1: Cut Your Wood Pieces
Start by cutting your wood pieces. Your back panel should be about 24 inches tall and 17 inches wide.
The front panel will be the same width but a little shorter, around 20 inches because you’ll be leaving a small ventilation gap near the bottom.
You can cut the front panel into two pieces to allow for this gap, or leave a space between the top and bottom.
Step 2: Add Interior Grip
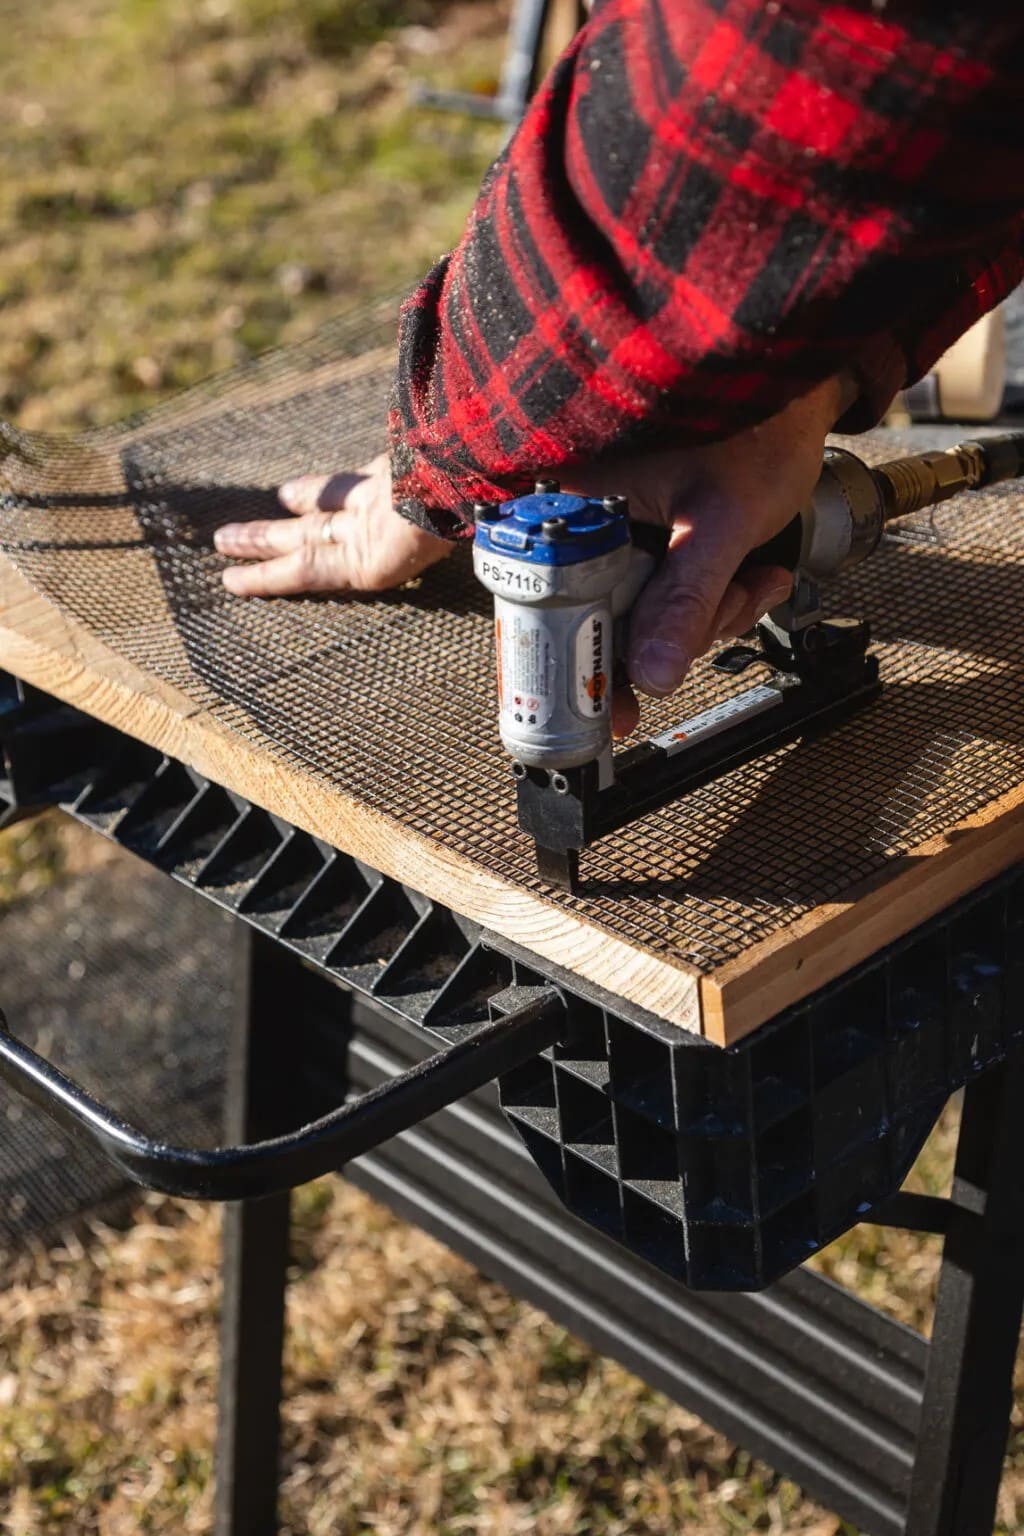
Now it’s time to prepare the inside surface.
Bats need texture to cling to, so either use a saw or chisel to score horizontal grooves every half-inch or staple plastic mesh to the inside of the back and front panels.
Also, the grooves or mesh should run the full length of the inside so the bats can comfortably hang in any position.
Step 3: Assemble the Frame
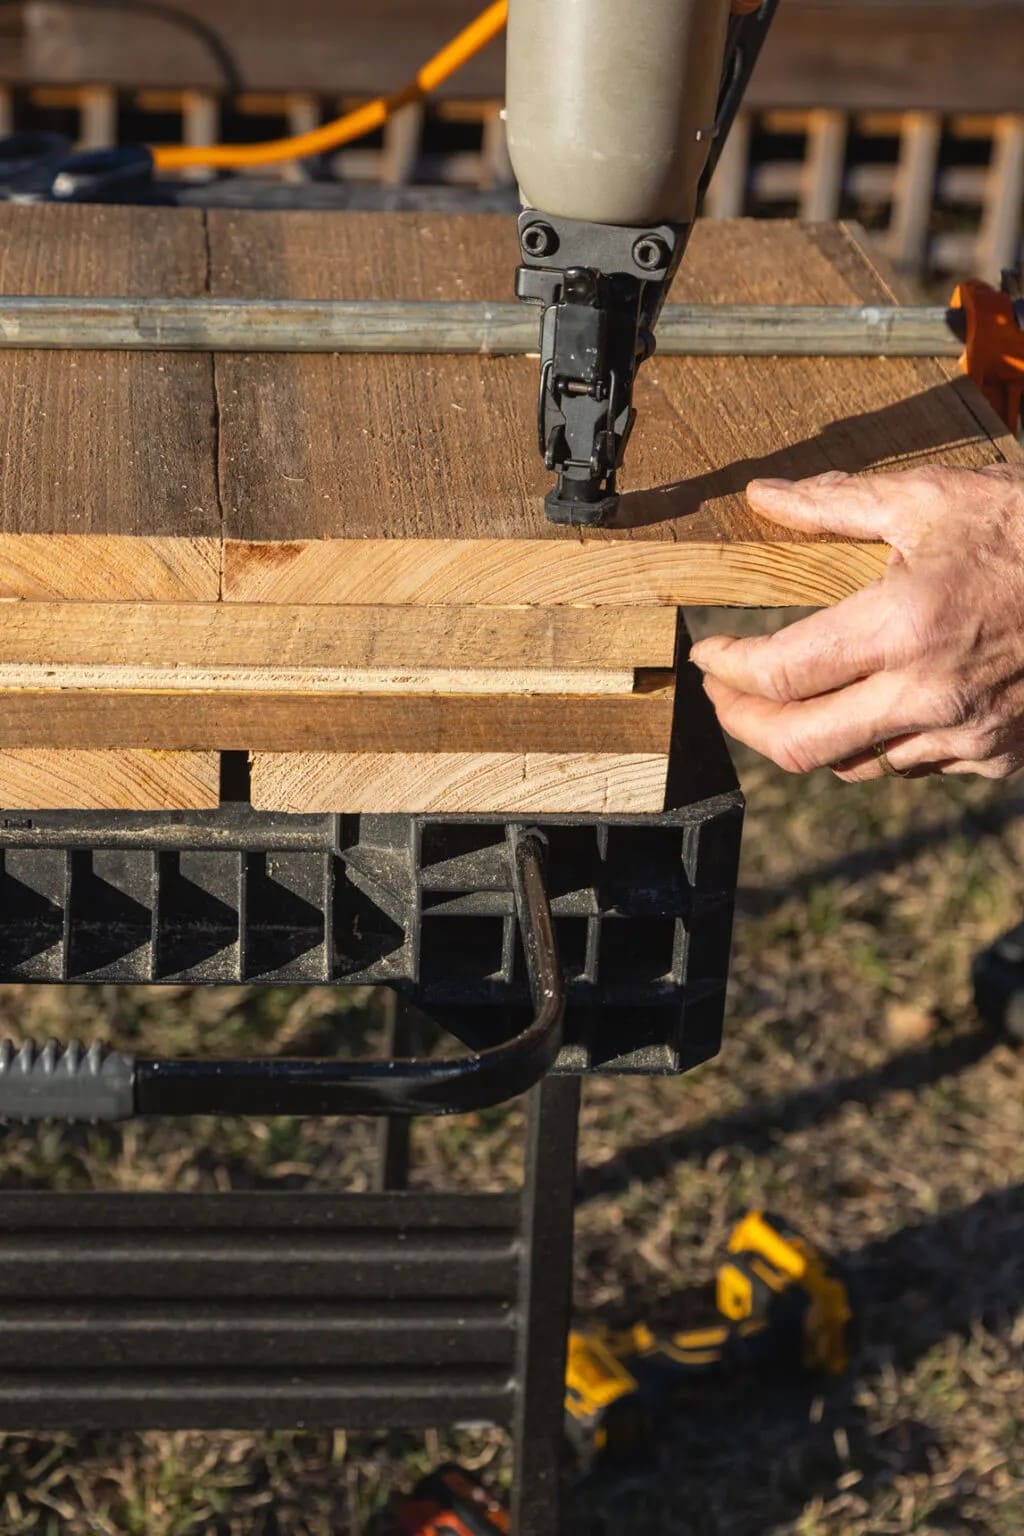
Next, lay the backboard flat and attach your side spacer strips using wood glue and screws. These spacers will form the sides of the roosting chamber.
You add a strip across the top as well to help hold everything together.
If you’re building a dual-chamber house, insert your divider board between the spacers and repeat the interior texture treatment.
Step 4: Seal It Tight
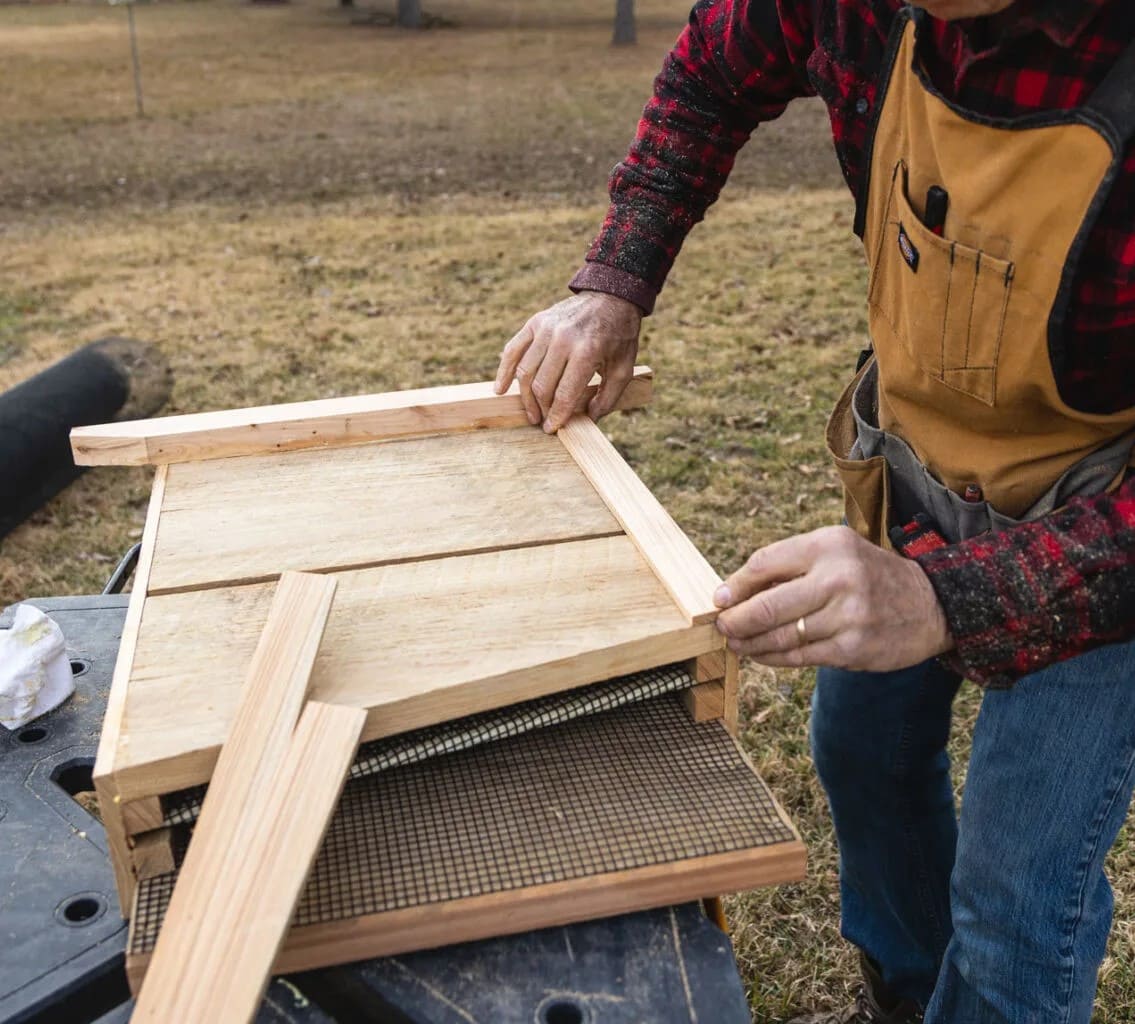
With the side structure in place, attach your front panel sections, making sure to leave a three-quarter-inch ventilation gap near the bottom.
This opening helps regulate temperature and moisture inside the house, which is crucial for attracting bats.
You also seal all edges and joints with weatherproof caulk to protect against rain and drafts.
Step 5: Paint or Stain the Exterior
Once the structure is complete, paint or stain the exterior using a non-toxic, exterior-grade product.
Choose a darker color if you live in a cooler climate, as it helps absorb sunlight and warm the interior.
In hotter regions, go for a lighter shade to prevent overheating.
Where to Mount Your Bat House
The house should be mounted at least 12 to 20 feet above the ground to protect bats from predators and to mimic their natural roosting preferences.
Sides of buildings, garages, or tall poles are ideal locations.
Trees are not recommended because they block sunlight and provide easy access for raccoons, owls, or snakes.
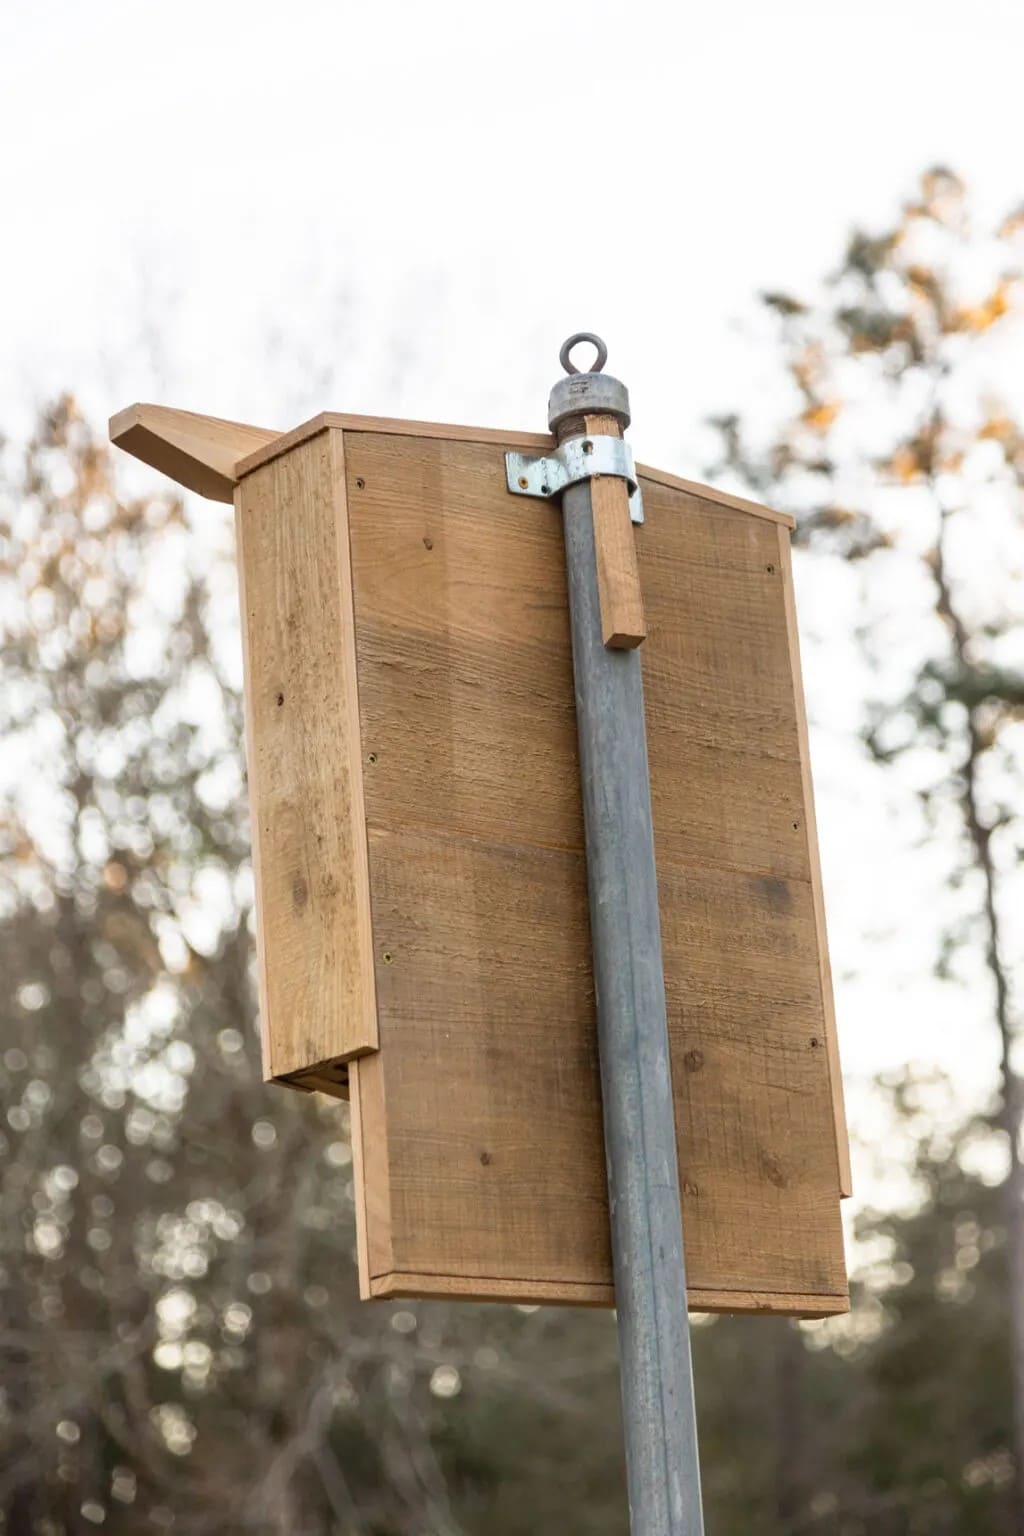
Besides, bat houses should face south or southeast and receive at least six to eight hours of direct sunlight daily.
Finally, consider location in relation to food and water. Bats prefer to roost near open water sources like ponds, creeks, or lakes where insects are plentiful.
When Will Bats Move In?
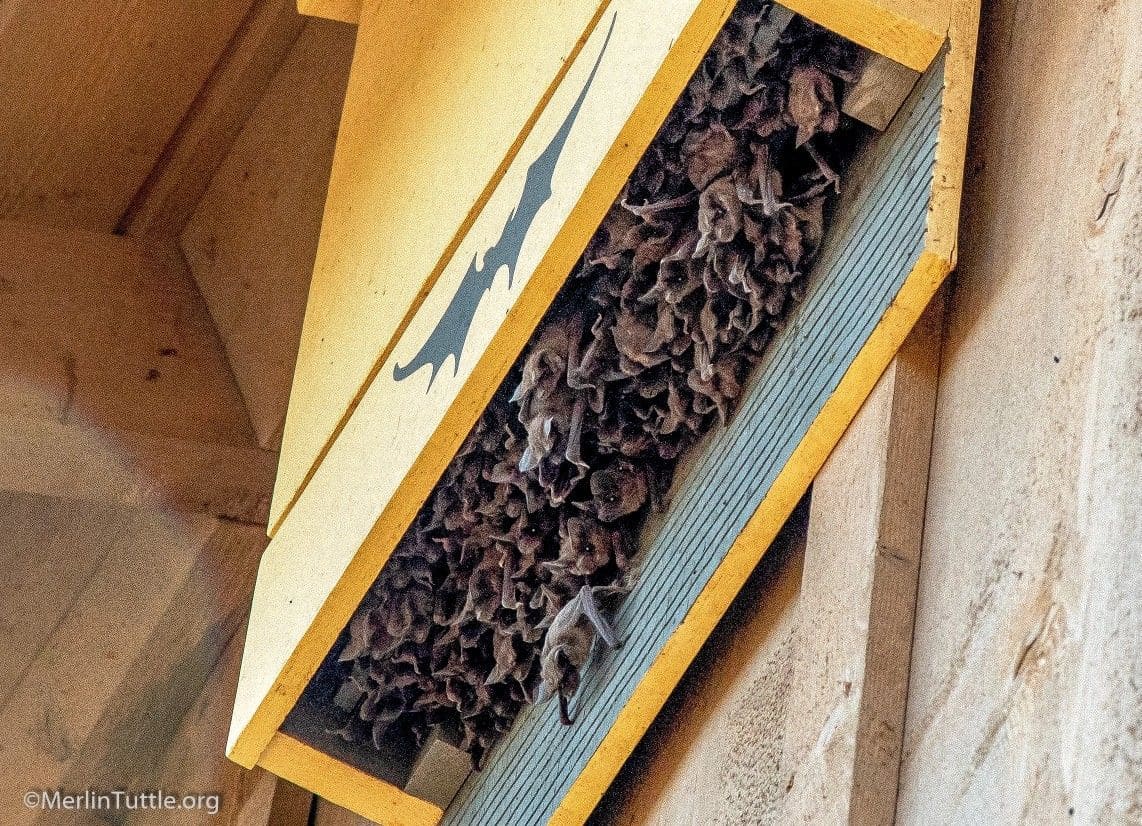
Some lucky folks find bats roosting in their new bat house within weeks. For others, it can take months or even a full year.
To boost your chances, consider installing multiple bat houses in slightly different orientations for example, one facing southeast and one facing southwest.
Also, resist the temptation to peek inside. Bats dislike being disturbed, and unnecessary handling or movement can drive them away.
Maintenance and Final Tips
Every year, preferably in early spring before bats return, check the bat house for damage or wear.
A quick inspection and resealing of joints with caulk will help keep the structure in great shape for seasons to come.
