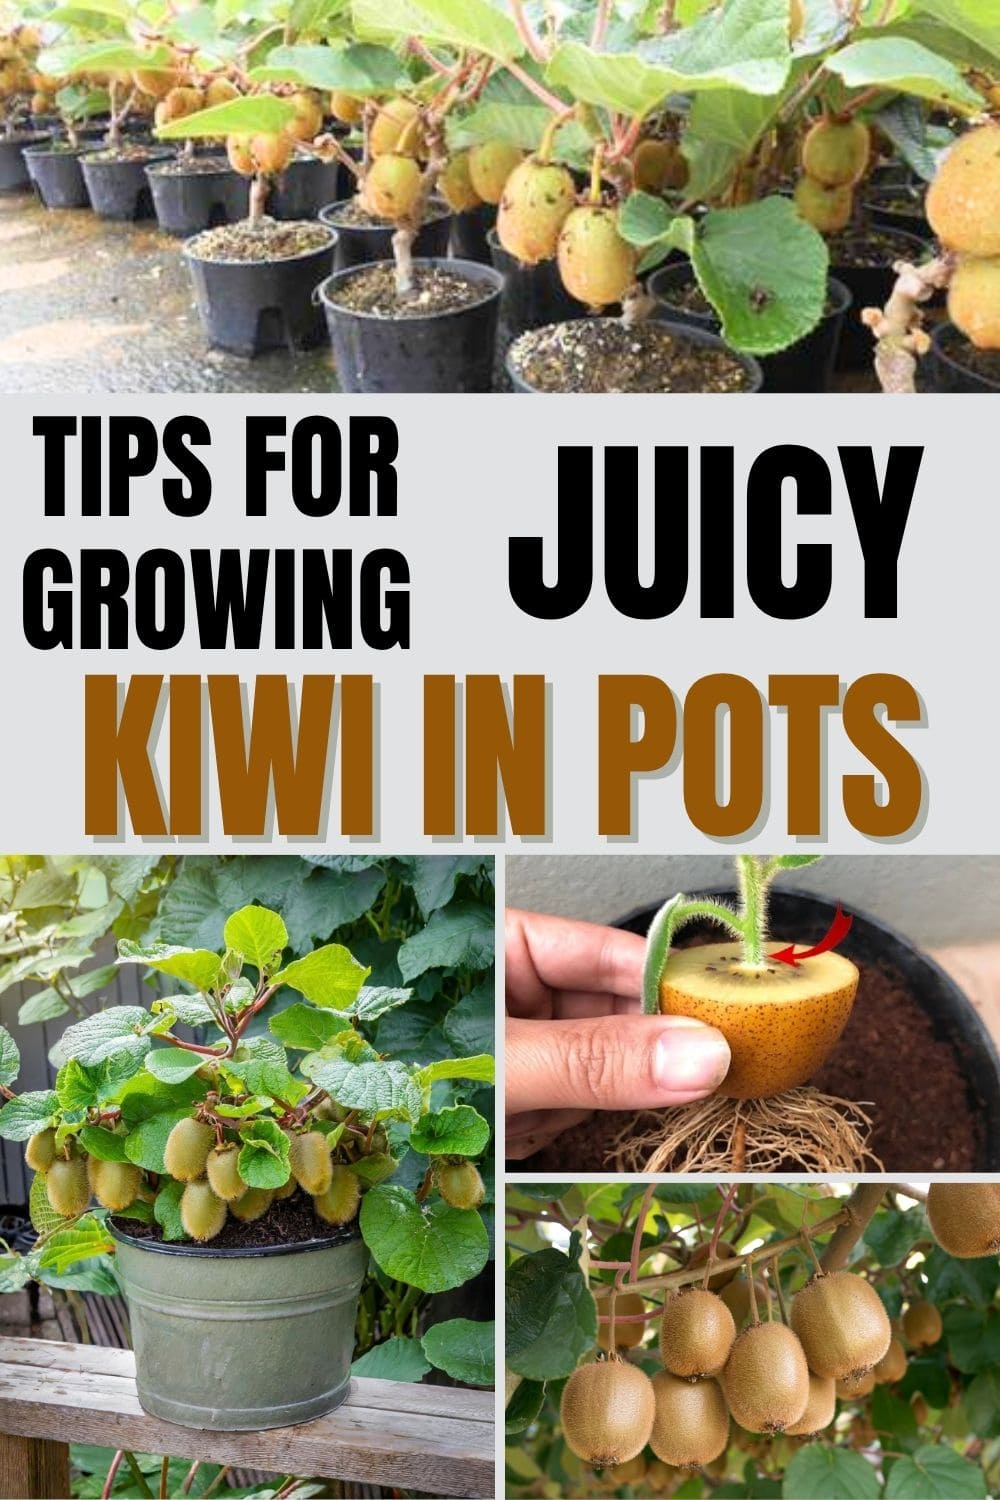
Growing kiwi in containers might sound like a bit of a challenge, but once you understand what these vigorous vines need, you’ll realize it’s completely doable and deeply rewarding.
Whether you’re short on garden space or just want to experiment with something new on your patio, container-grown kiwi offers the chance to enjoy juicy, homegrown fruit right at your fingertips.
And yes, they can absolutely thrive with the right setup and care.
1. Pick the Right Kiwi Variety
Not all kiwi types are suited for pots, and this is the very first place many beginner growers slip up.
Traditional fuzzy kiwis (Actinidia deliciosa) are tropical-leaning and need longer growing seasons. Instead, go with hardy kiwi (Actinidia arguta) or Arctic kiwi (Actinidia kolomikta) as these compact, cold-tolerant varieties are far more container-friendly.
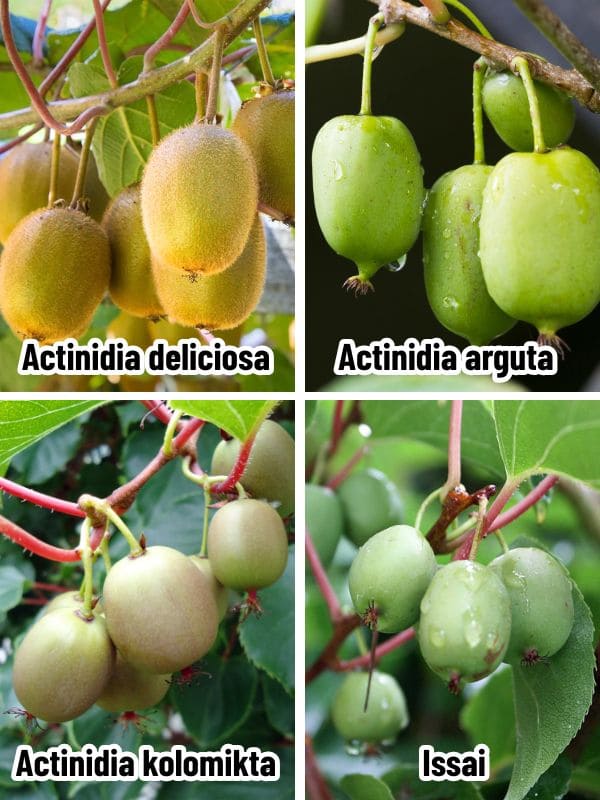
If you’re only planting one vine, choose a self-pollinating variety like ‘Issai’, which saves you from having to pair male and female plants.
For larger setups, you can add a male vine to pollinate several females, but for most container growers, self-fertile options are the simplest path to success.
2. Use a Deep, Sturdy Pot With Good Drainage
Kiwi vines need a strong foundation. Their roots grow deep and wide, so your pot should be at least 18-24 inches deep and wide. Bigger is better here.
You should go for something sturdy like terracotta, thick plastic, or even a half wine barrel, something that won’t tip when the vine starts growing heavy.
Make sure there are several drainage holes because soggy soil can cause root rot fast.
Tip: If you live in a climate with cold winters, consider using a rolling plant caddy so you can move your pot to shelter during freezing months.
3. Install a Trellis Early
Don’t wait to add a trellis as kiwis are climbers, and they grow quickly, often stretching over 10-20 feet in a single season.
Without support, they’ll flop, tangle, and turn into a nightmare to manage. You need to add a strong vertical support system to your pot at the time of planting.
A-frame trellises, bamboo teepees, or wall-mounted wires all work beautifully. Keep guiding the vine up as it grows.
4. Keep Soil and Fertility Rich and Balanced
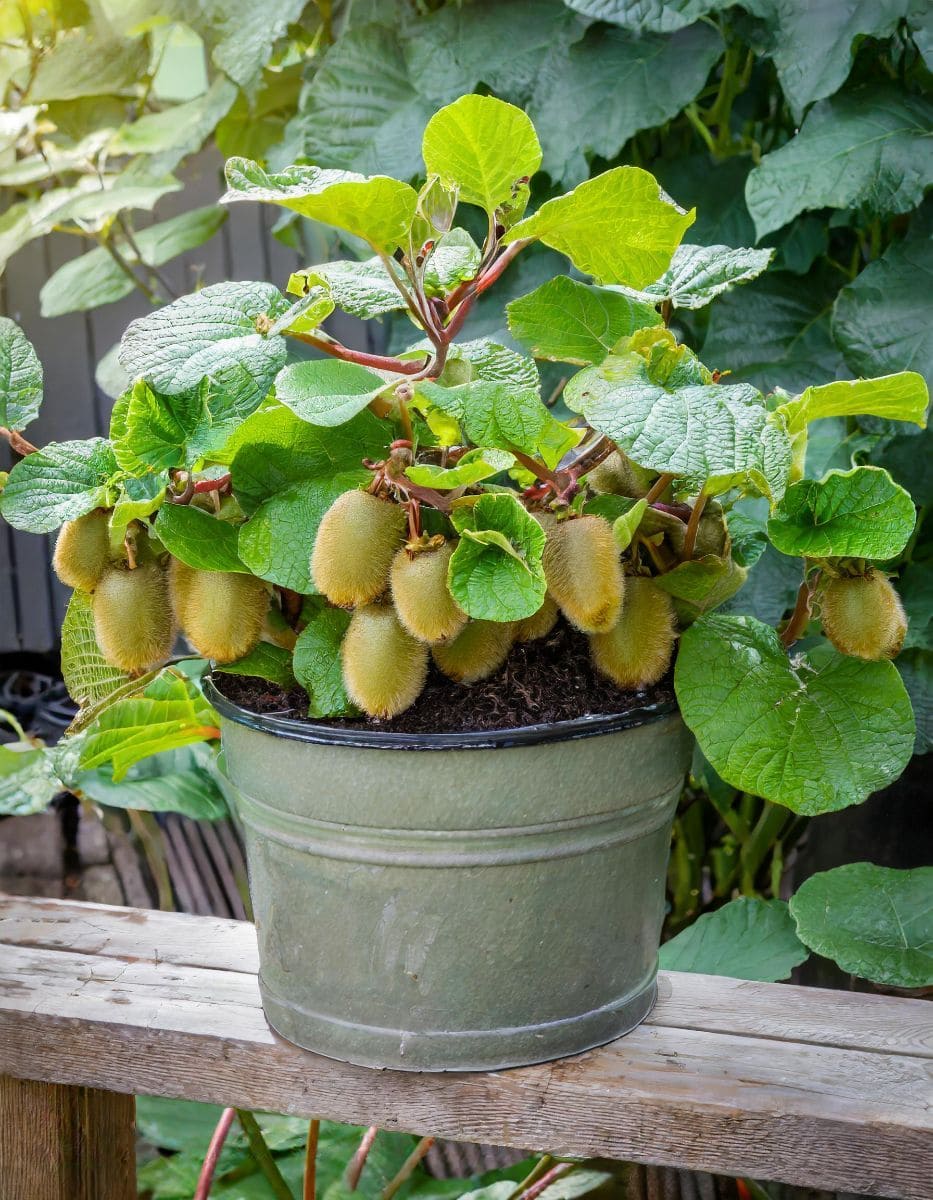
Your kiwi vine is hungry but not greedy. It needs well-draining, slightly acidic soil (pH 6.0-6.5) enriched with organic matter.
You want to mix high-quality potting soil with compost, aged manure, or worm castings. Avoid garden soil as it compacts and drains poorly in containers.
Additionally, you feed with a balanced, slow-release fertilizer (10-10-10) in early spring. Then supplement with compost tea or a diluted organic liquid fertilizer every few weeks during the active growing season.
Don’t overdo the nitrogen though as it’ll give you leafy vines with little fruit.
5. Water Consistently and Deeply
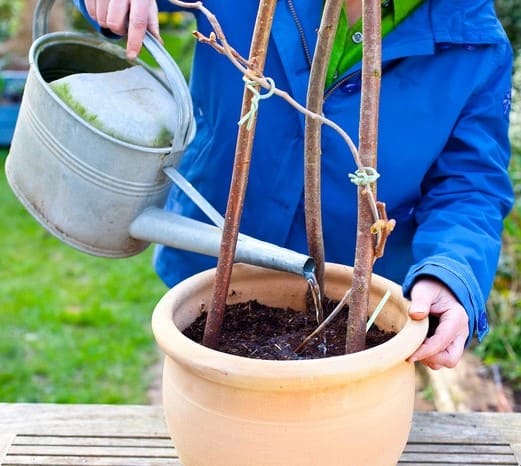
Kiwi vines in pots dry out more quickly than in-ground ones, especially during summer heat. Your goal is to keep the soil evenly moist, but never waterlogged.
You should stick your finger a couple inches into the soil, if it’s dry, it’s time to water. A thick layer of mulch (like straw or bark chips) helps hold in moisture and keeps roots cooler.
Pro tip:
During peak growth, your kiwi might need water daily, especially in full sun. Always water at the base to avoid encouraging fungal issues.
6. Prune With Purpose
Pruning sounds intimidating, but with kiwi, it’s essential and worth every snip.
These vines fruit on one-year-old wood, so you’ll need to prune carefully in both winter for structure and summer for airflow and fruit focus.
In winter, cut back side shoots to a few buds to encourage fruiting wood. In summer, pinch back excess growth that’s shading flowers or making the plant too dense.
7. Watch for Cold Snaps and Give Winter Protection
Even cold-hardy kiwis can suffer if roots freeze. If you’re in zones 5-6 or lower, it’s smart to move your potted kiwi into a garage, shed, or greenhouse during deep winter.
However, if you don’t have indoor space, insulate the pot with burlap, straw, or bubble wrap to protect the root ball. Just make sure the vine still gets air as trapping humidity invites disease.
Also, be aware that late spring frosts can damage young buds. If temps are expected to drop, throw a breathable frost cloth over your vine overnight.
8. Patience Now, Big Rewards Later
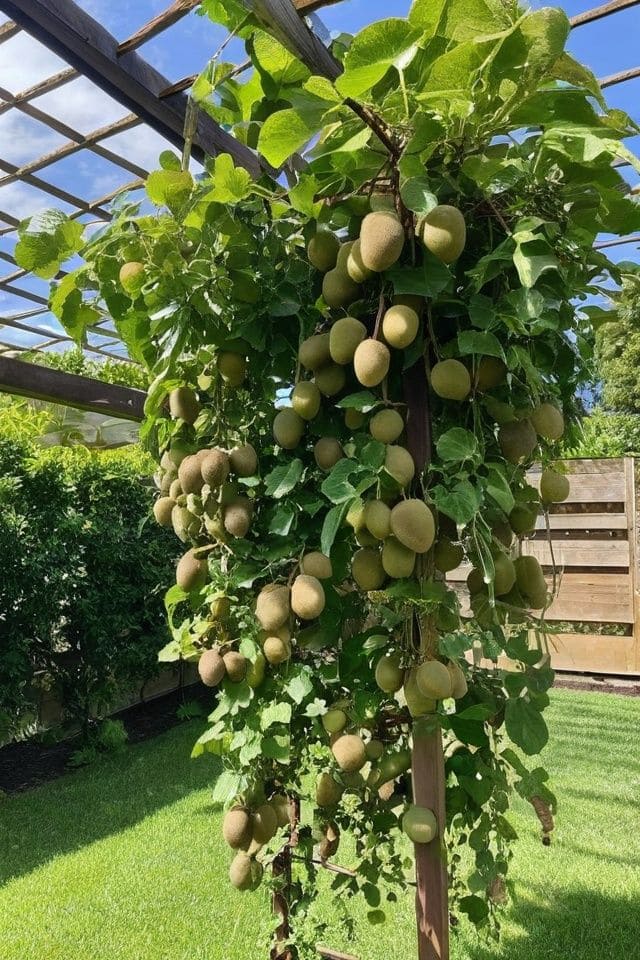
You probably won’t see fruit until the third or fourth year, but once they hit maturity, they can be incredibly generous.
A single mature vine can produce up to 50-100 pounds of fruit annually. It’s a long game but for gardeners who stick with it, the payoff is delicious and dramatic.
9. Bonus Pollination Tip
Even if you’re growing a self-fertile variety, hand-pollination can give you better yields.
When flowers open in spring, use a small paintbrush or cotton swab to transfer pollen from one bloom to another. A few minutes of gentle brushing can mean baskets more fruit come harvest time.
