If you’ve grown irises for even one season, you’ve likely fallen in love with their graceful flowers and sword-like leaves swaying in the breeze.
But after the bloom show fades, many gardeners are left wondering what to do with the messy, browning foliage. Should you cut it back, when’s the right time and will trimming too early hurt next year’s flowers?
I’ve had these same questions in my early gardening days. Over time, I found out that knowing when and how to cut back irises makes a huge difference in their health, beauty, and bloom production the following spring.
Why Prune Irises at All?
Irises aren’t high-maintenance, but they do need attention after flowering. When you leave dead stalks and spotted leaves on the plant, it’s like inviting pests and diseases to set up camp.
Fungal issues like leaf spot thrive on decaying iris leaves. Worse, iris borers (a common pest in North America) lay eggs on that dying foliage in late summer, and their larvae will tunnel straight into your rhizomes by spring if you don’t intervene.
So cutting back iris plants at the right times keeps your garden cleaner, your irises healthier, and your blooms bigger the next year.
Step 1: After Blooming, Remove Spent Stalks
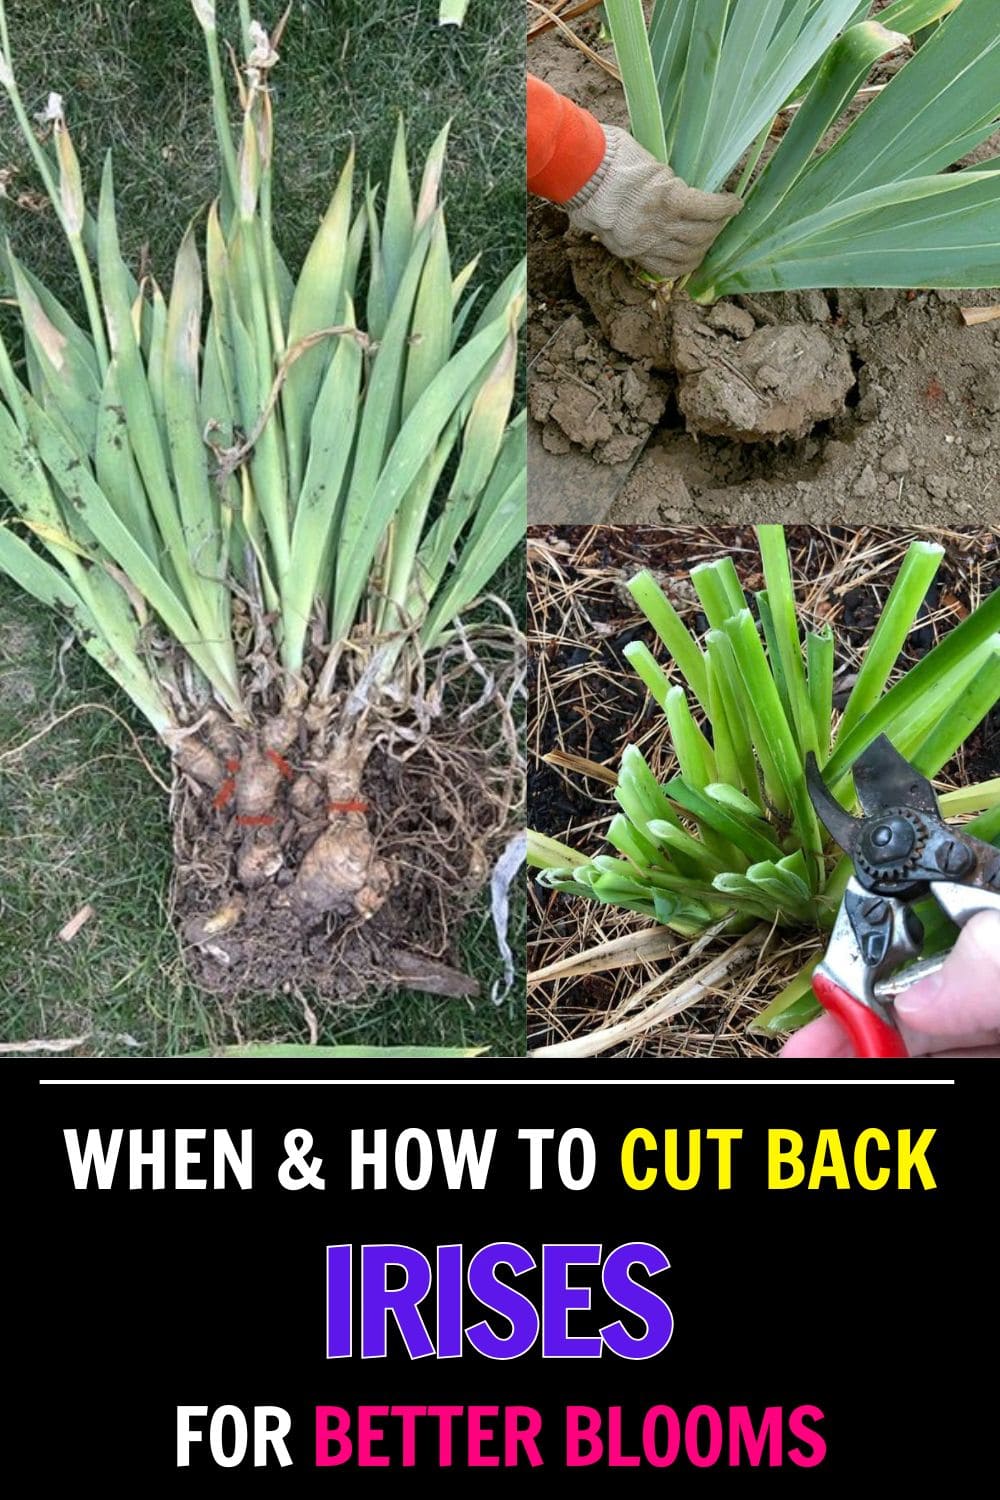
Once your irises have finished blooming, typically in early summer, it’s a good idea to cut the flower stalks down to the base. Follow the thick stem down to where it meets the rhizome and snip it cleanly with a sharp pair of shears.
The leaves should stay intact for now, since they continue feeding the rhizome through photosynthesis.
This small step helps the plant shift energy from seed production into root development, which is what we want heading into late summer.
Step 2: Mid-Summer Trim to Tidy and Prevent Disease
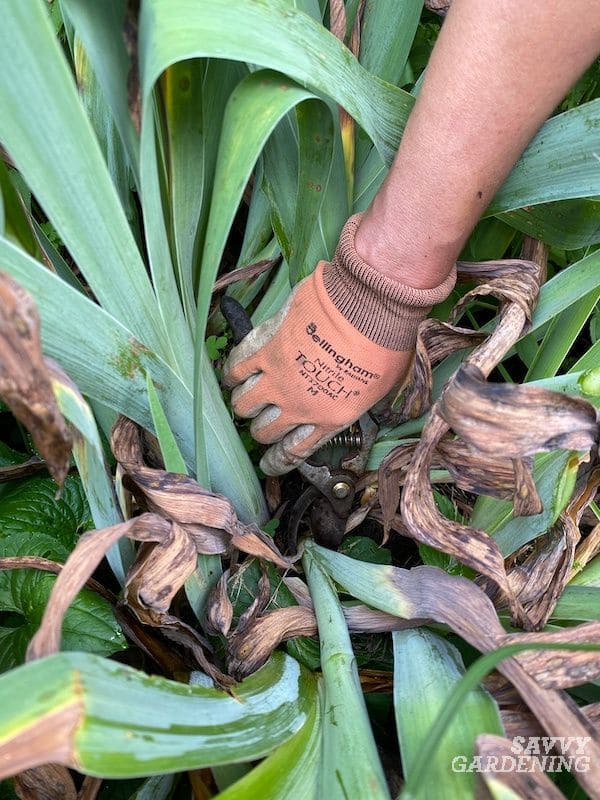
By mid- to late summer, the leaves may start to look tired. Some will turn yellow, get brown tips, or collapse. That’s when you like to give them a trim
You reduce the height of the leaves by about half and shape them into a tidy fan. This keeps airflow around the rhizomes high, discouraging mold and fungus.
If you notice any leaves with spotted or soft patches, go ahead and remove them completely. And toss those clippings in the trash, not the compost, so the spores don’t survive.
Step 3: Full Fall Cutback After First Hard Frost
When your first hard frost hits and the leaves start to brown and flop over completely, it’s time to do your full cutback. At this point, the plant has stored up everything it needs in the rhizomes for winter. Now it’s just about sanitation.
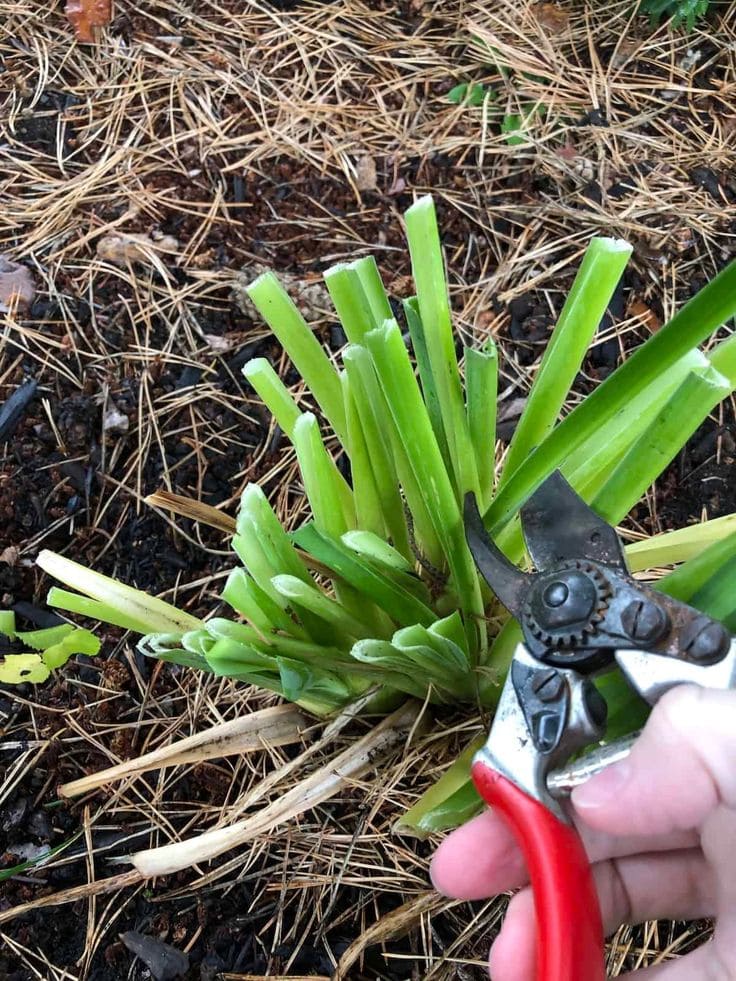
Using clean, sharp garden scissors or pruners, cut all the iris foliage down to about 2-4 inches above the rhizome. Don’t scalp it flat to the ground, leave a short stub to protect the crown. This fall cleanup removes dead tissue, pests, and disease threats before they can overwinter.
If iris borers have ever been a problem in your garden, this step is critical. Those eggs are laid on the old leaves in fall. No leaves, no eggs, no borers next spring.
Extra Care Tips from the Field
1. Keep the Rhizomes Exposed to Sunlight
Unlike other perennials that love a blanket of mulch, irises thrive when their thick, fleshy roots are basking in the sun.
If you pile soil or mulch over them, especially in wet or shady spots, they can rot before the next growing season even begins. Instead, after you cut back the foliage in fall, gently clear away any debris or creeping mulch that might be covering them.
2. Always Use Clean, Sharp Tools Between Plants
When you prune or trim multiple iris clumps, take a moment between plants to disinfect your shears. It might sound overly cautious, but many iris diseases, especially leaf spot and soft rot, are easily spread through infected blades.
Wiping with rubbing alcohol or dipping in a diluted bleach solution (1:10 ratio) works well. And keep your tools sharp. Ragged cuts not only look sloppy but create open wounds that take longer to heal and invite more pathogens in.
3. Don’t Forget to Divide Every Few Years
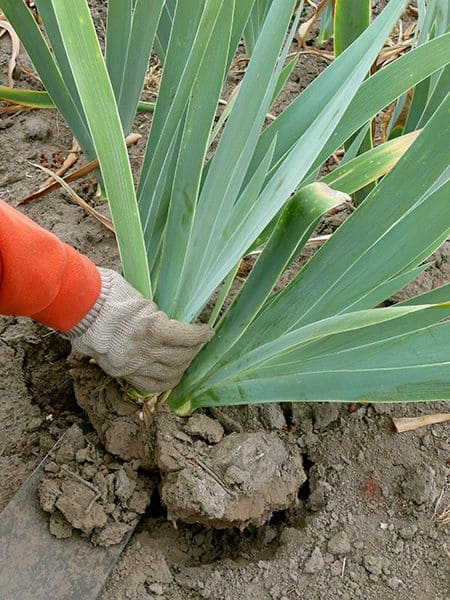
Even if your irises are in full sun and get plenty of airflow, they’ll eventually outgrow their space. As the rhizomes crowd each other, bloom production starts to drop off.
If you notice smaller flowers, fewer stems, or a clump that looks congested in the center, it’s likely time to divide. The best window for this is 4 to 6 weeks after blooming, usually late July to early September, depending on your climate.
Lift the entire clump with a spading fork, break apart the healthiest young rhizomes (look for firm, leaf-fanned ones), and replant them about 12 to 18 inches apart with their tops just above the soil.
