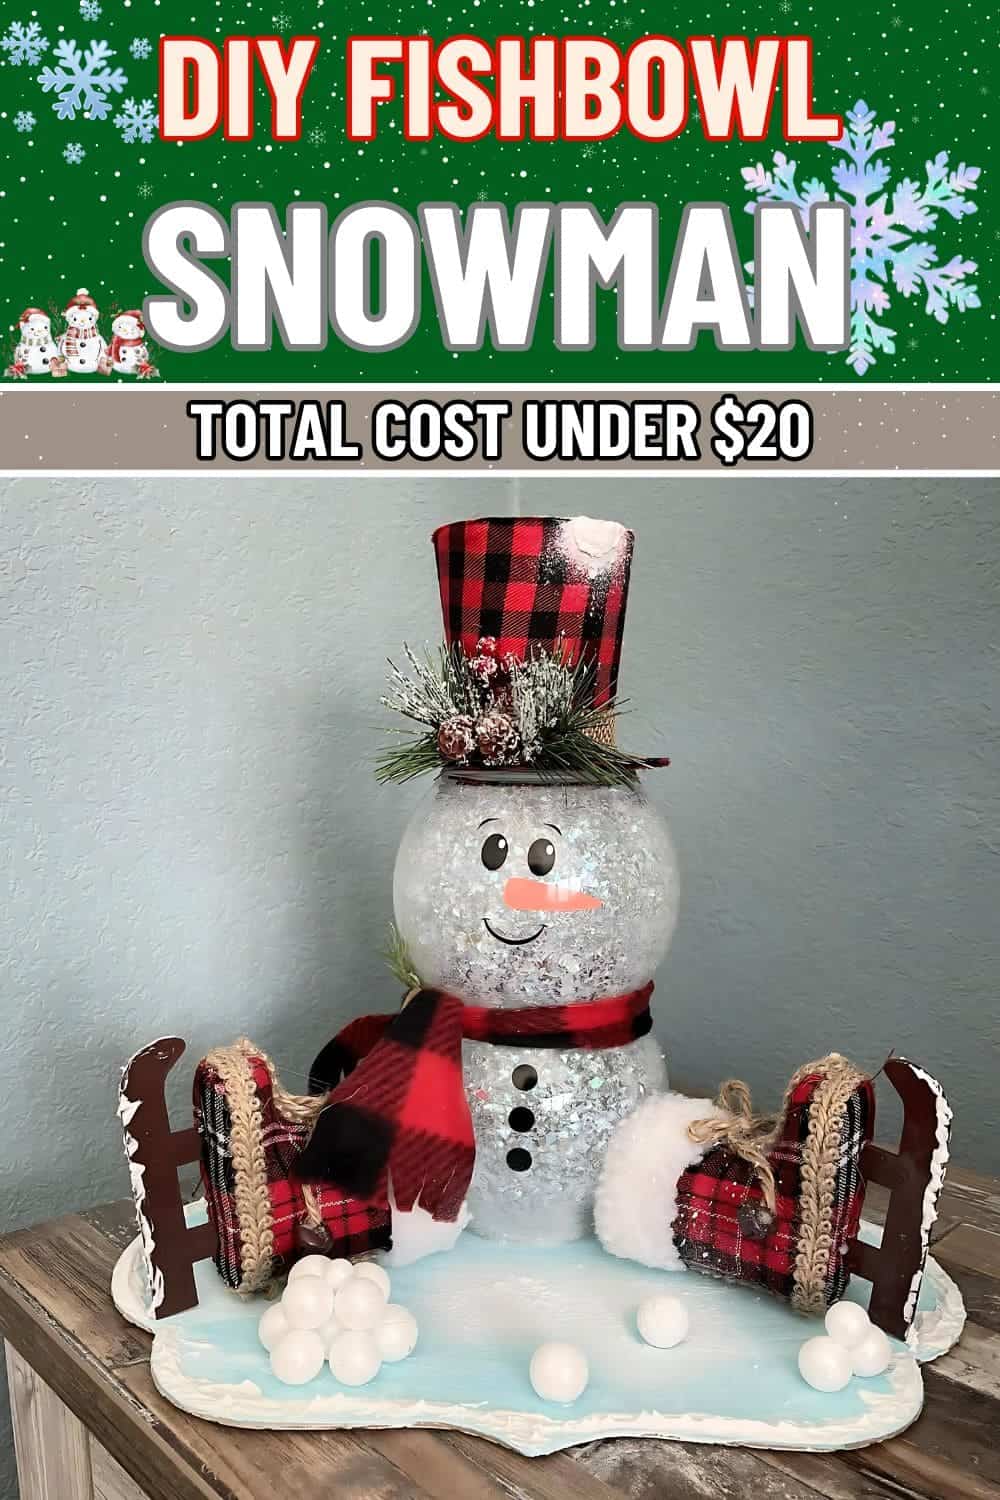
The holiday season is a perfect time to get creative, and this DIY snowman fishbowl is a fun, budget-friendly project that adds a cozy and festive touch to any space.
Inspired by the charm of rustic decor and the magic of winter, I decided to bring this snowman to life using simple materials from Dollar Tree and craft stores.
In this step-by-step guide, I’ll walk you through how I created this adorable snowman centerpiece that’s sure to bring cheer to your home.
Materials You’ll Need
To get started on your DIY snowman, here’s a detailed list of the materials I used. For the snowman project, I found everything I needed at local craft stores like Dollar Tree, Hobby Lobby, and Walmart:
- Glass fishbowls: Large fishbowl approximately 8–10 inches in diameter, medium fishbowl about 6–8 inches in diameter
- Buffalo plaid ribbon or fabric (1–2 yards)
- Mini pinecones and faux greenery (small bunch)
- Fake snow or glitter (1 pack)
- Black and orange paint (1 set each)
- Wooden sled embellishment (1 piece)
- Mini snowballs or foam balls (1–2 packs)
- Blue wooden or foam base (1 piece)
Step-by-Step Instructions
Step 1: Prepare the Fishbowls
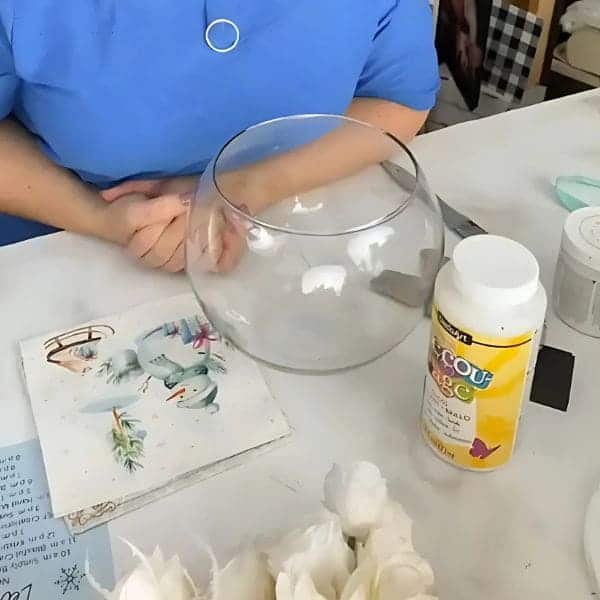
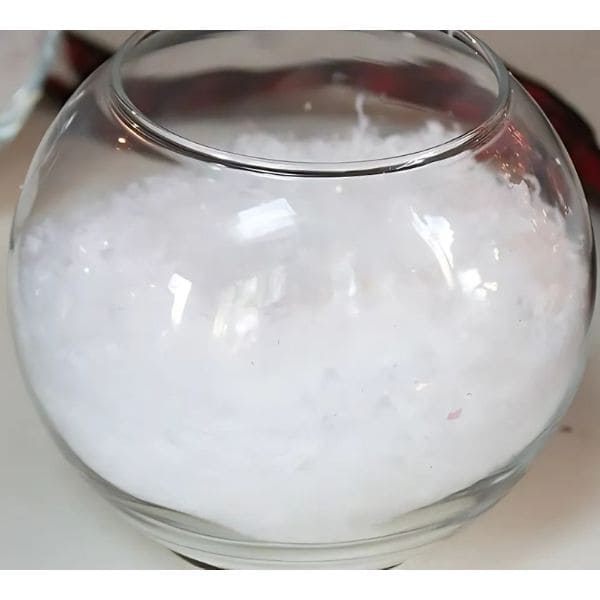
First, you need to start by gathering your two glass fishbowls, then fill them with fake snow or glitter to give your snowman a frosty look.
Next, you use a strong adhesive to stack them to create the snowman’s body.

Step 2: Paint the Snowman’s Face
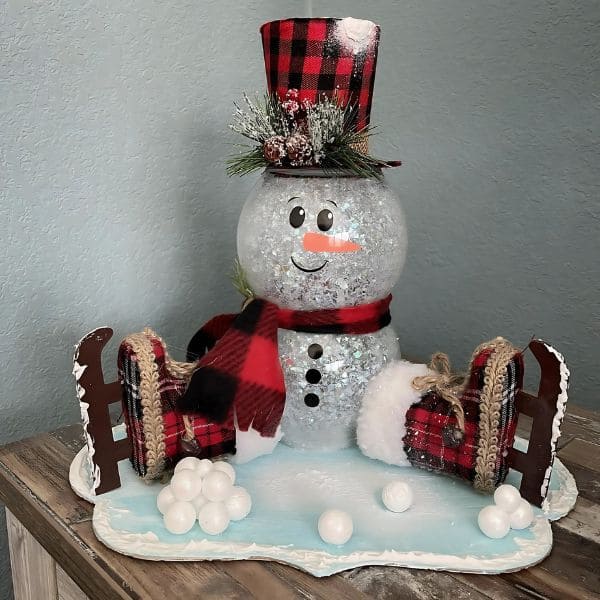
Once the glue is dry, it’s time to add the face! Using black paint, I painted two simple round eyes and a smile.
For the carrot nose, I used orange paint, painting a small triangular shape in the center of the snowman’s face.

Step 3. Add the Scarf and Hat
Now, you cut a strip of the buffalo plaid fabric about 2 inches wide and 12 inches long. Wrap it around the middle section of the snowman and tie it in a simple knot.
For the hat, you cut a piece of fabric about 6 inches by 6 inches, fold it into a cone shape, and secure it with glue to create a cute hat for the snowman’s head.
You can also add a pom-pom or mini pinecones on top of the hat for added detail.
Step 4: Attach the Snowman to the Base
Once the fishbowl snowman is complete, glue the bottom of the base bowl onto the blue wooden base. This will keep your snowman sturdy and prevent it from tipping over.
Make sure it is centered properly on the base and let it dry for at least an hour.
Step 5: Add the Wooden Sled and Snowballs

To finish the look, glue a wooden sled next to the snowman. I placed the sled slightly to the side like the legs of the snowman for a winter ride.
Then, arrange mini snowballs or foam balls around the base to complete the snowy scene. These little balls add a fun, whimsical touch, making it look like your snowman is surrounded by snow.


