Tired of the same old Christmas decorations? Want to add a unique and eco-friendly touch to your holiday decor? Look no further than your humble toilet paper roll!
These often-overlooked cylinders can be transformed into a stunning Christmas tree with just a few simple steps. Not only is this DIY project fun and easy, but it’s also a great way to reduce waste and give new life to everyday items.
Get ready to unleash your creativity and create a one-of-a-kind Christmas centerpiece.
Materials Needed
You need to prepare
- 32 empty toilet paper rolls
- Green acrylic paint (or spray paint)
- Paintbrush
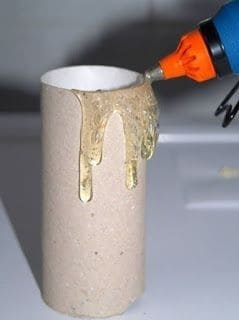
- Glue gun and glue sticks
- Small red, yellow and green ornaments (about 20)
- Gold star for the top (optional)
Instructions
Step 1: Prepare the Rolls
First, you need to dry the toilet paper rolls to remove any residue.
Next, paint the rolls green. You can use spray paint for a quick and even coat, or acrylic paint for a more textured finish, then let them dry completely.
Step 2: Create the Base
Start by gluing four rolls together to form the base of the tree. This step is quite easy as you don’t need to paint anything.

Step 3: Assemble the Tree
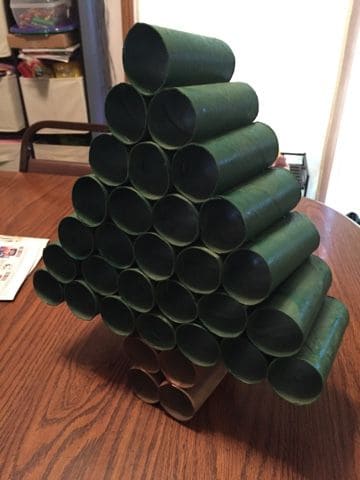
Now, you glue three rolls together in a triangular shape to form the base of the tree, then add another layer of three rolls, offsetting them slightly from the first layer.
Continue adding layers of rolls, alternating the direction of the offset, until you reach the desired height of your tree.

Step 4: Decorate the Tree

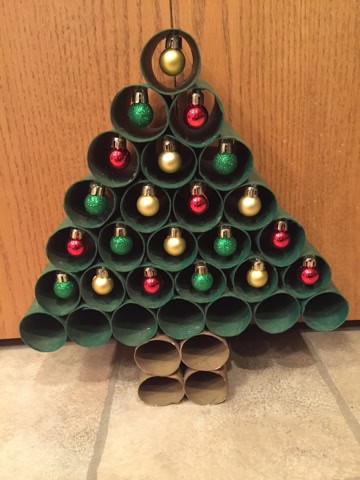
Finally, you just use the glue gun to attach the red, yellow and green ornaments to the rolls. You can place them randomly or create a pattern.
If you want to add more sparkle, you can glue gold glitter to the tips of the rolls or attach golden star on the chop.


