Garden & Crafty - Garden, DIY, Home
No Result
View All Result
  • GARDEN
    • Garden Tips
    • Garden Guide
    • Garden Care
    • Garden Ideas
  • DIY
    • Diy Project
    • Crafty Ideas
  • HOME
    • Decoration
    • Cleaning
    • Tips & Hacks
  • About Us
  • GARDEN
    • Garden Tips
    • Garden Guide
    • Garden Care
    • Garden Ideas
  • DIY
    • Diy Project
    • Crafty Ideas
  • HOME
    • Decoration
    • Cleaning
    • Tips & Hacks
  • About Us
No Result
View All Result
Garden & Crafty - Garden, DIY, Home
Home DIY Diy Project

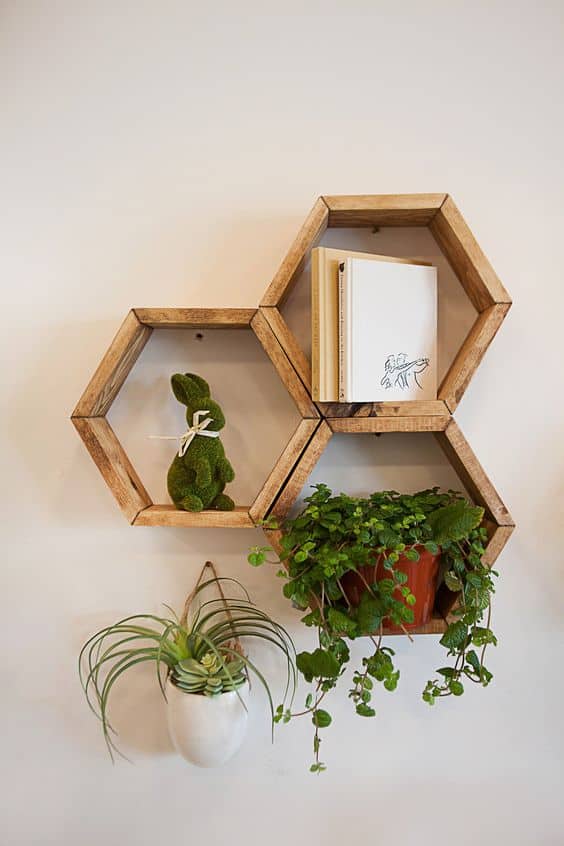
Craft Stunning DIY Wood Hexagon Shelves in 5 Steps

Lois Capone by Lois Capone
September 16, 2024
in Diy Project
Reading Time: 2 mins read

IN THIS ARTICLE:

Toggle
  • Materials Needed
  • Step 1: Measure and Cut the Wood
  • Step 2: Assemble the Hexagon
  • Step 3: Sand and Finish
  • Step 4: Mounting the Shelves
  • Step 5: Decorate

Are you looking for a stylish way to add storage and personality to your home? DIY wood hexagon shelves are the perfect solution!

These geometric beauties offer a modern twist on traditional shelving while adding both elegance and function.

In this guide, I’ll walk you through the entire process. With just a few tools and a bit of time, you can create stunning hexagon shelves that will become the highlight of any room!


Materials Needed

  • Wood (Pine, Oak, or Maple)
  • Wood glue
  • Clamps
  • Brad nails or screws
  • Sandpaper (80, 120, 220 grit)
  • Wood stain or paint
  • Miter saw or handsaw
  • Drill and screws
  • Measuring tape and pencil
  • Safety gear (glasses and gloves)


Step 1: Measure and Cut the Wood
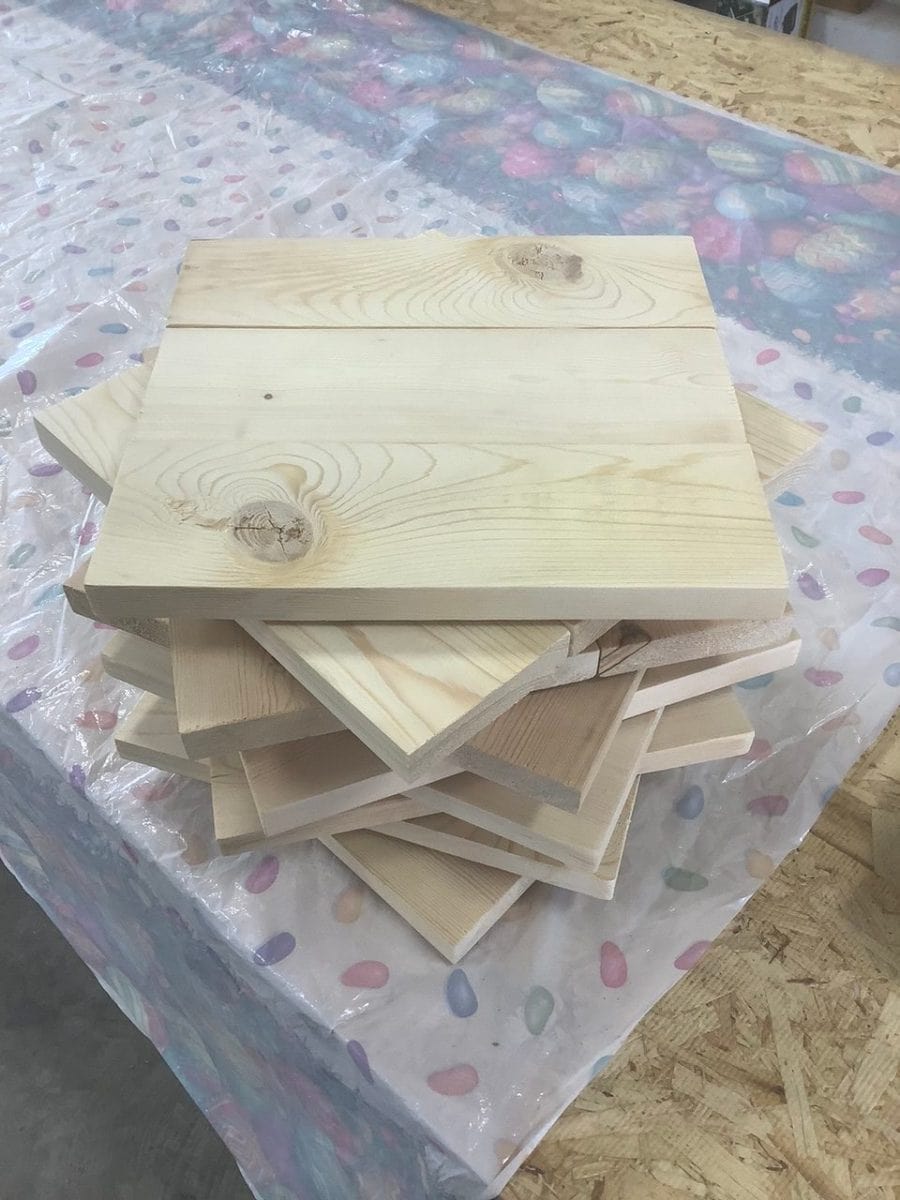
Measure and Cut the Wood

To create a perfect hexagon, you’ll need six identical pieces with 30-degree cuts at both ends.

If you’re using a miter saw, set it to 30 degrees and carefully cut each piece.


Step 2: Assemble the Hexagon
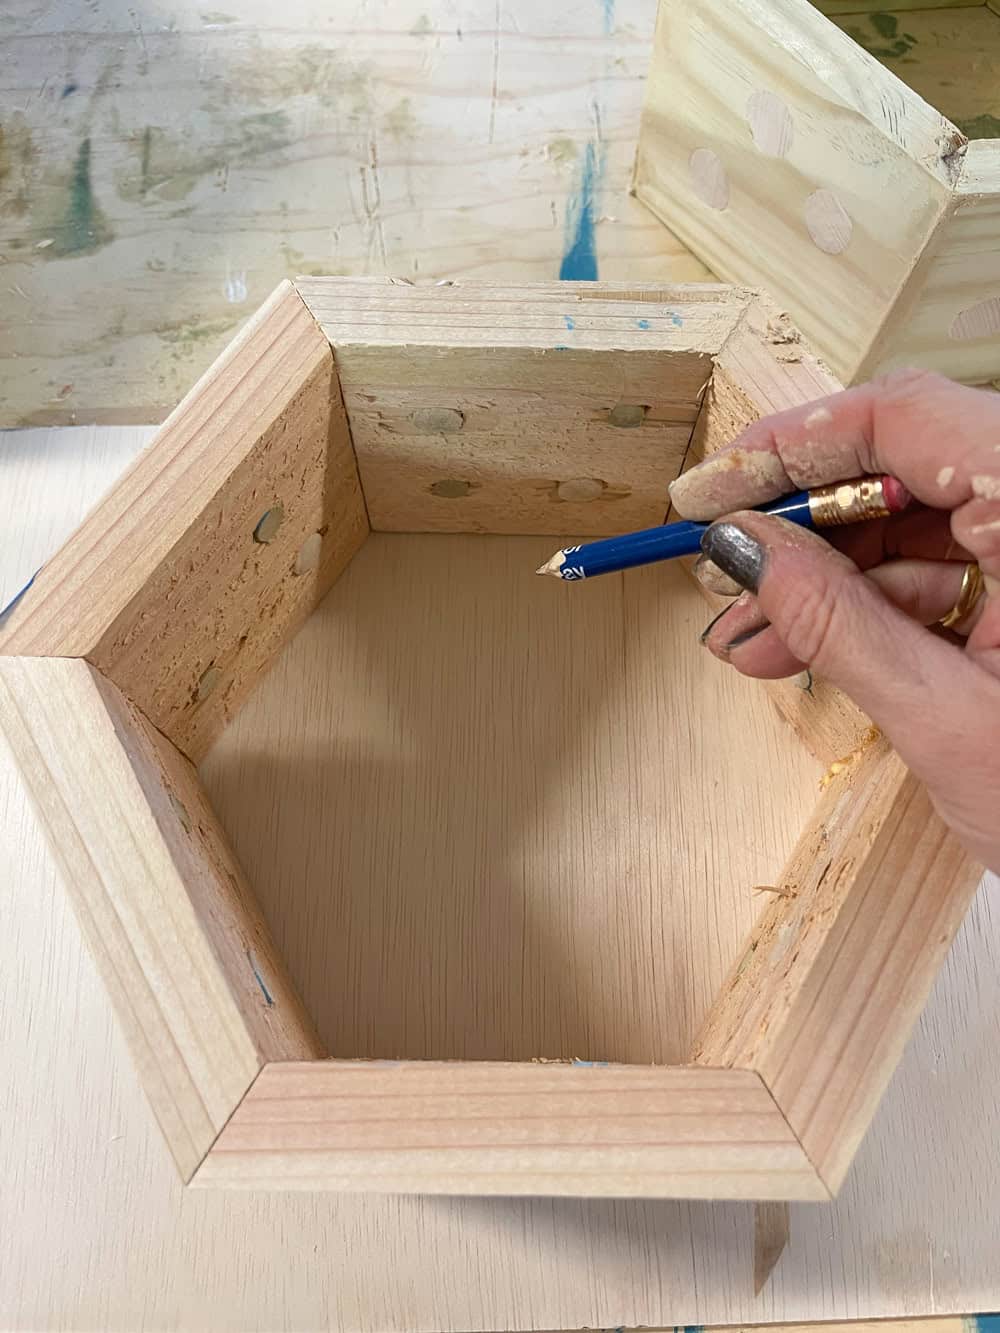
Assemble the Hexagon

You apply wood glue to the angled edges and align the pieces to form a hexagon.

Once it’s all lined up, clamp the pieces together to let the glue set. If you want a bit of extra strength, use brad nails or screws at the joints.


Step 3: Sand and Finish
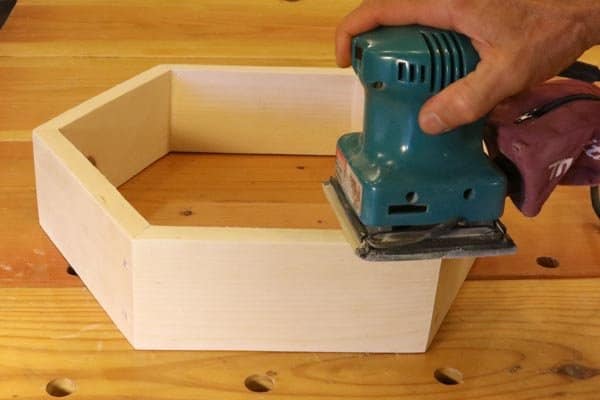
Sand and Finish
Sand and Finish

You should start sanding with coarse sandpaper (80 grit) and work your way up to 220 grit for a nice, smooth finish.

If you’re going for a natural look, stain the wood to bring out the grain or paint it in a fun color that matches your room’s vibe.


Step 4: Mounting the Shelves
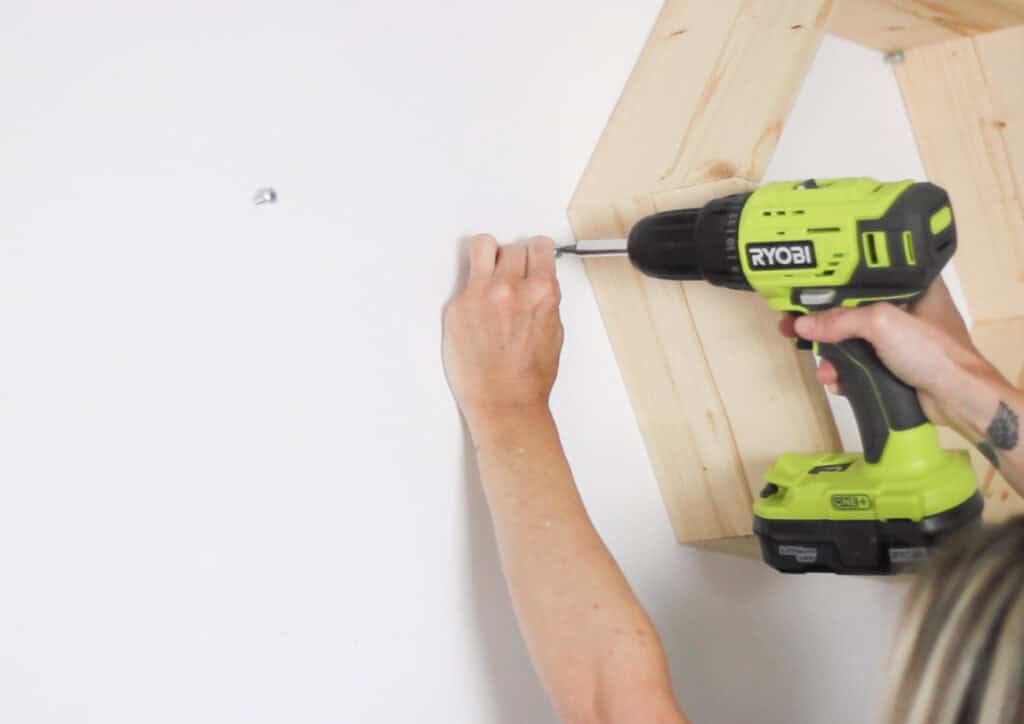
Mounting the Shelves

You can use a level to mark where you want them to go, then drill pilot holes and screw them securely into the wall.


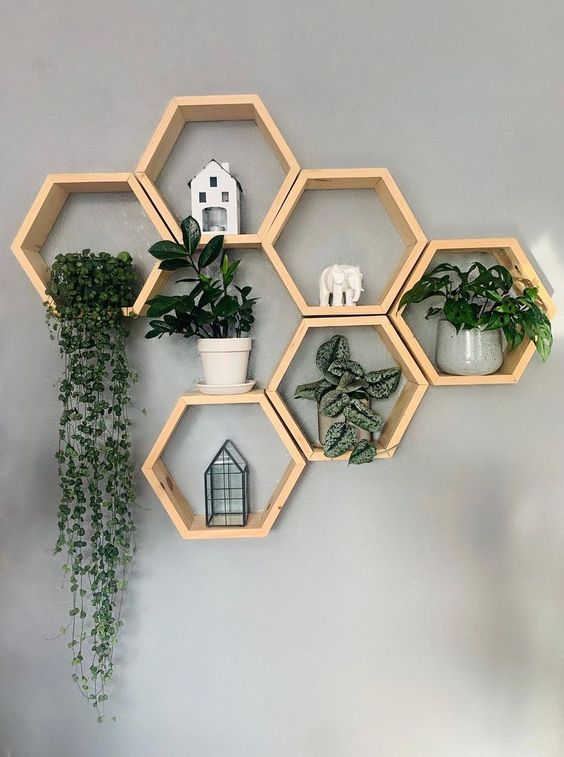
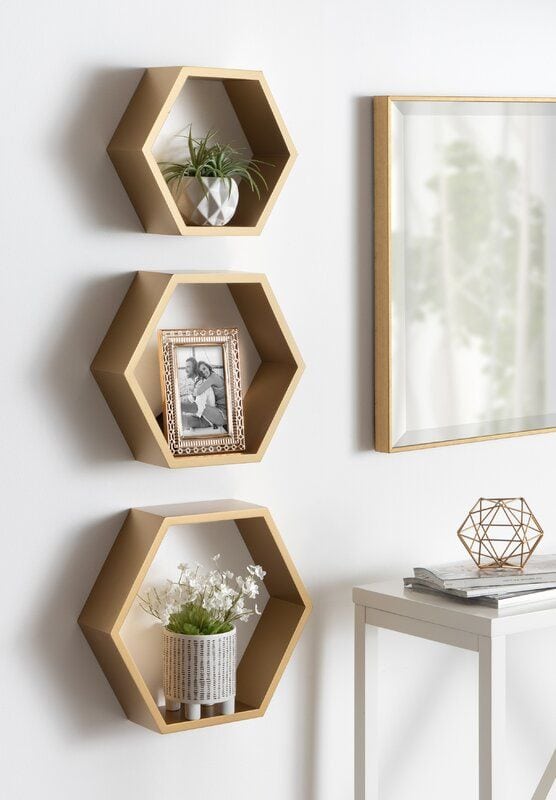
Step 5: Decorate

Now whether you’re displaying plants, books, or decorative pieces, arranging your items thoughtfully will make your shelves pop.
Craft Stunning DIY Wood Hexagon Shelves in 5 Steps

Craft Stunning DIY Wood Hexagon Shelves in 5 Steps

Craft Stunning DIY Wood Hexagon Shelves in 5 Steps

Hình ảnh Ghim câu chuyện


Craft Stunning DIY Wood Hexagon Shelves in 5 Steps
Tags: hexagon shelf
SharePin3
Lois Capone

Lois Capone

Lois Capone is a wife and mom in her 50s who enjoys sharing gardening, DIY tips, and home decor ideas. She believes that with some inspiration, anyone can create a special feel in their home and garden.

Related Posts

22 DIY House Number Ideas to Make Your Home Stand Out
Diy Project

22 DIY House Number Ideas to Make Your Home Stand Out

When you want your entryway to feel warm, personal, and unmistakably yours, a creative house number sign can work wonders....

by Lois Capone
November 14, 2025
20 Evergreen Decor Ideas for a Natural Christmas Home
Diy Project

20 Evergreen Decor Ideas for a Natural Christmas Home

When Christmas starts to whisper its way into the season, my family traditionally goes searching for the freshest pine and...

by Lois Capone
November 14, 2025
20 Fun and Easy Pasta Crafts for Kids and Adults Alike
Crafty Ideas

20 Fun and Easy Pasta Crafts for Kids and Adults Alike

It’s funny how pasta, a simple pantry staple, can turn into something magical when creativity takes over. Beyond the dinner...

by Lois Capone
November 12, 2025
10+ Winterproof Ideas to Keep Your Livestock Warm and Safe
Diy Project

10+ Winterproof Ideas to Keep Your Livestock Warm and Safe

When winter sweeps across the farm, the cold can quickly turn from crisp to cruel. Frosty winds, icy water troughs,...

by Lois Capone
November 12, 2025
22 Cheerful Christmas Bulletin Board Displays for School and Beyond
Diy Project

22 Cheerful Christmas Bulletin Board Displays for School and Beyond

Looking for creative ways to bring the holiday spirit into your classroom or office? These 22 cheerful Christmas bulletin board...

by Lois Capone
November 11, 2025
12 Old TV Makeovers to Give Nostalgia a Modern Twist
Diy Project

12 Old TV Makeovers to Give Nostalgia a Modern Twist

Before flat screens and streaming, TVs were the heart of every living room. Now, those vintage sets are making a...

by Lois Capone
November 11, 2025
Load More

Leave a Reply Cancel reply

Your email address will not be published. Required fields are marked *

Recipe Rating


Categories

  • Cleaning (6)
  • Crafty Ideas (191)
  • Decoration (171)
  • DIY (8)
  • Diy Project (285)
  • GARDEN (39)
  • Garden Care (64)
  • Garden Guide (141)
  • Garden Ideas (360)
  • Garden Tips (148)
  • Guide (687)
  • HOME (90)
  • Tips & Hacks (22)


Garden & Crafty - Garden, DIY, Home

© 2024 gardenandcrafty.com

Navigate Site

  • About Us
  • Privacy Policy
  • Terms Of Service
  • Disclaimer
  • Cookie Policy
  • Webstories
  • Sitemap

Follow Us

No Result
View All Result
  • GARDEN
    • Garden Tips
    • Garden Guide
    • Garden Care
    • Garden Ideas
  • DIY
    • Diy Project
    • Crafty Ideas
  • HOME
    • Decoration
    • Cleaning
    • Tips & Hacks
  • About Us
  Â