Many people struggle with watering their peace lily correctly. Overwatering or underwatering can quickly cause problems, from yellowing leaves to root rot.
The key to thriving peace lilies lies in understanding the precise balance needed for their watering routine.
If you’re tired of seeing your plant suffer despite your best efforts, it’s time to learn the right technique.
1. Understanding Your Peace Lily’s Needs
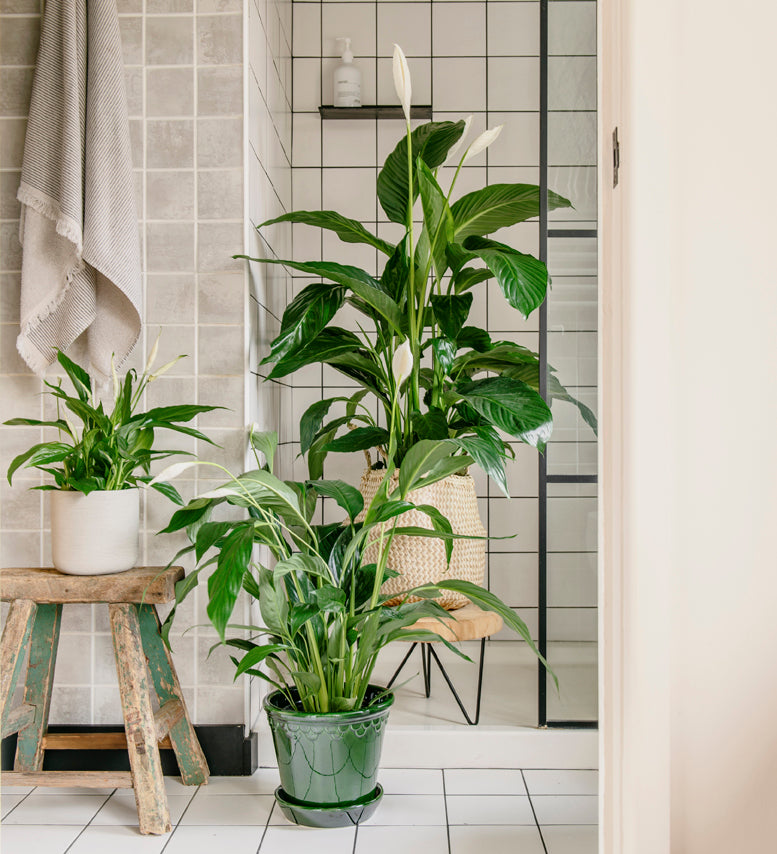
Native to the tropical rainforests, peace lilies thrive in a specific balance of moisture. They’re a bit like Goldilocks – neither too dry nor too wet.
Their soil should be consistently moist but not soggy, akin to the perfect sponge cake.
Overwatering can cause root rot, a severe issue for these plants, while letting the soil dry out can lead to drooping, sad leaves.
Besides, humidity is crucial, too; if your home is dry, especially in winter, use a humidifier or place a water tray nearby to mimic their natural, humid habitat.
2. Check the Soil Before Watering
Simply stick your finger about an inch into the soil. If it feels dry, it’s time to water. If it’s still moist, hold off for a few more days. This little trick can save you a lot of heartache and keep your peace lily looking fabulous.
Remember, if the leaves start to droop, it’s usually a sign they’re thirsty. But don’t just rely on the leaves; always check the soil to be sure.
3. Water Thoroughly and Evenly
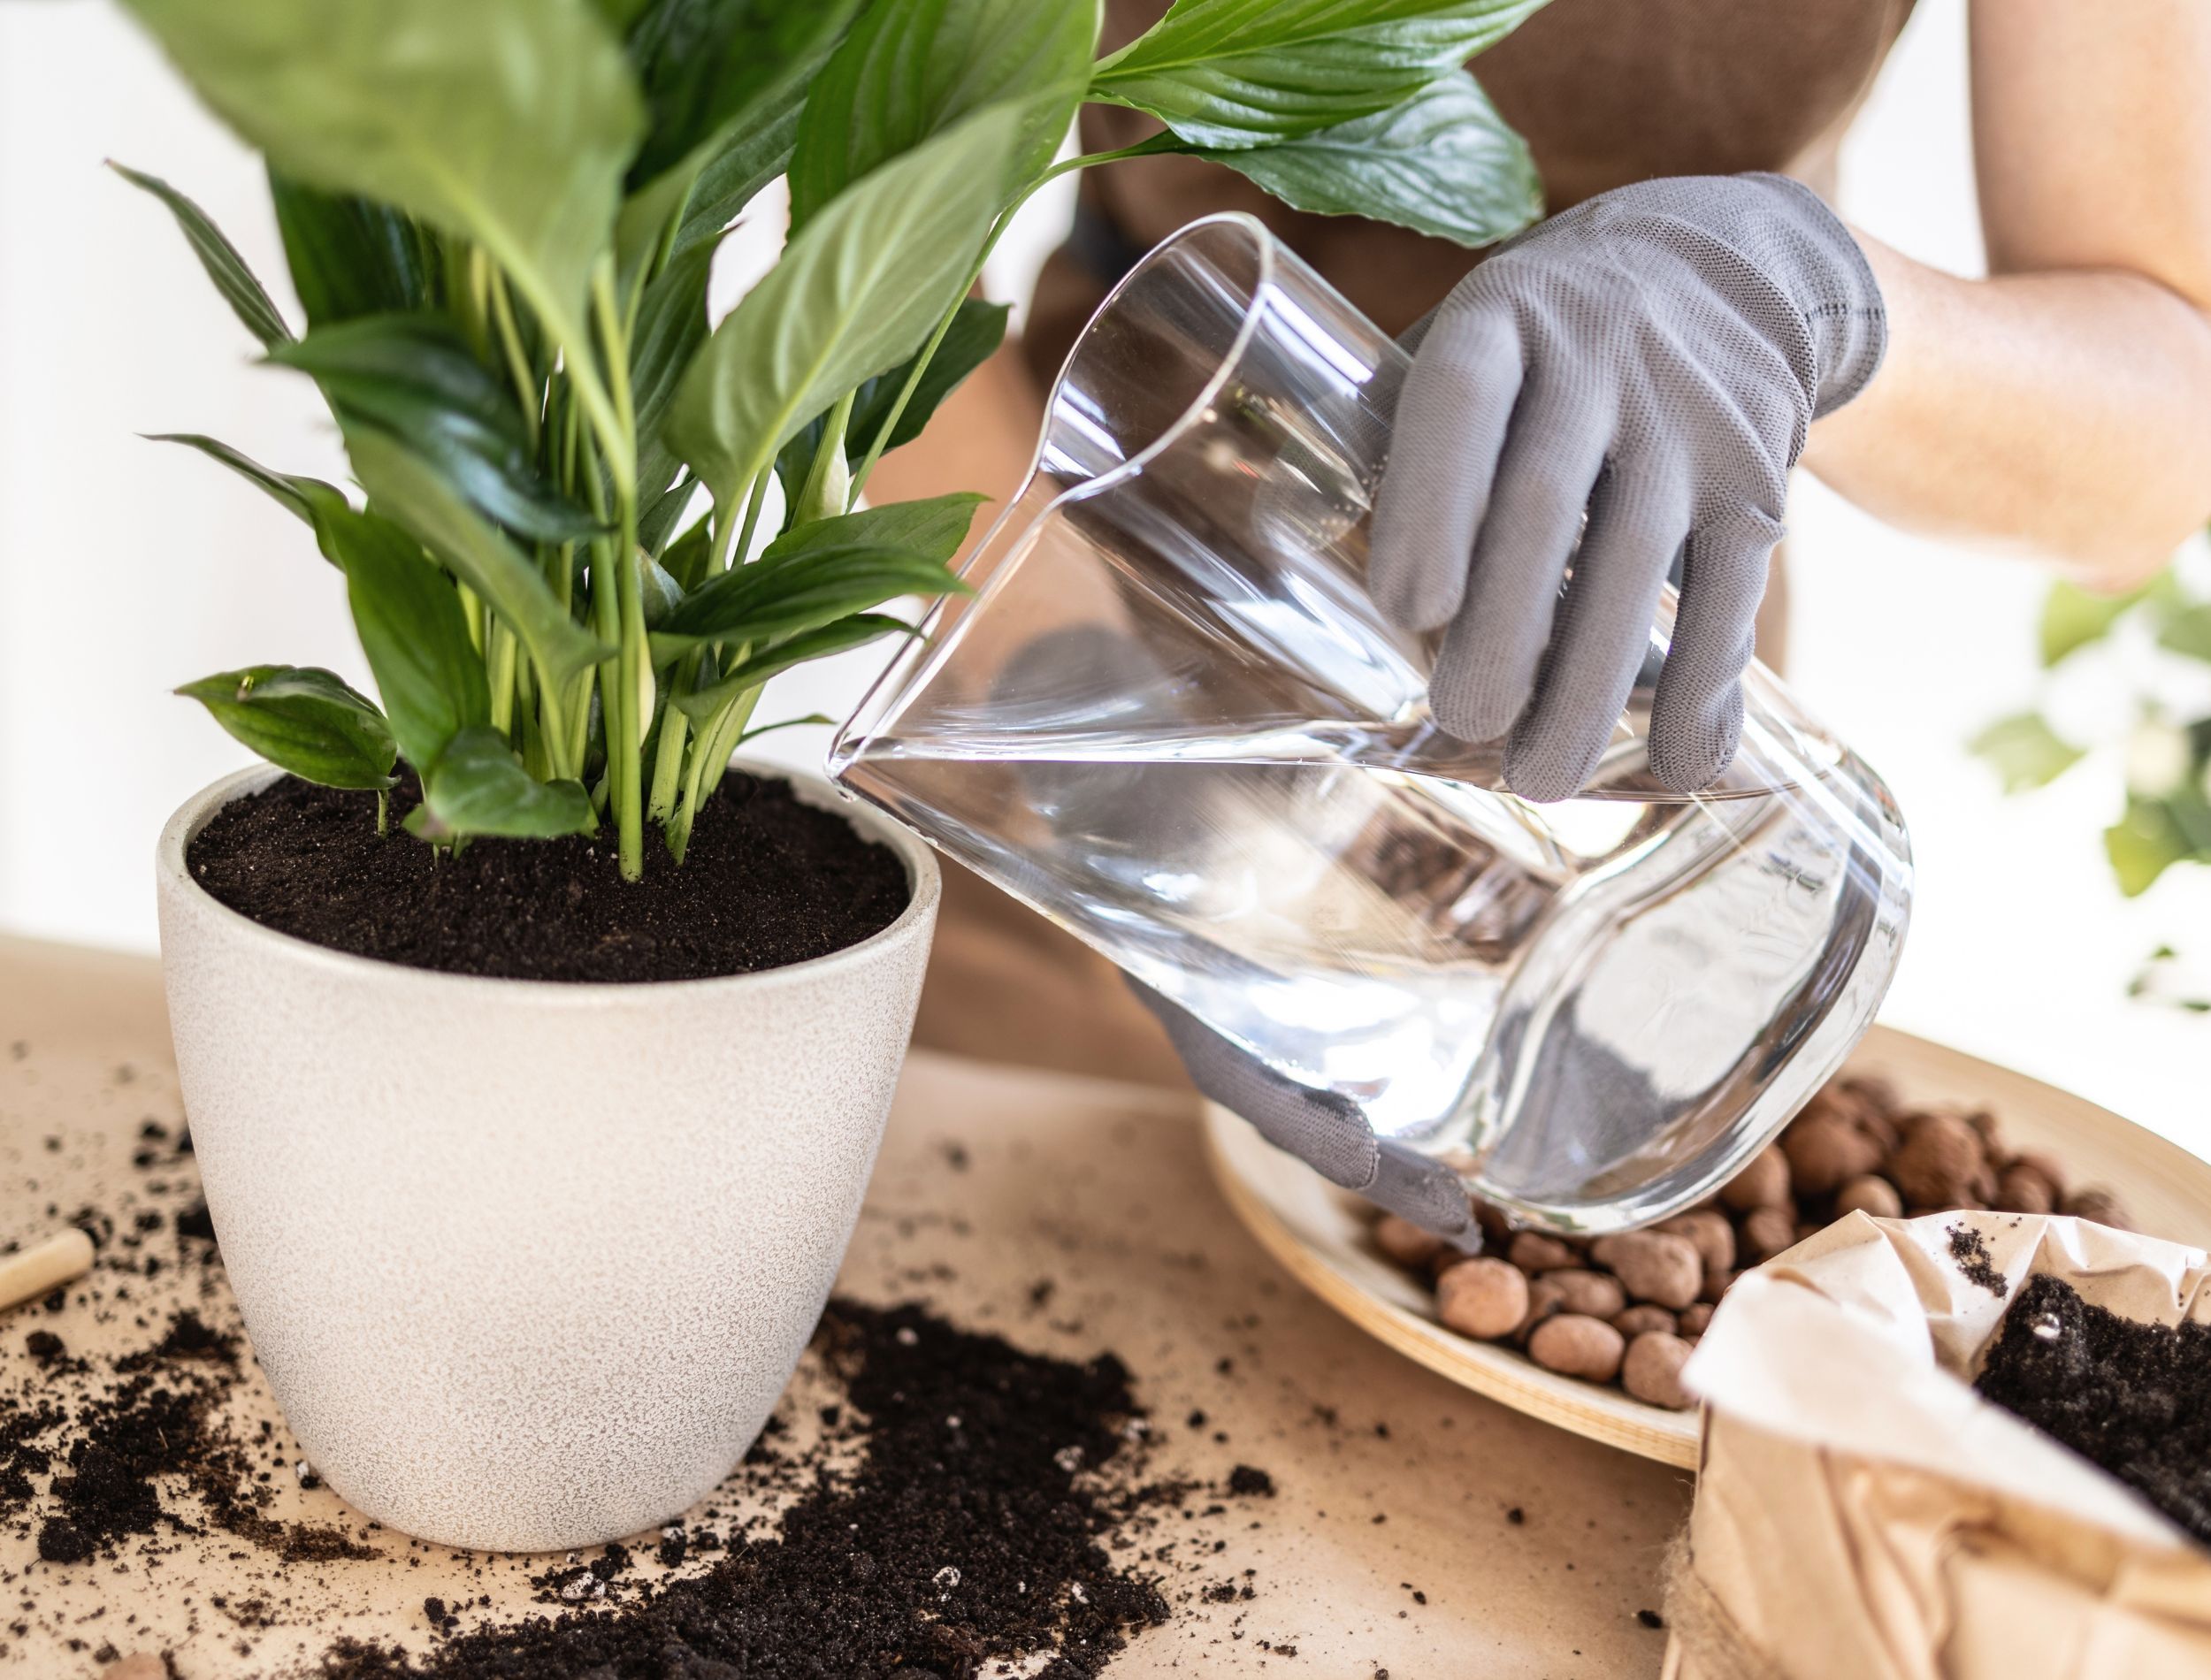
Peace lilies thrive in moist, humid conditions. However, many people unknowingly harm their plants by overwatering or haphazardly splashing water on the leaves.
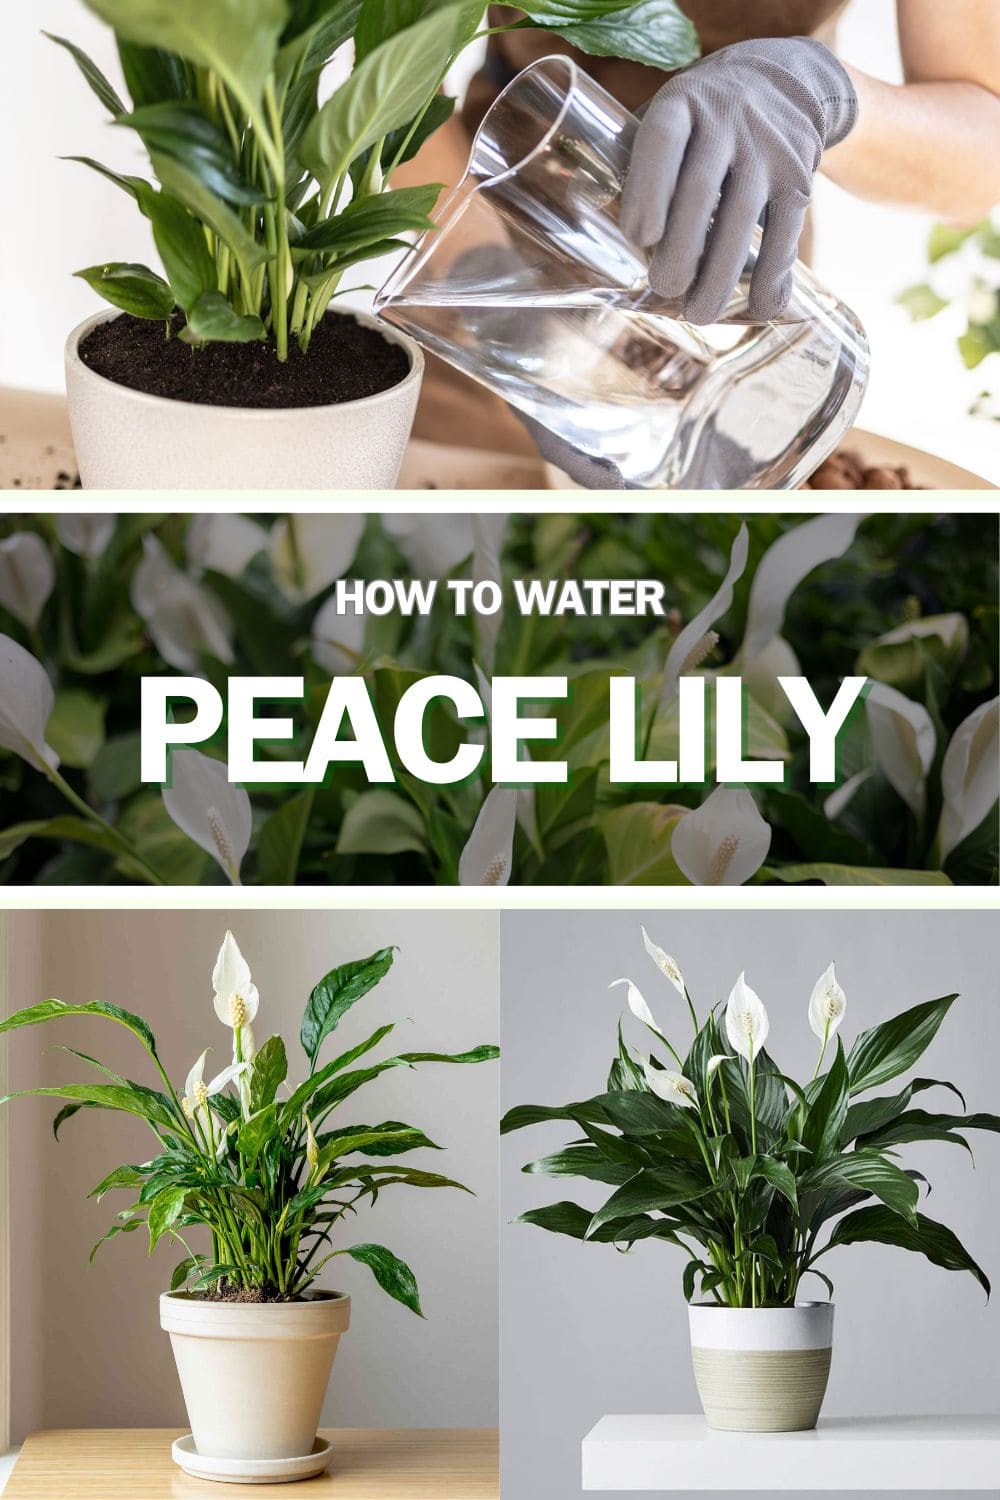
Therefore, you imagine giving it a deep, steady drink. Gently pour water at the base, letting it soak down to the roots.
Continue until water trickles from the drainage holes, ensuring the roots are hydrated and any salt buildup is flushed away.
Remember, peace lilies prefer their leaves dry, so you should focus on the soil. Water only when the top inch of soil feels dry, and your plant will flourish.
4. Maintain Proper Drainage
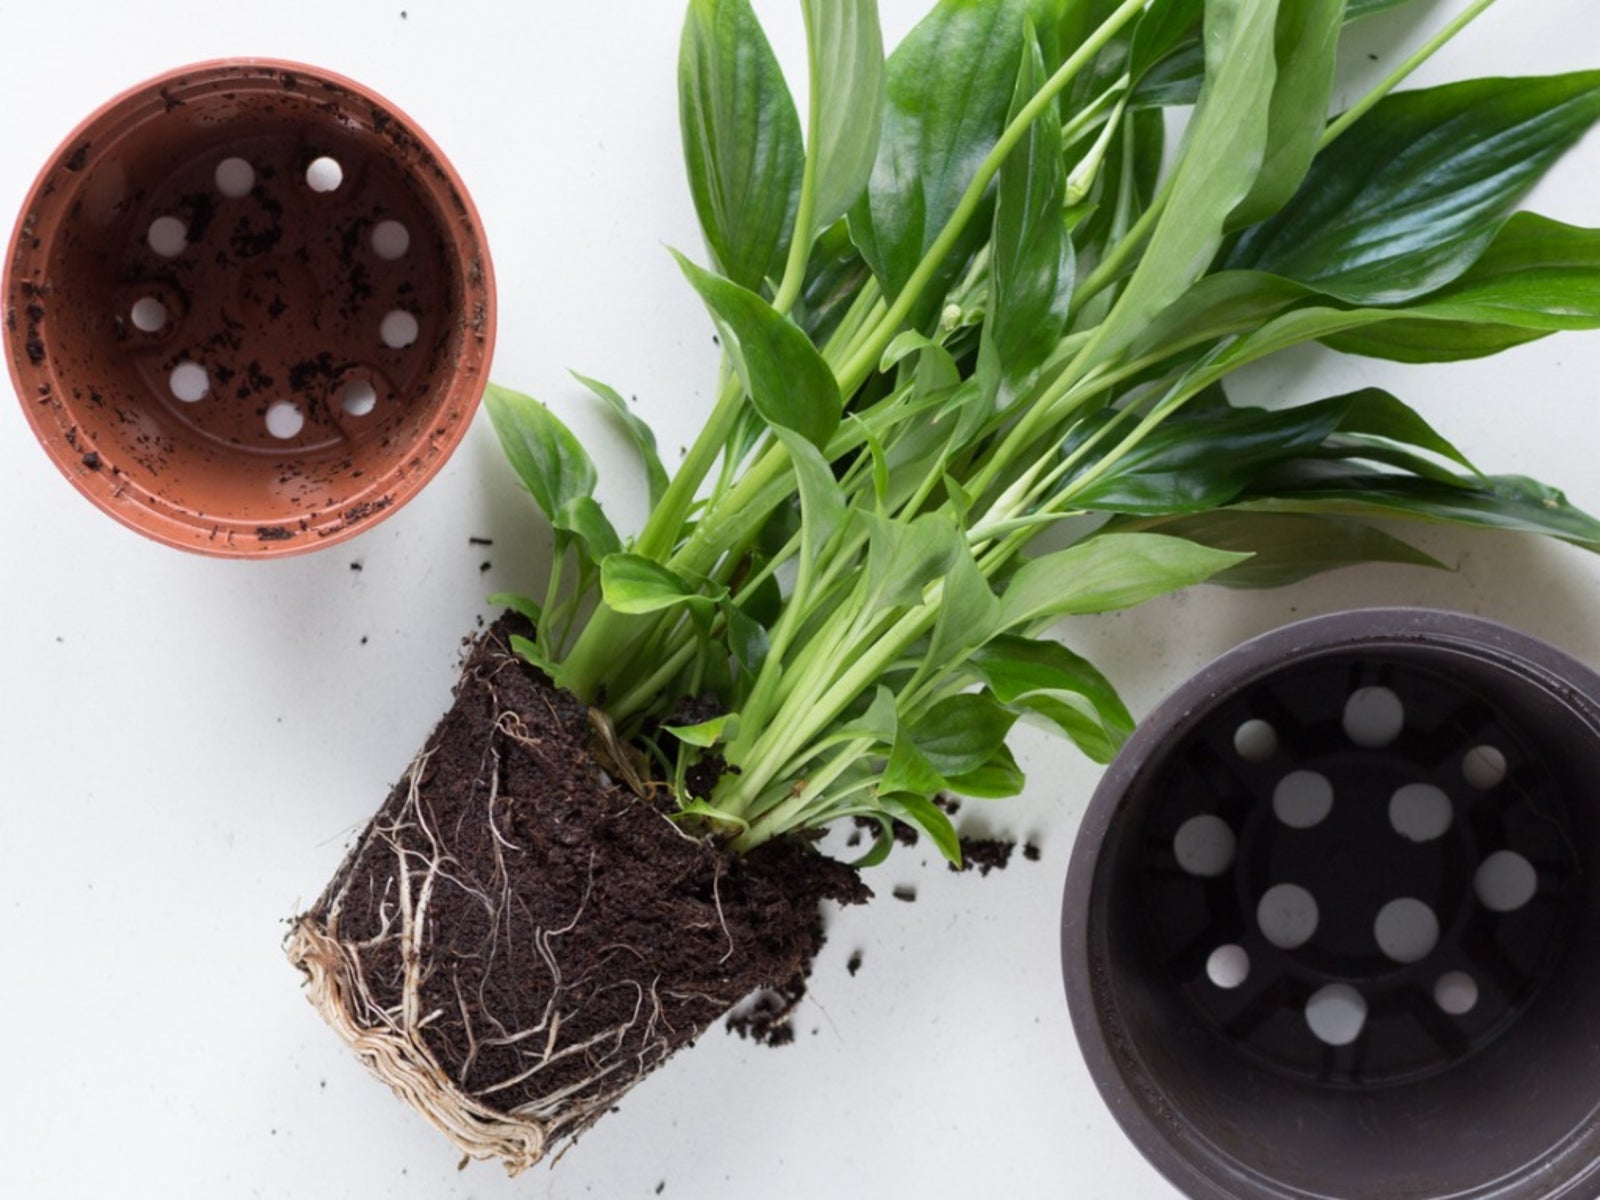
First things first, ensure your pot has drainage holes. It sounds simple, but many people overlook this crucial step.
Those holes allow excess water to escape, preventing your peace lily’s roots from sitting in a soggy mess. If your pot lacks them, either drill some or get a new one.
Next, focus on the soil. Regular potting soil can be too dense, retaining water like a sponge.
Instead, you need to opt for a well-draining mix with perlite or sand to keep water flowing smoothly and avoid waterlogging.
5. Adjust for Seasonal Changes
In the summer, when the air is hot and dry, your plant may need more frequent watering. Conversely, during cooler months, you can ease up as its growth slows.
I’ve found my Peace Lily dries out faster in summer, so I monitor soil moisture closely.
However, winter with indoor heating can also dry out the air, making the plant thirstier.
6. Common Mistakes to Avoid
Watering on a Schedule
One of the biggest mistakes you can make is watering your peace lily on a strict schedule.
Plants aren’t like us; they don’t need a drink every day at 3 PM. Instead, you should check the soil moisture as the way I showed above.
Using Cold Water
Peace lilies are tropical plants, and they prefer their water to be room temperature. Cold water can shock the roots and cause stress.
So, let the water sit out for a bit before giving your plant a drink.
Yellow Leaves

Yellow leaves are often a sign that something’s off. It could be overwatering, underwatering, or even poor drainage.
If you notice yellow leaves, take a closer look at your watering habits and soil conditions. Adjust as needed, and your plant should bounce back in no time.
Root Rot

Root rot is the grim reaper of peace lilies. it’s usually caused by overwatering or poor drainage.
If you notice your plant’s leaves drooping and the soil is constantly wet, you may need to repot your plant in fresh, well-draining soil and cut back on the watering.
