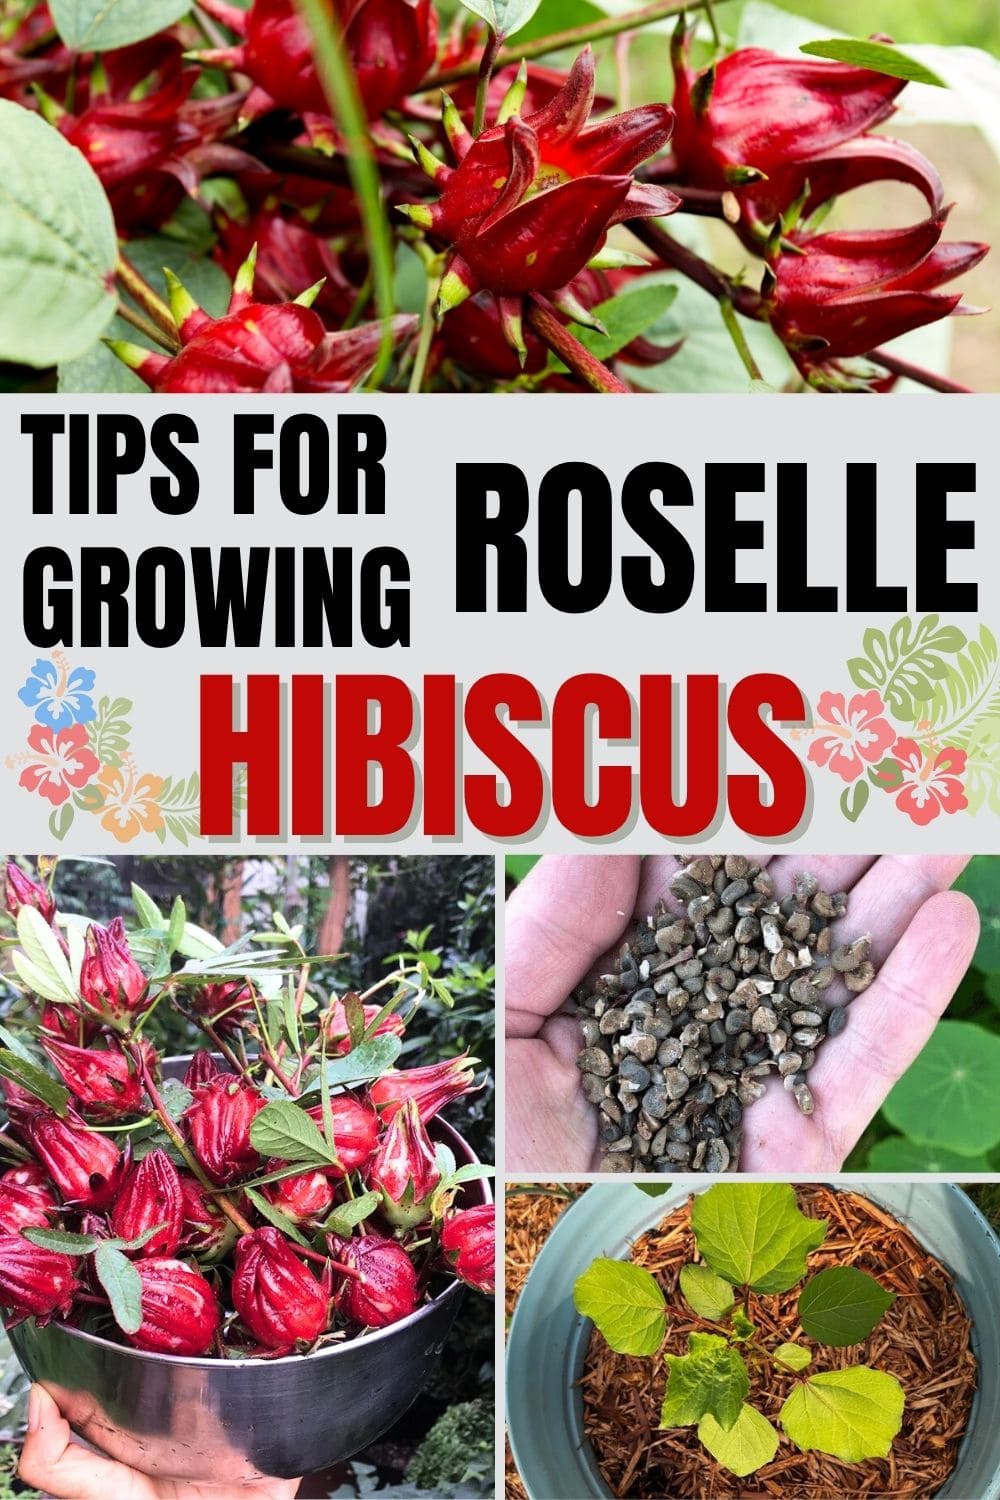
Roselle hibiscus is a treasure trove of color, culture, and culinary possibilities. Known for its vibrant crimson calyces, Roselle is beloved across the globe for making tangy hibiscus tea, jam, and even herbal remedies.
Moreover, you can grow it right in your backyard or on a sunny patio, starting from just a handful of seeds.
If you’re a beginner, don’t worry. This guide walks you through every step from choosing seeds to harvesting and using your homegrown hibiscus.
Choosing the Right Roselle Seeds
Not all hibiscus plants are the same. While many are grown for showy flowers, Roselle (Hibiscus sabdariffa) is grown for its edible calyces.
Look for seed packets specifically labeled Hibiscus sabdariffa, and avoid varieties meant solely for ornamental purposes like Hibiscus rosa-sinensis or Hibiscus syriacus. These won’t give you the tangy red calyces used in teas and jams.
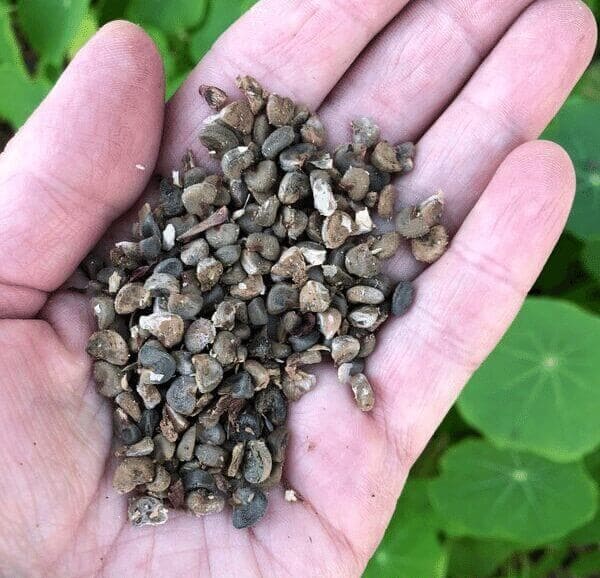
Try to buy seeds from a reputable source that offers heirloom or organically grown options. If you can get seeds that have a high germination rate listed, even better as it’ll save you from planting too many backups.
Some local gardening groups or seed-saving exchanges also share Roselle seeds in warmer regions.
When and Where to Start Roselle Seeds
Roselle thrives in tropical and subtropical climates, but it can be grown as an annual in many temperate regions as long as you give it a long, warm season.
From seed to harvest, Roselle needs about 150 to 180 frost-free days to fully mature and produce calyces.
In warm climates (USDA Zones 9-11), you can sow seeds directly outdoors once the soil is consistently warm, usually in early spring.
In cooler climates (Zones 6-8), start seeds indoors 6-8 weeks before your last frost date, then transplant them outdoors once nighttime temperatures stay above 60°F (15°C).
The plant needs full sun (at least 6-8 hours per day) and warm, well-drained soil to thrive. A sunny garden bed, raised bed, or even a large container can work well.
Just make sure to provide plenty of space, as Roselle can grow up to 5-7 feet tall and 3-4 feet wide in good conditions.
Preparing Roselle Seeds for Germination
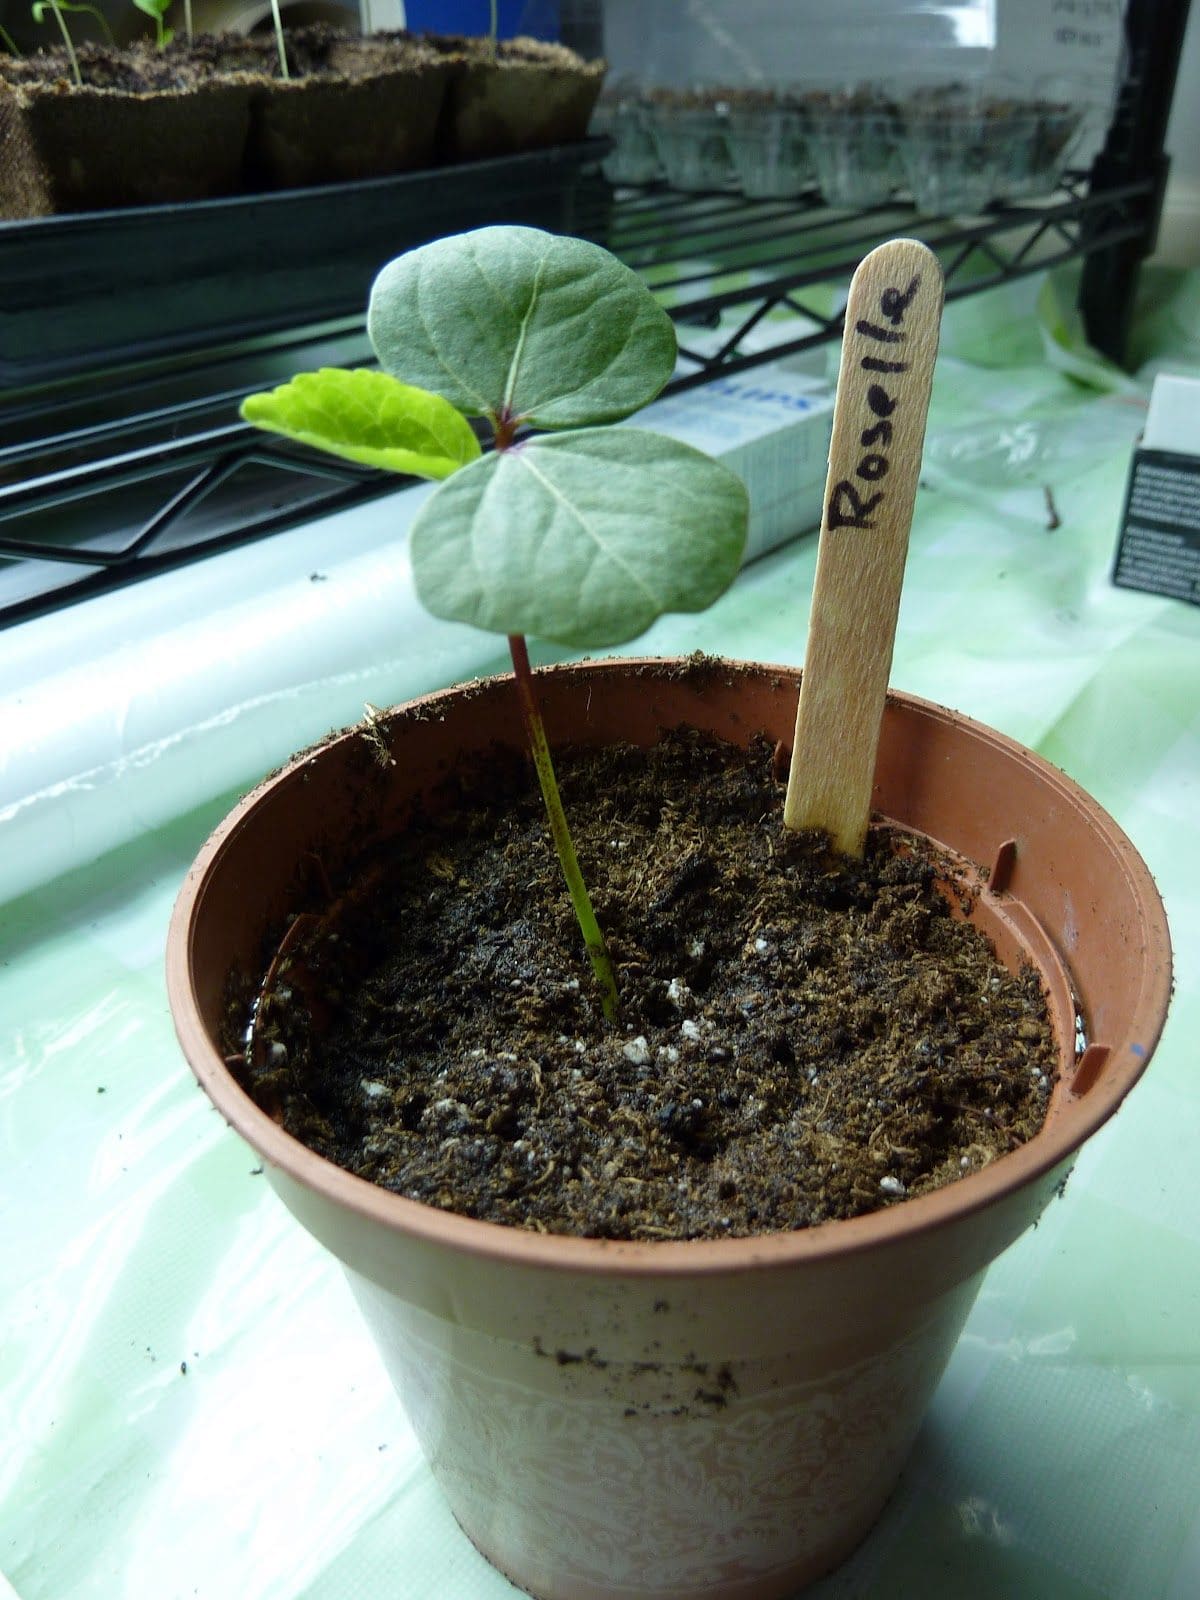
Roselle seeds have a tough, woody coating that can slow germination if not prepared properly.
To give your seeds the best chance, you should place the seeds in a cup of warm (not hot) water and let them soak for 8-12 hours.
For even better results, you can gently nick or sand one side of the seed using a nail file or fine sandpaper before soaking. This allows water to penetrate more easily.
After soaking, plant seeds about ¼ inch deep in a well-draining seed-starting mix. You can use biodegradable pots, trays, or cell packs when it comes time to transplant.
Creating the Ideal Germination Conditions
Roselle likes it hot. To germinate successfully, it needs warm temperatures and consistent moisture.
Therefore, you should keep the growing area between 75-85°F (24-29°C). A seedling heat mat is extremely helpful if your home stays cooler in spring.
Once sprouted, the seedlings need strong light to avoid becoming leggy. A sunny windowsill can work, but grow lights are more reliable. Aim for 12-14 hours of light per day.
Besides, covering trays with a clear humidity dome helps retain moisture while the seeds are sprouting, but remove it once most have germinated to avoid mold or fungus.
You can expect seedlings to emerge within 7-14 days, depending on the conditions.
Transplanting Roselle Hibiscus Seedlings Outdoors
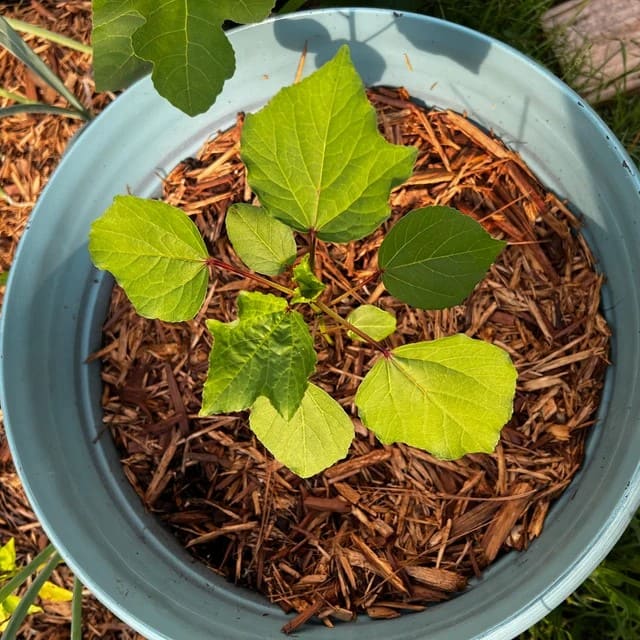
Once your seedlings are about 4-6 inches tall and have developed a few sets of true leaves, they’re ready to move outside.
But don’t rush! Harden them off first by gradually introducing them to outdoor sunlight and wind over a week.
When transplanting into your garden or pots, give each plant 2.5-3 feet of space to grow. Also, choose fertile, well-drained soil with a neutral to slightly acidic pH (6.0-7.0).
In windy areas or if your plants grow tall, consider using a stake to keep them upright. Once in the ground, give your plants a generous watering and mulch around the base.
Watering, Feeding, and Daily Care for Roselle Hibiscus
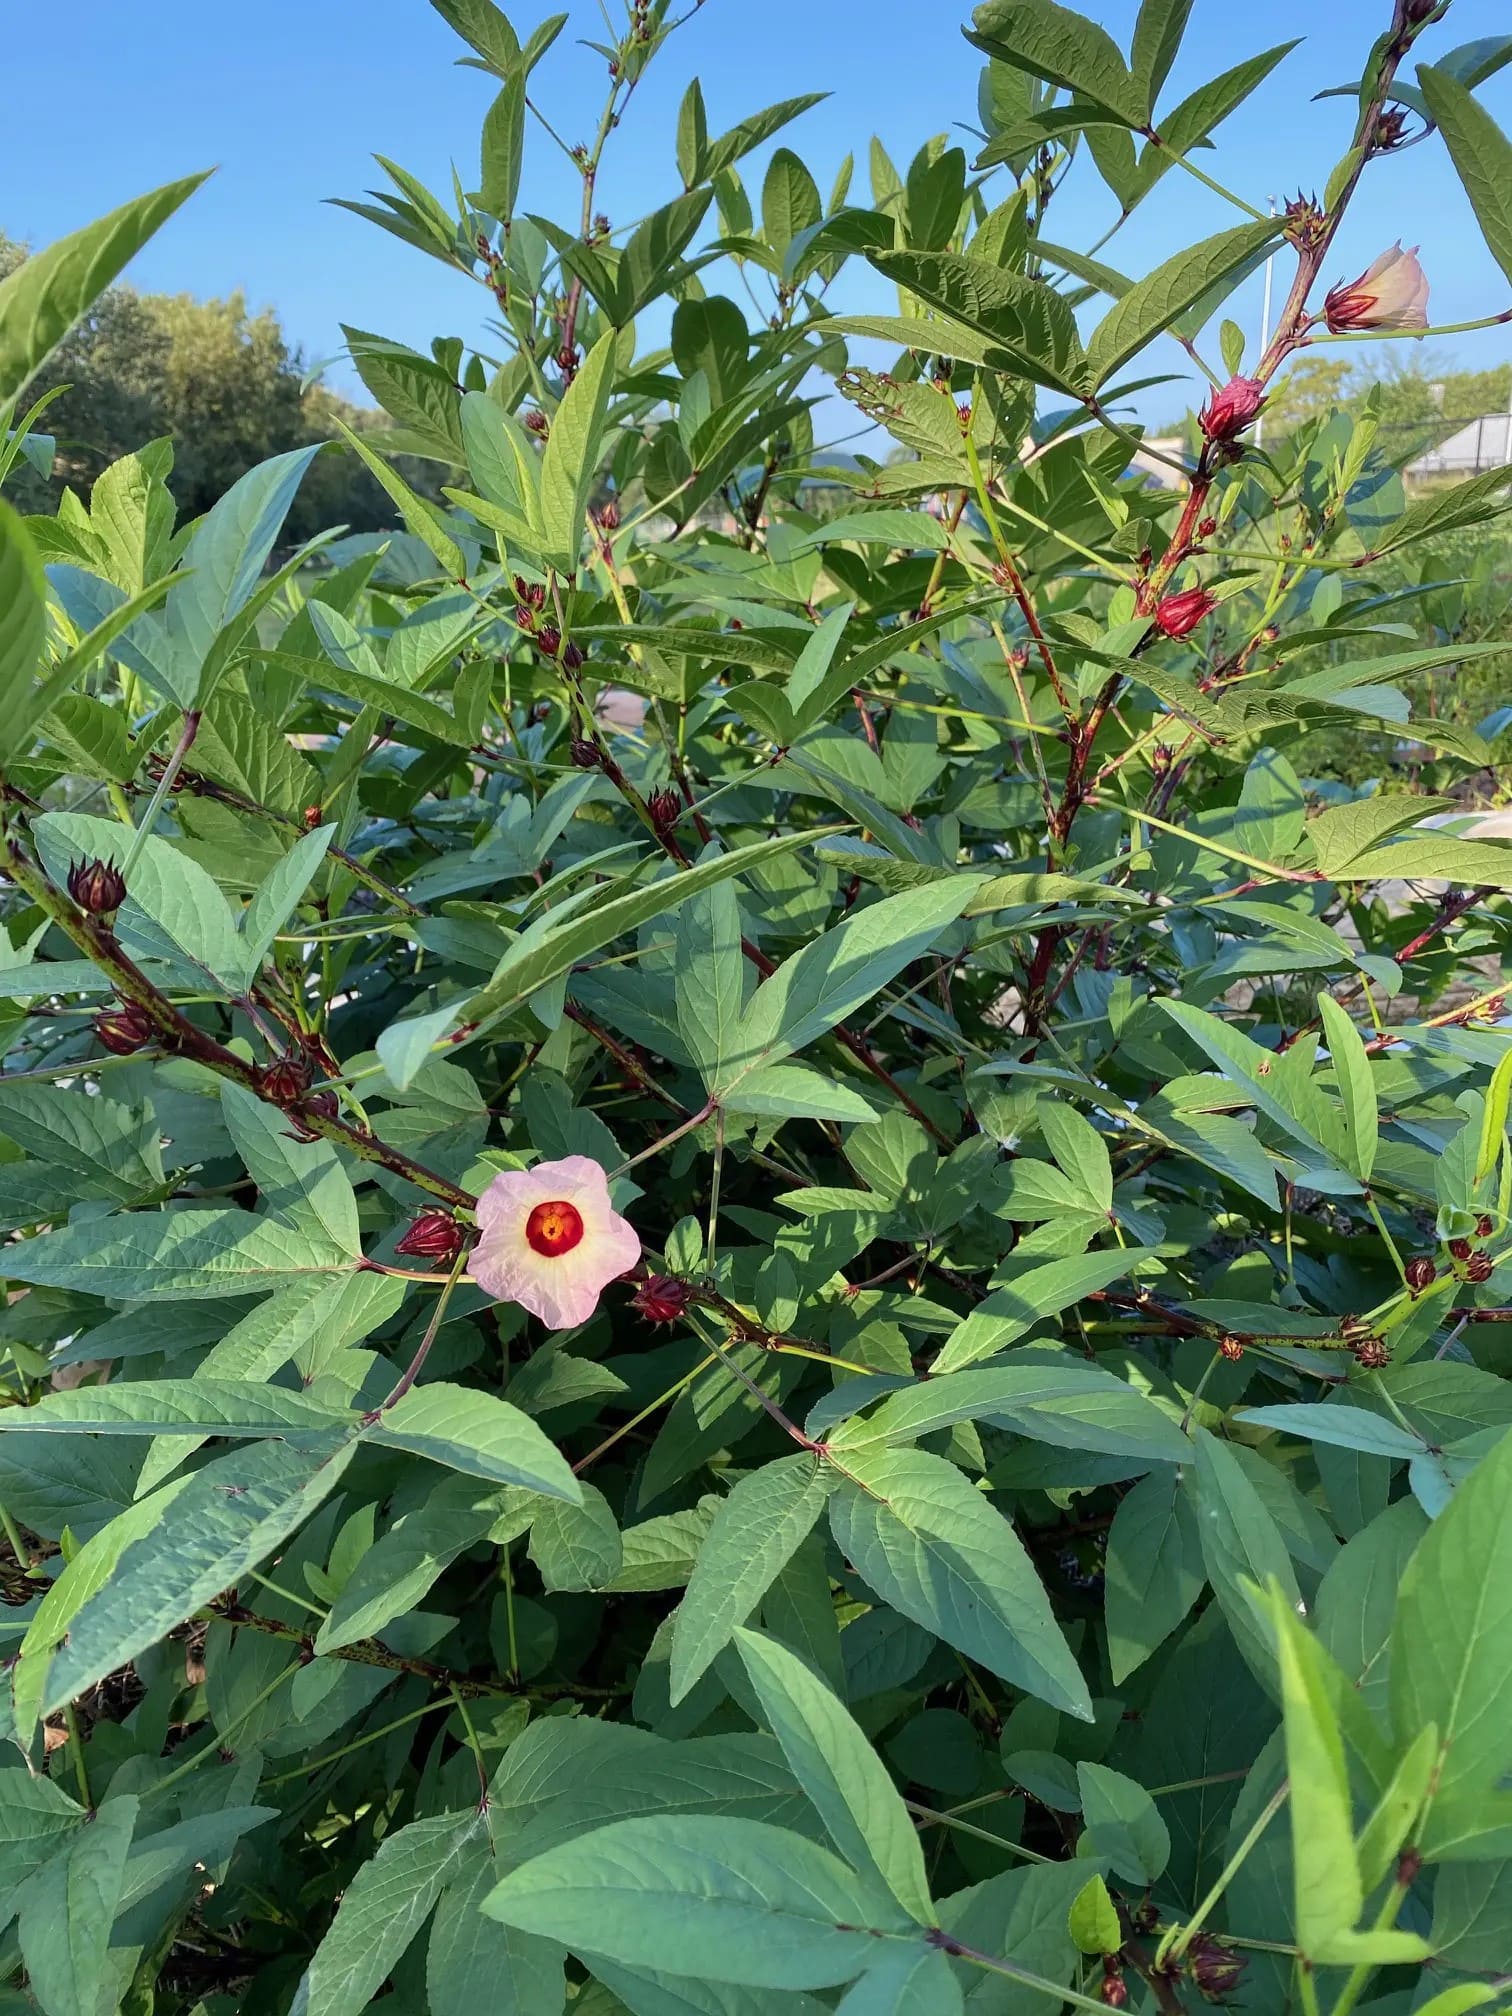
You need to water deeply and regularly. In dry periods, you may need to water every other day, especially once the plant gets large. Let the top inch of soil dry out between watering to avoid root rot.
In addition, use an all-purpose organic fertilizer or compost tea once a month. As it nears flowering, switch to a fertilizer higher in potassium to encourage strong blooms and calyx growth.
Bonus, a 2-3 inch layer of mulch helps retain soil moisture and reduce weeds, especially during hot summer months.
Common Pests and How to Handle Them
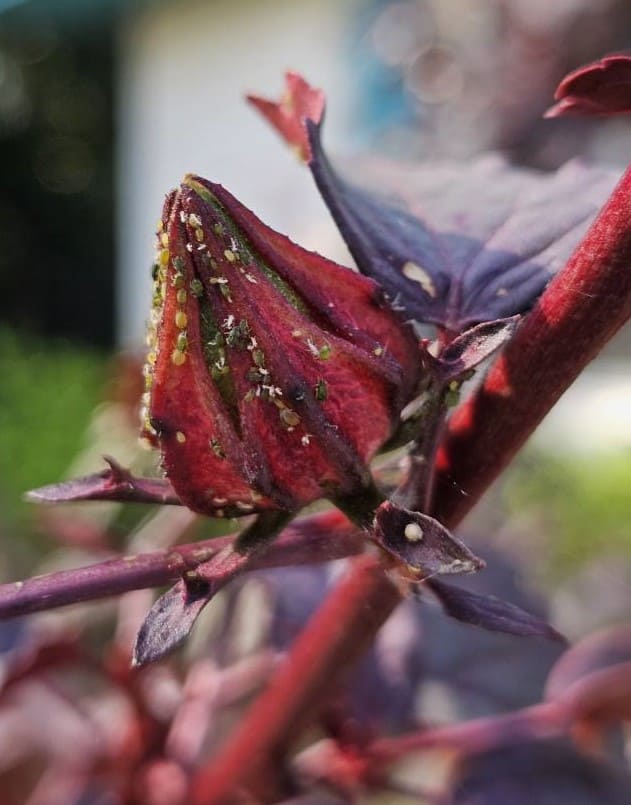
Roselle is not overly prone to pests, but sometimes you can see aphids and whiteflies sucking plant sap and weakening new growth.
So you can control them with a gentle spray of water or neem oil. Also, look for tiny webs and yellowing leaves in hot, dry conditions, then mist the leaves or spray with insecticidal soap.
Especially, if you face fungal spots or mildew, improve air circulation and avoid wetting the leaves.
When and How to Harvest Roselle Calyces
After about 90-100 days of growth, Roselle begins to flower.
The pale yellow blooms open for just a single day before fading, leaving behind a small green seed pod surrounded by a thick, fleshy red calyx. This is what you’ve been waiting for.
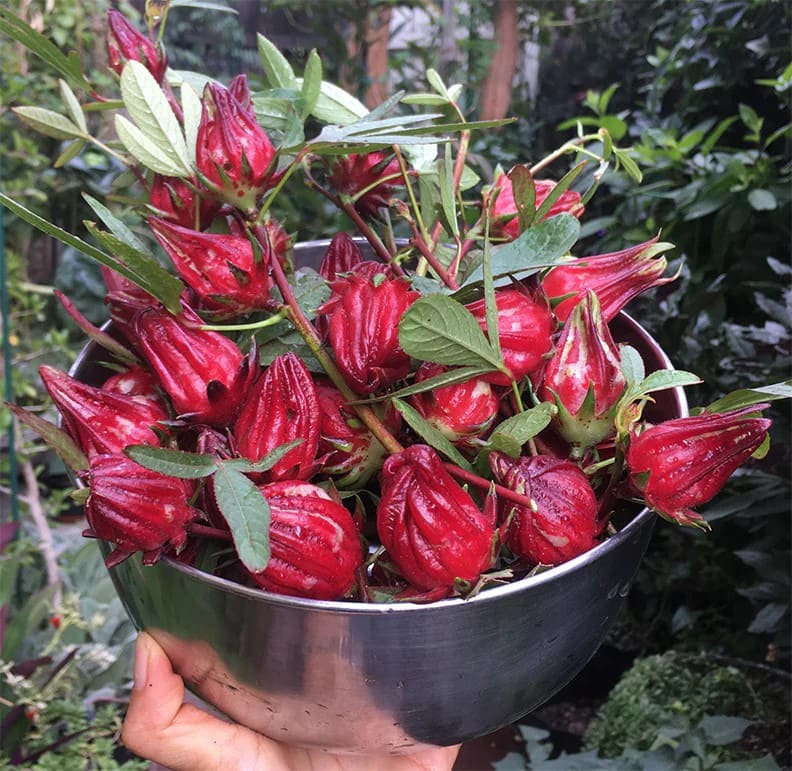
Calyces are usually ready when they’re about 1-1.5 inches long and still tender. They should feel firm, not woody. If you wait too long, the calyces become tough and less flavorful.
Now, use clean pruners or scissors to snip the calyx below its base. Harvesting regularly encourages more blooms and prolongs the season.
Drying and Storing Roselle Hibiscus
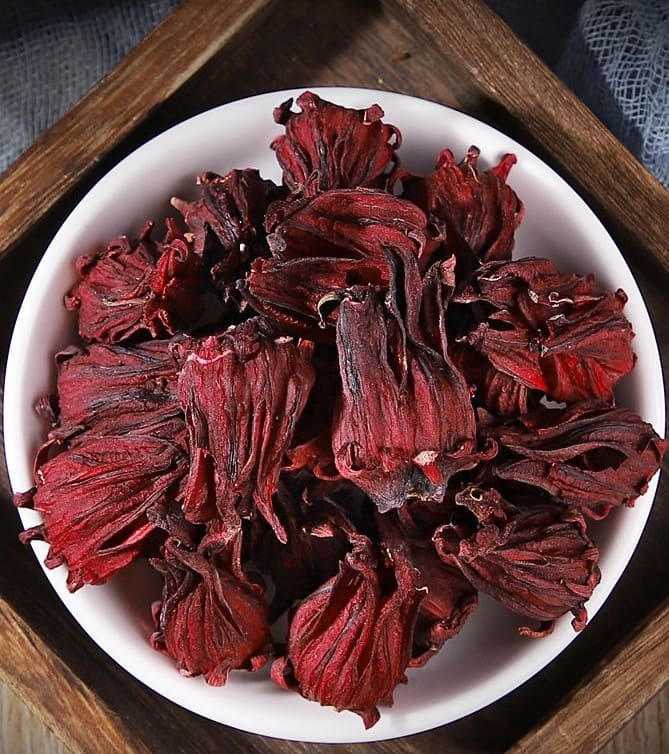
After harvesting, remove the central seed pod by slicing open the calyx and gently pushing out the seed ball.
Next, lay the calyces in a single layer on a screen or drying rack in a well-ventilated, shaded space. Alternatively, use a dehydrator on low heat (95-110°F / 35-43°C).
Once fully dry and crispy, store in airtight jars or vacuum-sealed bags. You can keep in a cool, dark pantry and use within a year for best flavor.
Use your dried hibiscus to brew tea, make syrups, or incorporate into baked goods and sauces. It’s endlessly versatile.
How to Save Roselle Hibiscus Seeds
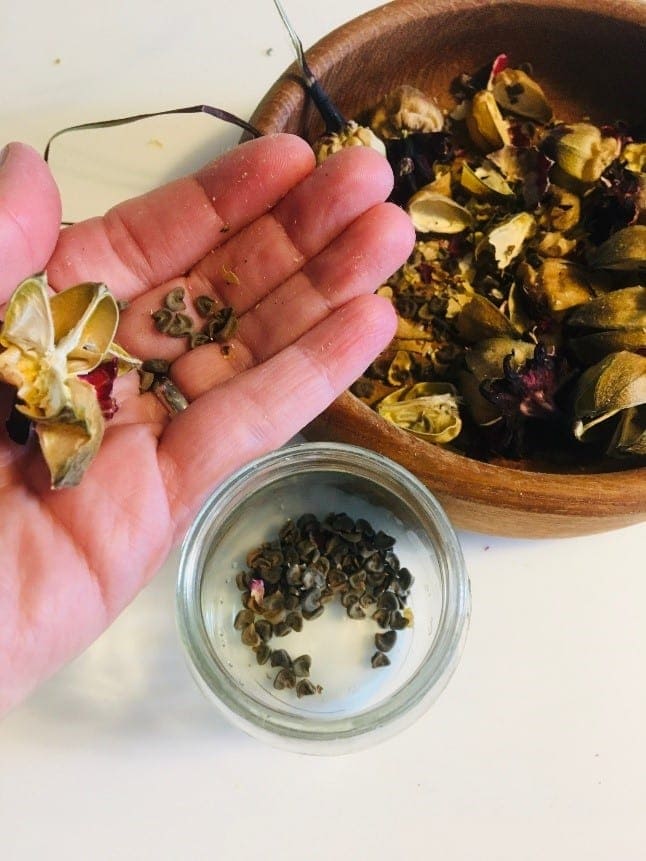
If you want to grow Roselle again next season (and trust me, you will), saving seeds is easy.
Leave a few calyces on the plant until they dry out and turn brown. Inside, you’ll find small, round, dark seeds. Let them dry completely before storing in paper envelopes or small jars.
Bonus, label with the date and variety, and keep them in a cool, dry place. Roselle seeds remain viable for 2-3 years if stored properly.
