If you’ve ever caught sight of a dusky cluster of berries hanging low on the edge of a wild field or along a quiet roadside, chances are, you’ve already met the elderberry.
You’ll find these inky purple fruits in old herbal journals, brewed into simmered into thick syrups to soothe sore throat and even combat the flue virus.
But elderberries aren’t your average garden snack. Unlike strawberries or blueberries, you need to know when to pick, handle them, and even how to prepare them safely.
Where Elderberries Grow Naturally
Elderberries, specifically Sambucus nigra and Sambucus canadensis, tend to favor the forgotten edges of the world.
You’ll often find them along the margins of wooded areas, in the dips of ditches, or hugging the edges of quiet creeks where water gathers after a good rain.
They thrive in places that strike a delicate balance between moisture and sunlight, often hiding behind barns or lining old fence rows, almost as if they prefer to keep company with silence and stillness.
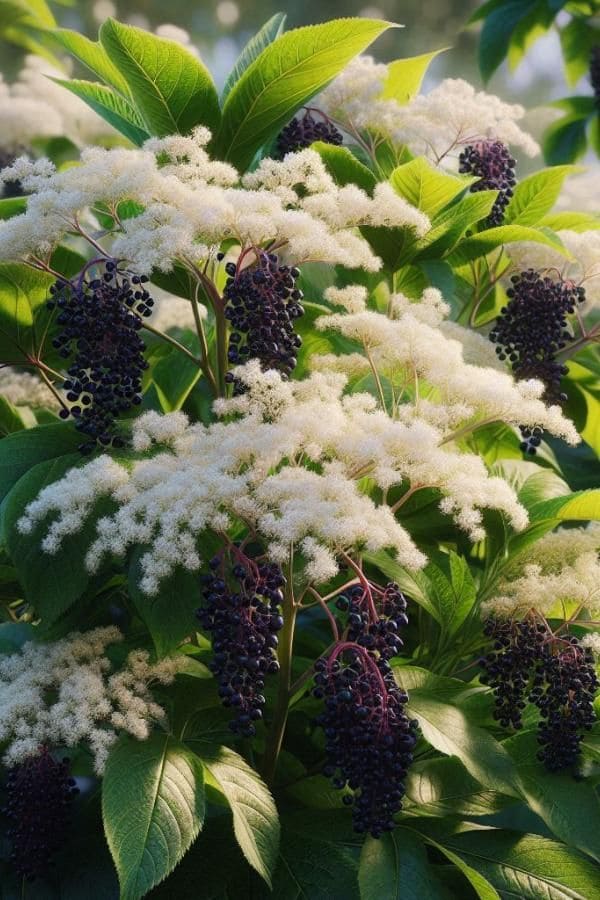
Spotting elderberries means looking for tall, shrubby plants that can reach up to ten feet. Their leaves are bright green and sharply serrated.
In early summer, they bloom with flat-topped clusters of tiny white flowers. When ripe, the berries droop heavily in dusky bunches, their color turning almost black with a soft, purplish sheen.
Of course, you don’t have to wander the backroads to enjoy elderberries. These hardy shrubs are surprisingly easy to cultivate at home.
Give them full sun and well-drained soil, and they’ll reward you with blooms and berries year after year. Even in partial shade, they manage just fine.
However, if you’re growing them for fruit, you’ll need at least two different elderberry varieties for proper cross-pollination. A lonely shrub won’t fruit nearly as well on its own.
When to Harvest Elderberries
Harvesting elderberries requires patience and precision. Get to them too early and you’ll be met with tart, slightly toxic clusters that upset your stomach.
Wait too long and the birds will beat you to the best of the bunch or a strong wind might knock them to the ground.
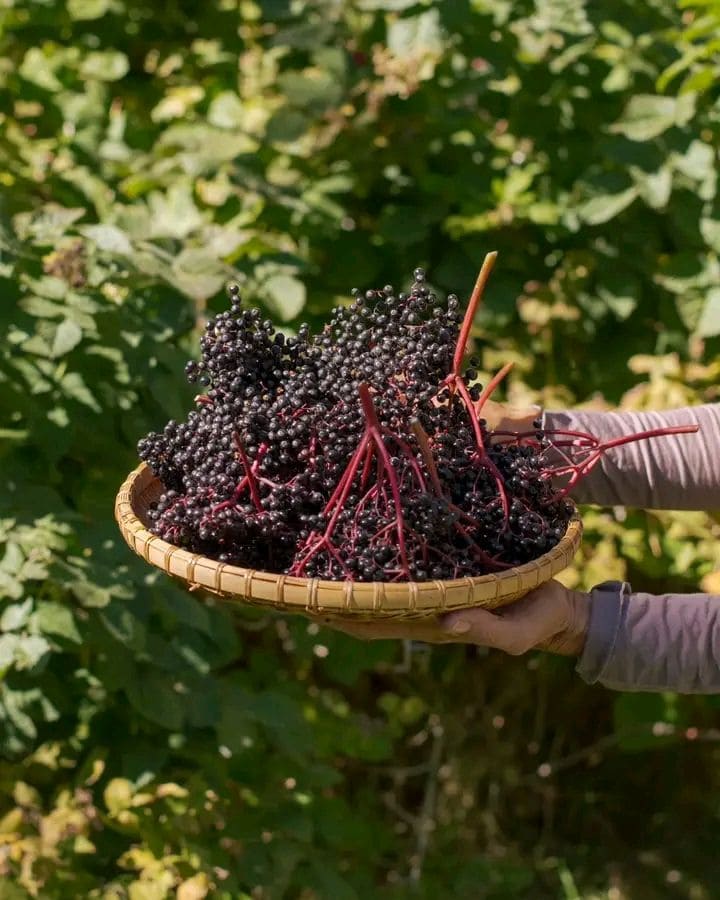
The right time is when the berries are deep, glossy, and nearly black. Any clusters showing green or red tones should be left to ripen further.
Depending on your climate, the harvesting window usually falls somewhere between late July and mid-September. Warmer zones see earlier fruiting, while cooler areas may keep you waiting a bit longer.
Gardening tips:
You should bring garden shears or a good pair of scissors. Snipping entire clusters saves time and reduces damage.
Trying to pull individual berries from the shrub will frustrate you and you’ll likely end up dropping more than you collect.
How to Handle Elderberries After Harvest
Once you bring your bounty home, don’t let it sit out. Elderberries spoil quickly and begin to ferment at room temperature.
If you’re not processing them right away, refrigeration is fine for a day or two but freezing the clusters is even better.
You just lay them flat in the freezer, and after a few hours the berries will easily fall away from their stems.
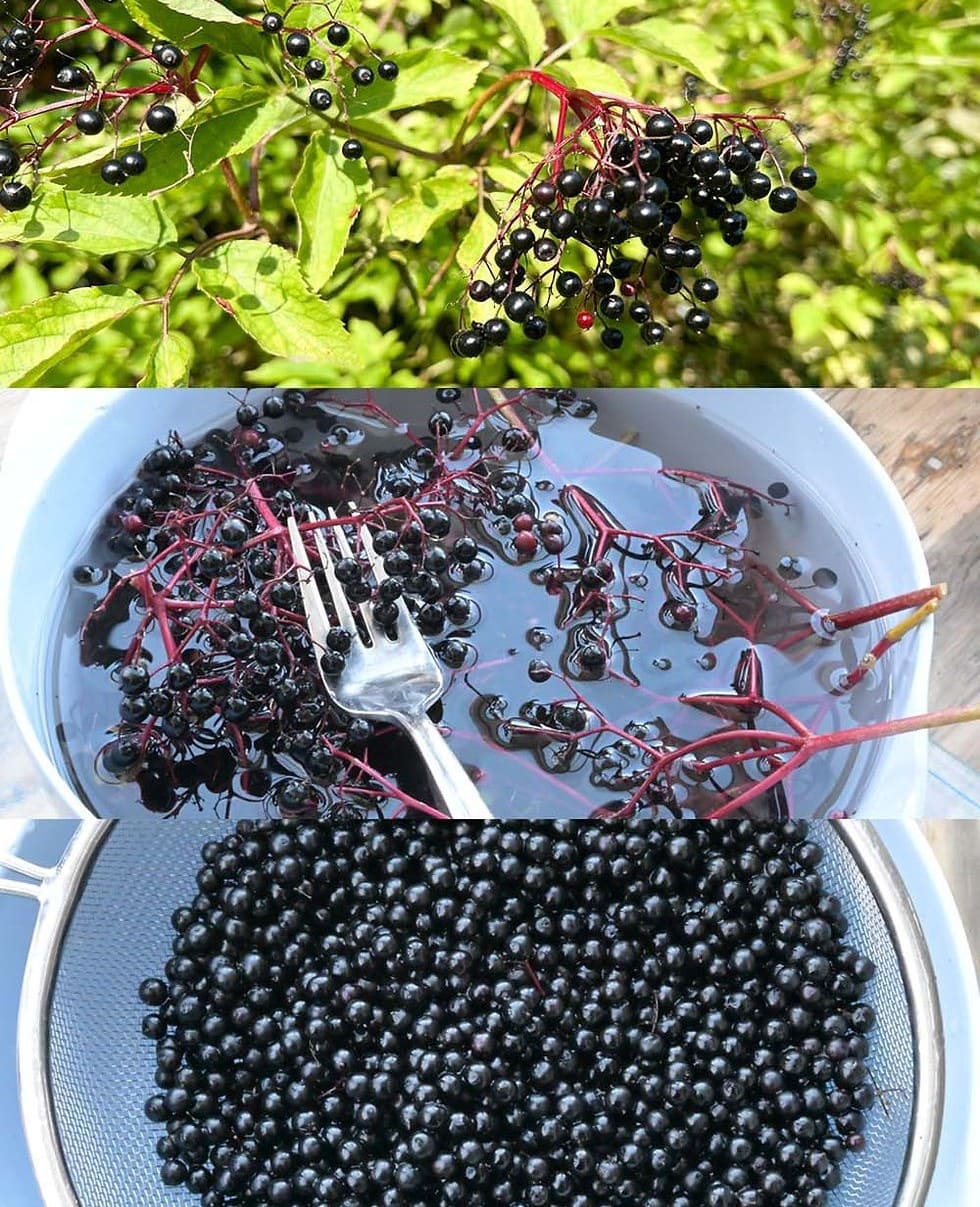
Some gardeners run a fork through the frozen clusters, while others prefer to roll them between their hands or simply pluck them one by one for small batches.
However you go about it, try to remove as much stem material as possible. Even tiny bits can affect the flavor and in large amounts, the stems can cause mild toxicity.
How to Clean Elderberries Properly
After you’ve removed the berries, place them in a mesh strainer and rinse them under cold running water. Gently swirl them with your hands to remove any remaining debris or sneaky insects.
You’ll often see a few unripe berries float to the top; it’s best to discard those.
Once rinsed, spread the berries on a clean towel and let them air-dry thoroughly. Moisture invites mold, so don’t rush this part.
And a word of caution, never eat elderberries raw in large amounts.
Even when ripe, they contain small amounts of glycosides that can break down into cyanide. It’s the reason elderberries are always cooked into syrups, jams, or wine.
How to Store Elderberries
If you’re using them fresh, aim to do so within two to three days if kept in the fridge.
For longer storage, freezing is best. Spread the berries on a baking sheet in a single layer until they’re solid, then transfer them into freezer bags or airtight containers.

If you’re ready to dive right in, cooking the berries into syrup is a timeless preservation method. It not only captures their rich flavor but also unlocks their immune-supporting properties.
Elderberry syrup has long been a trusted staple in herbal wellness, and for good reason.
A Gentle Word on Foraging Elderberries
You avoid harvesting near highways, factories, or areas where herbicides may have been used. Elderberries are sponges for their environment, and pollution can linger in the fruit.
Always leave some for nature. Birds, pollinators, and other wildlife rely on elderberries just as we do.
Overharvesting threatens the balance that keeps wild plants thriving. A light hand now ensures a healthy patch next season.
