Gardening without tilling might sound like a radical idea, but it’s actually an ancient practice that’s come back into the spotlight.
With no-till gardening, you’re preserving the earth, cutting down on labor, and promoting a healthier garden.
If you’re like me and love gardening but dread the back-breaking work of tilling, then this might be exactly the method you’ve been looking for!
Why Choose a No-Till Garden?
1. It’s Kinder to Your Soil
Imagine you have a cozy blanket protecting you on a chilly day, that’s what the top layer of soil does for the life beneath it. Tilling disrupts this protective layer, exposing delicate soil structures and disturbing the beneficial organisms living there.
In a no-till garden, the soil structure remains intact, allowing earthworms, fungi, and tiny microbes to do their thing. Over time, they create an ecosystem that naturally enriches the soil and supports plant growth.
2. Moisture Stays Where It Belongs
When soil isn’t broken up, it holds onto water much better, which means you’ll spend less time watering.
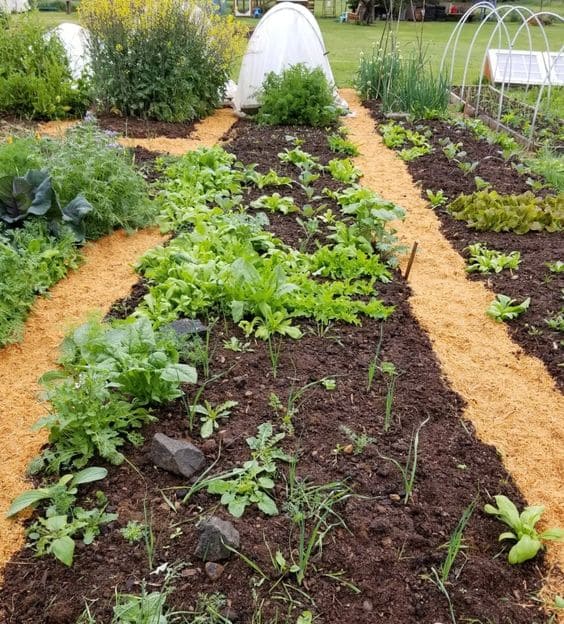
In a no-till setup, organic mulch covers the soil surface, locking in moisture and reducing evaporation. This means your plants stay hydrated longer, even during dry spells.
3. Fewer Weeds Over Time
Now, weeds are inevitable, but tilling can make the problem worse by bringing dormant weed seeds to the surface.
No-till gardening keeps those seeds buried where they won’t sprout, and the mulch layer helps smother any persistent weeds.
4. Less Labor and More Enjoyment
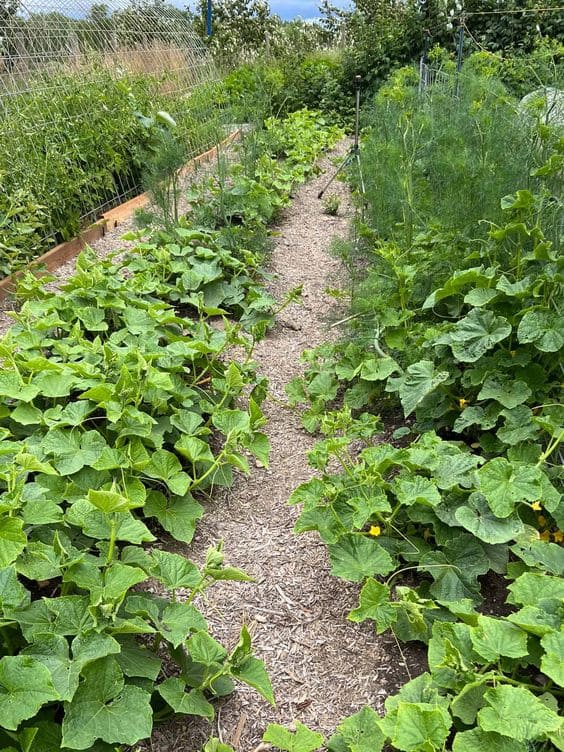
If tilling is the part of gardening you dread, no-till gardening is a breath of fresh air. There’s no need to haul out the heavy equipment or break a sweat tilling every spring.
Once your garden’s no-till layers are established, it practically takes care of itself, giving you more time to enjoy the process of planting and watching your garden thrive.
How to Start a No-Till Garden
Step 1: Plan Your Space Wisely
You should choose a spot with good sunlight and access to water. With no-till gardening, you’ll also want to consider crop rotation and companion planting.
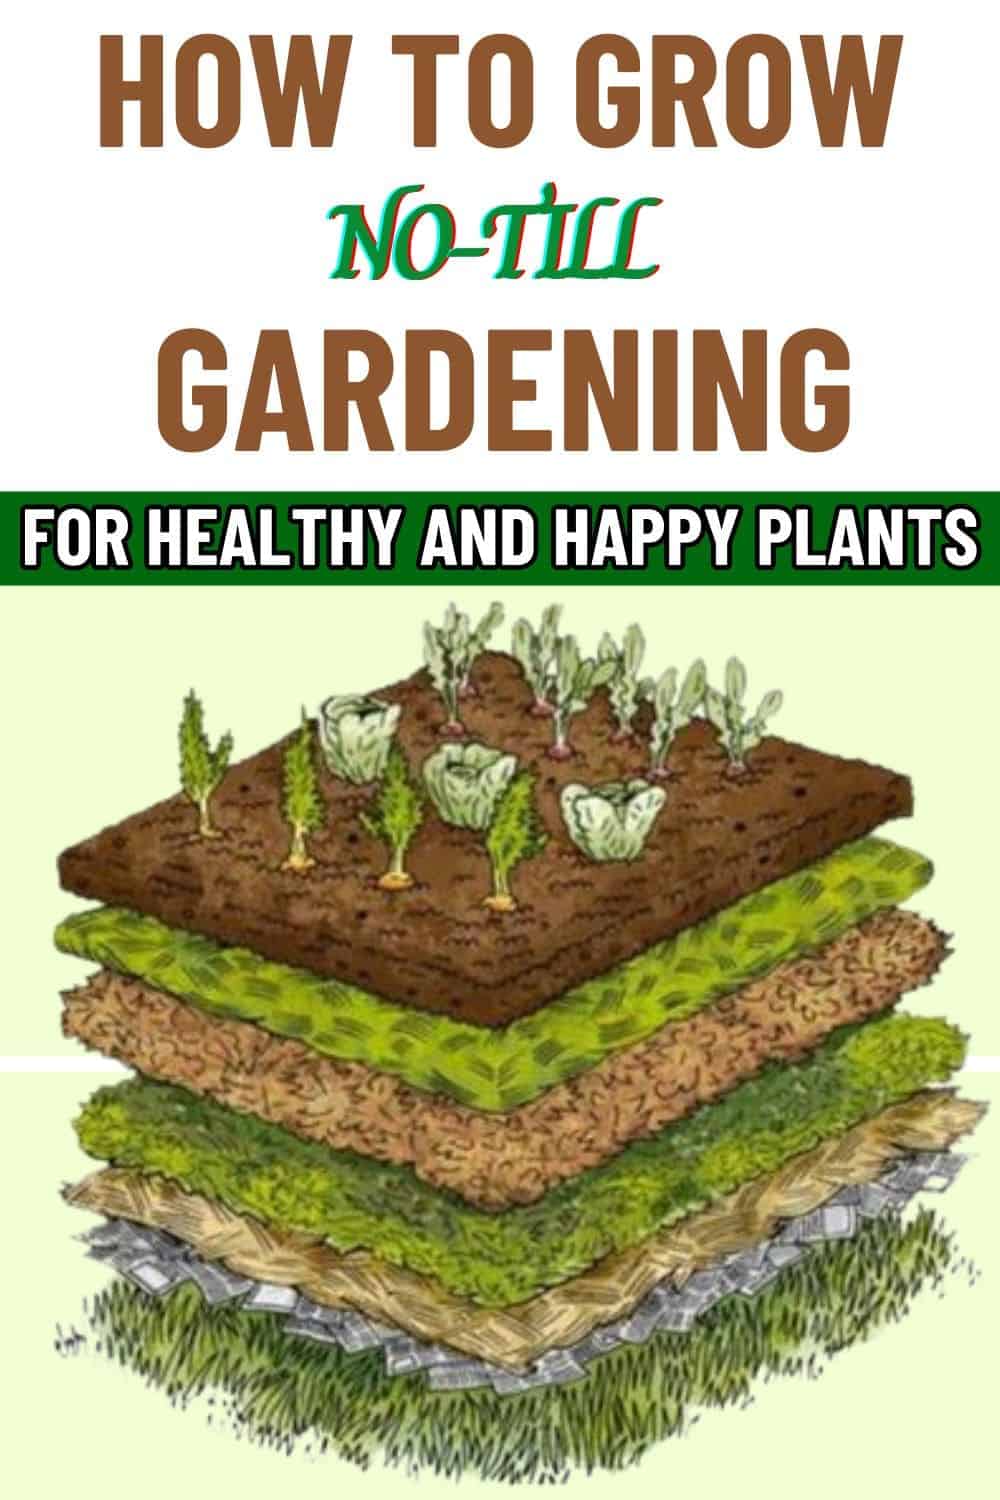
Step 2: Layering Organic Material: The “Lasagna” Method
With this method of building soil with layers, you’re creating a rich, fertile ground by stacking layers of organic material that slowly decompose and feed the soil. Here’s the breakdown:
- Base Layer (Cardboard or Newspaper): You cover the ground with a layer of cardboard or newspaper to suppresses weeds and eventually breaks down, adding organic matter.
- Organic Matter (Compost or Manure): Next, add a thick layer of compost or well-rotted manure. This is your garden’s food source, providing all the nutrients your plants will need.
- Mulch (Straw, Leaves, or Grass Clippings): Top it all off with a layer of mulch. Mulch is crucial because it protects the soil from drying out, keeps weeds down, and slowly breaks down into the soil.
Step 3: Planting Without Tilling
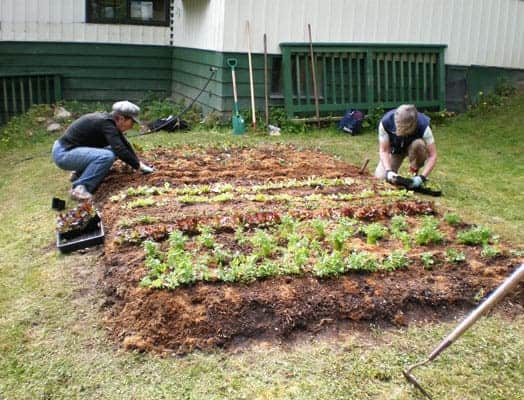
Once your layers are set, you can use a hand trowel or small spade to create a hole through the mulch and compost layers, then place your seeds or transplants.
The roots will grow down through the layers and into the soil without disturbing the ecosystem you’ve worked to build.
Maintaining a No-Till Garden
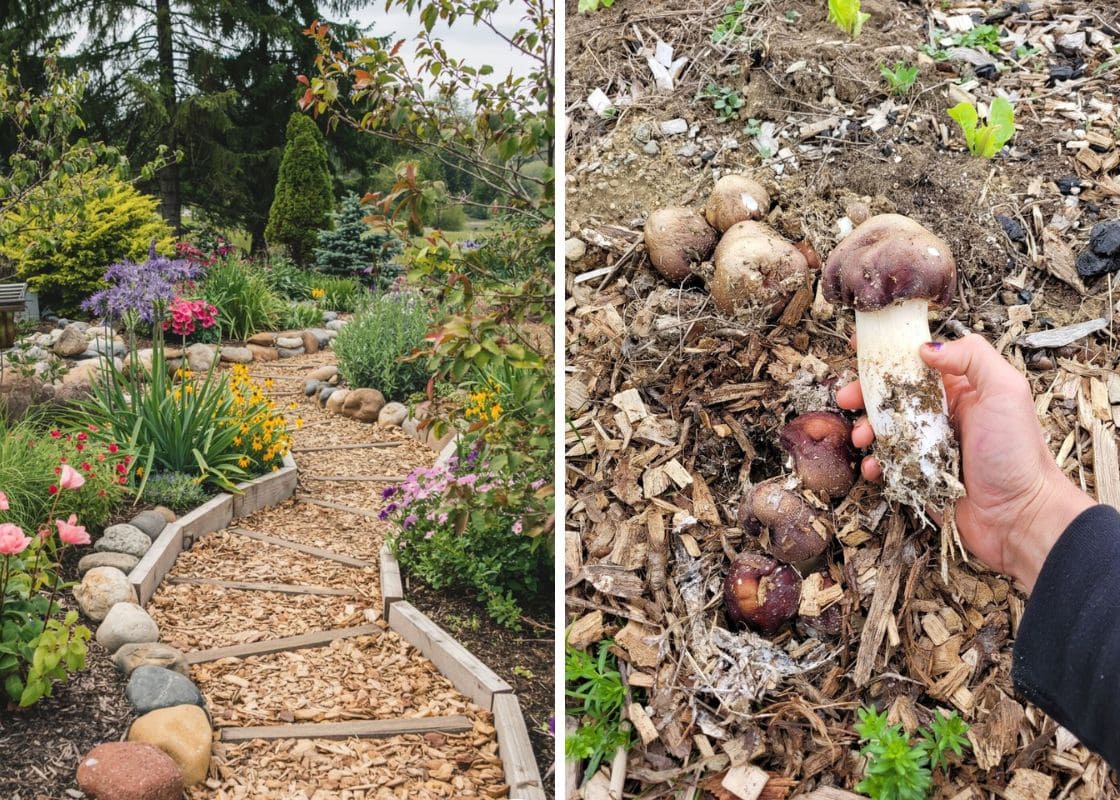
Mulch and Compost
In a no-till garden, mulch isn’t a one-time thing. You’ll need to top it up regularly to keep the soil covered and your plants thriving.
Each season, you should add a fresh layer of mulch, like straw, leaves, or grass clippings. And, every now and then, sprinkle a bit of compost on top for an extra nutrient boost.
Keeping Weeds Under Control
Even with the best mulch layer, some weeds will find their way in.
But with no-till gardening, weeds are easier to handle. You can use natural barriers like cardboard around plants or add extra mulch if you see weeds poking through.
Managing Pests Organically
If you do run into pest issues, try adding companion plants known to repel insects, like marigolds or basil. These natural defenders can help keep pests at bay without disturbing the soil.
