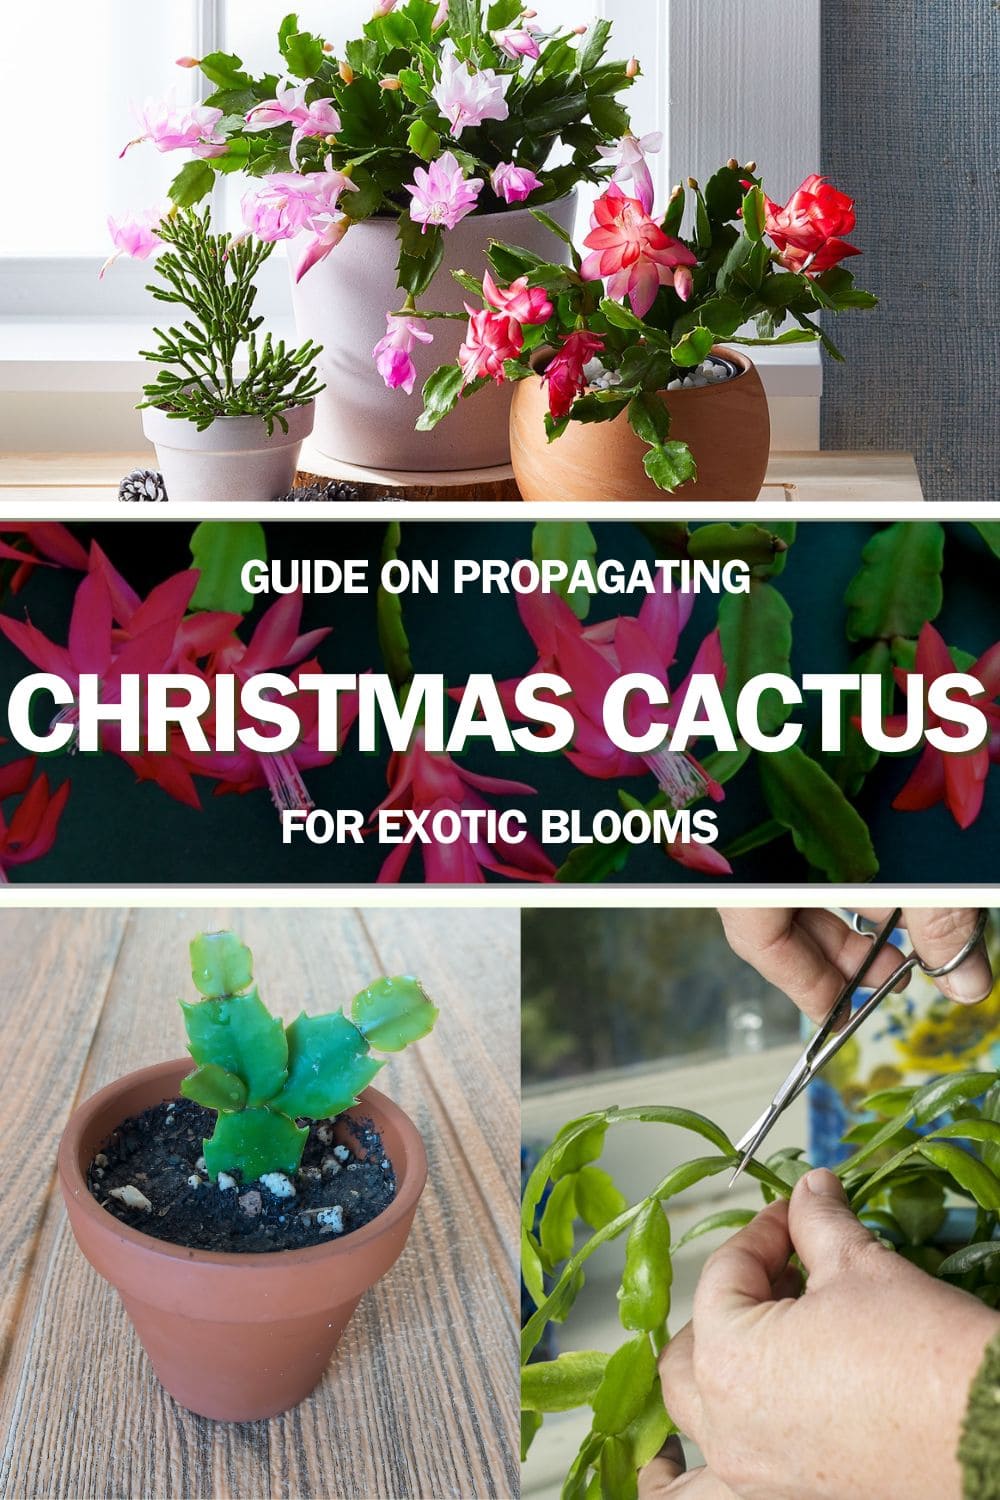
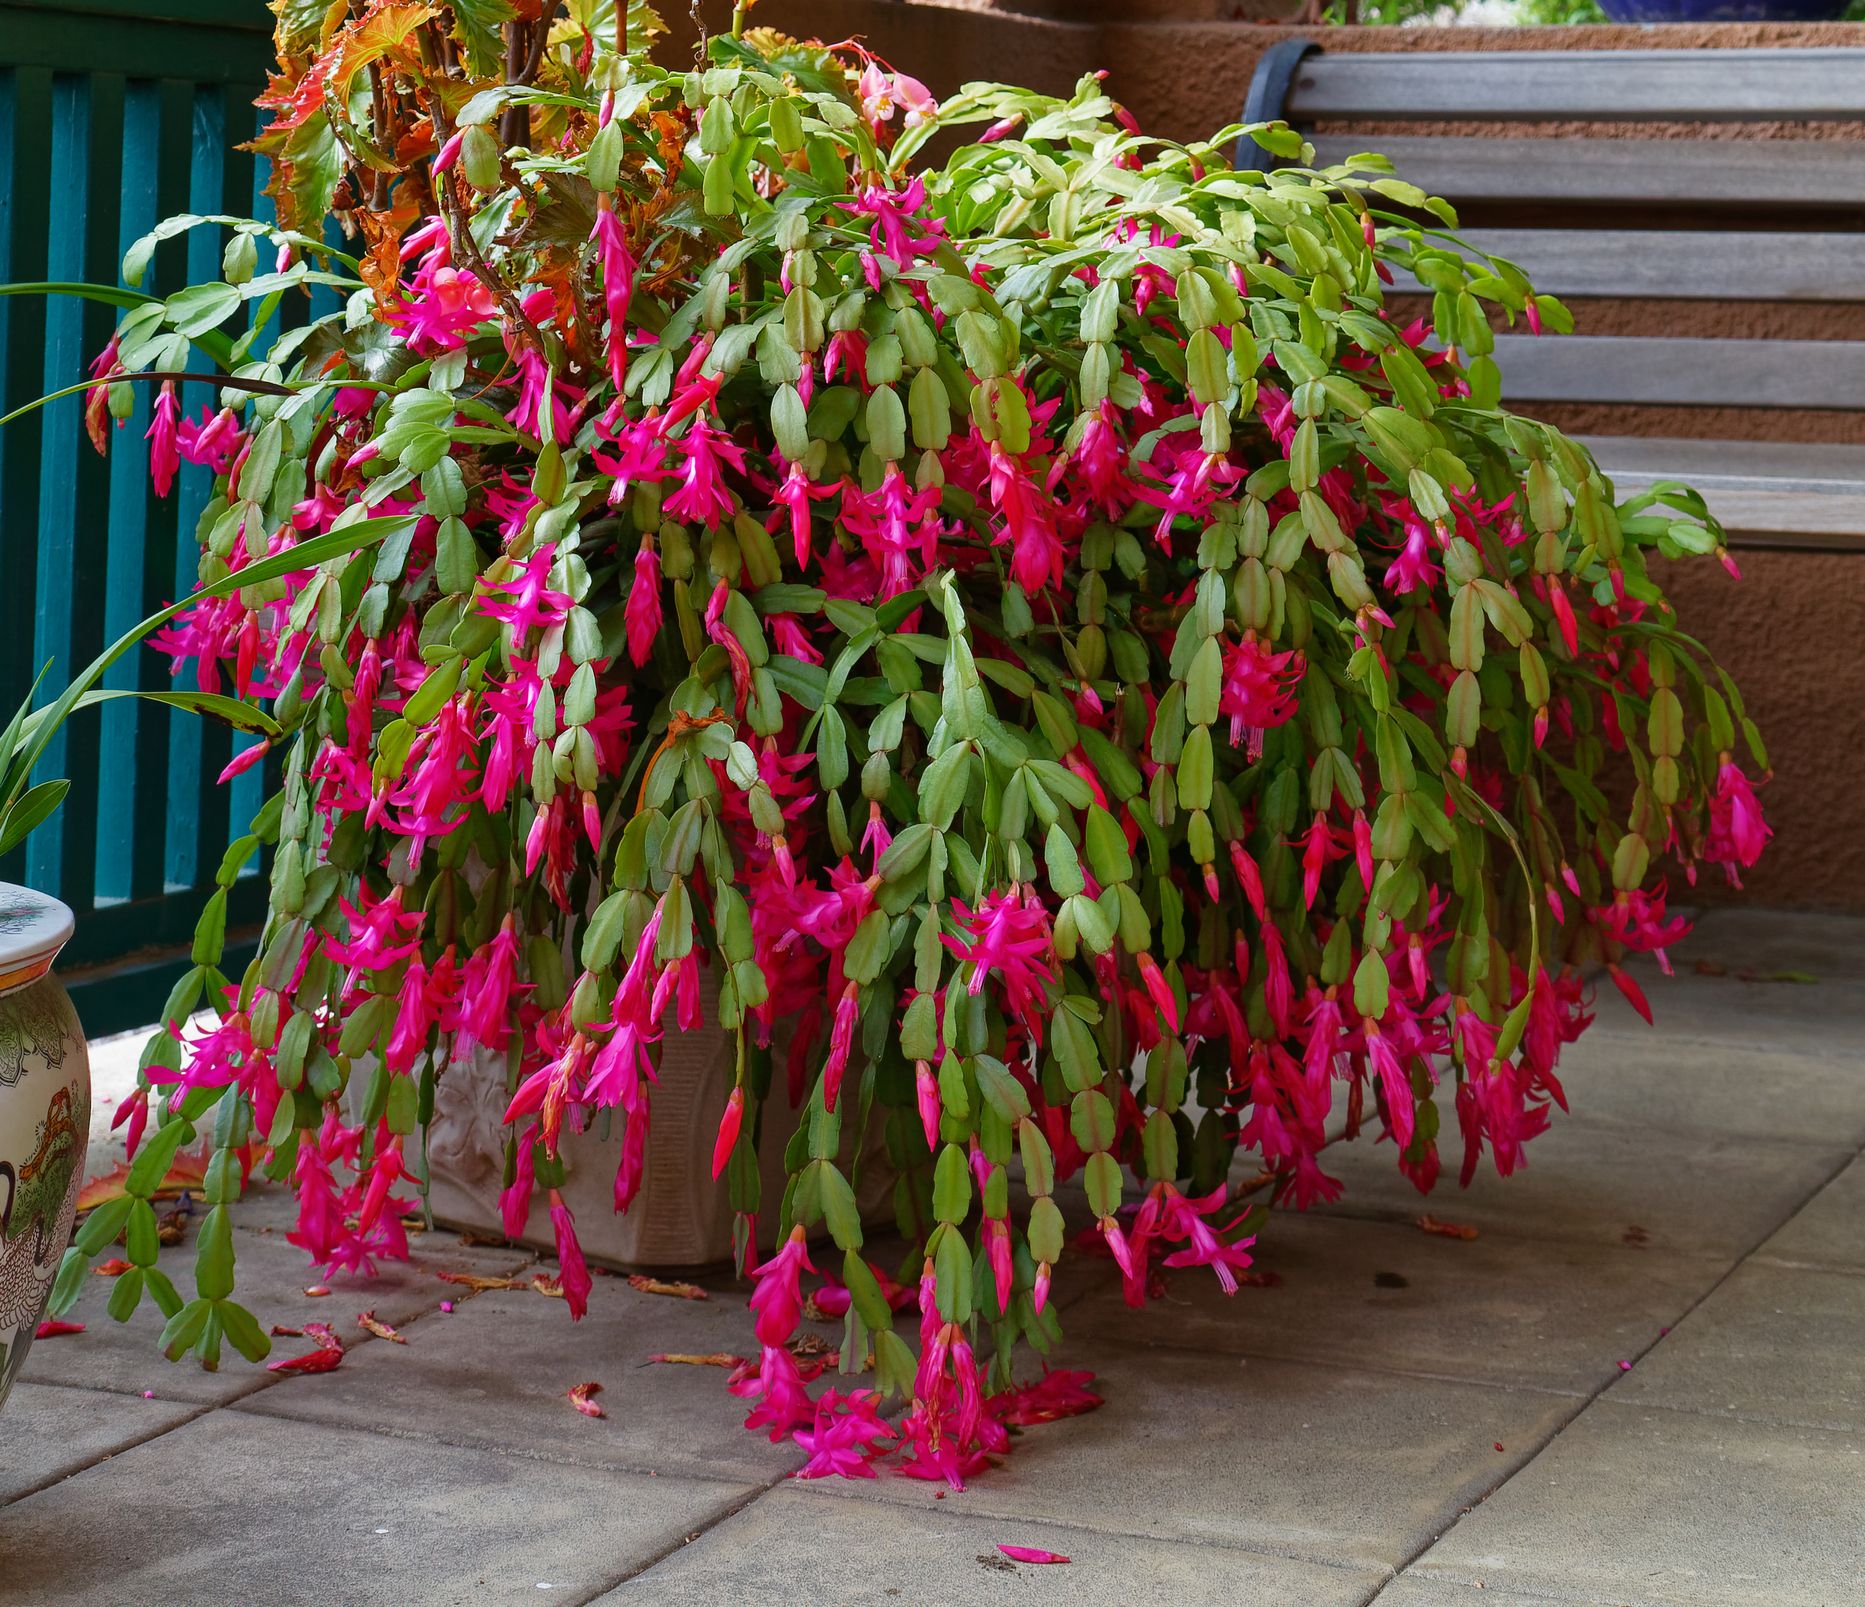
The Christmas cactus, known for its vibrant, exotic blooms that light up during the holiday season, is a unique and cherished houseplant.
Unlike other cacti, it thrives in lower light and prefers a more humid environment.
With its segmented, trailing stems and colorful flowers ranging from reds to pinks, this plant is so easy to propagate to make your house colorful.
Step 1: Choose the Right Time
The best time to take cuttings is right after the plant has finished its blooming season, which is usually in the spring.
Step 2: Prepare Essential Materials
First off, you’ll need a healthy Christmas cactus plant. Next, grab a small jar as the new home for your cuttings.
You’ll also need some stones or gravel to place at the bottom of the jar to help with drainage and keeps the cuttings from sitting in water.
If you have some perlite on hand, that’s a bonus! It improves aeration and helps the cuttings develop roots faster.
Step 3: Take Cuttings
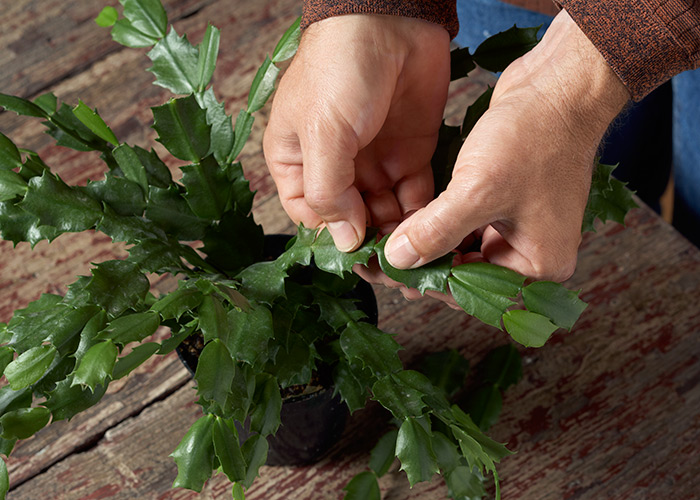
Ideally, you want a piece that’s about 3 to 4 inches long and has at least three segments.
To make the cut, you can either twist the segment gently at the joint or use a clean, sharp knife.
I usually go with the twist method because it feels more natural and less like I’m performing a mini-surgery.
Step 4: Allow the Cuttings to Callus
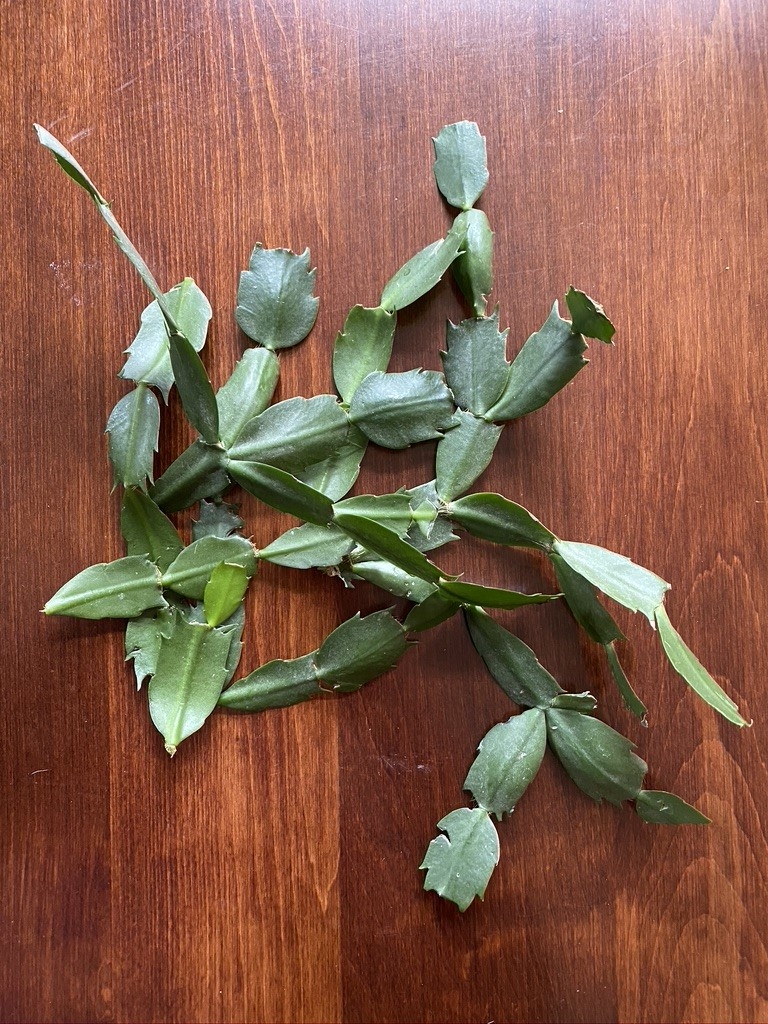
This step is super important because it helps protect the cuttings from rot and infection. The plant needs a few days to a week to form this protective layer.
Place your cuttings in a cool, dry spot. I usually leave mine on a windowsill that gets indirect light.
During this time, the plant focuses all its energy on healing the cut end. You’ll notice the end becoming harder and drier.
Step 5: Potting the Cuttings
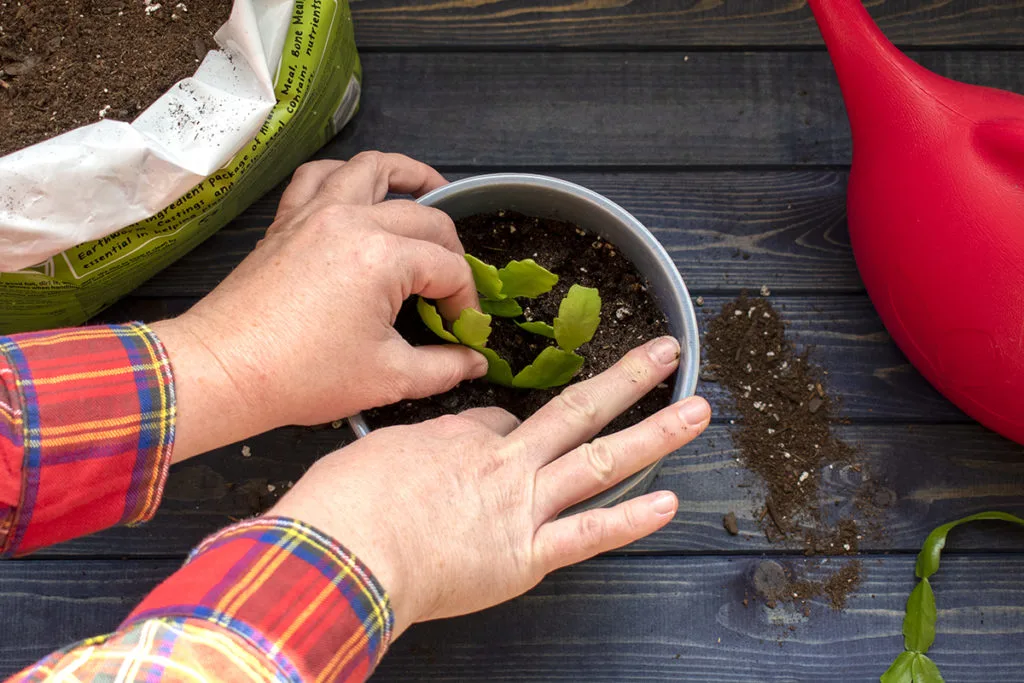
Before you plant, make sure the soil is slightly damp.
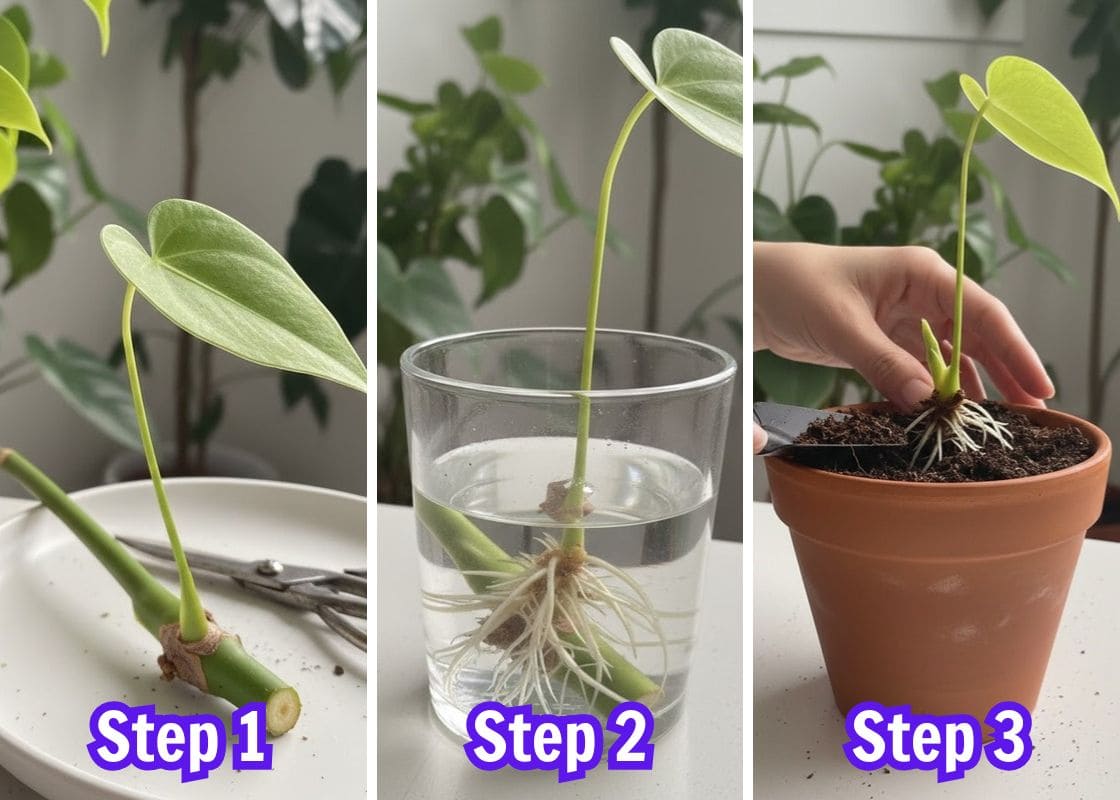
Then, place the cutting about an inch deep into the soil, with the calloused end down and give it a gentle press to make sure it’s snug.
If you’re propagating multiple cuttings, you can plant them in the same pot. Just make sure they have enough space to breathe.
Step 6: Watering and Covering
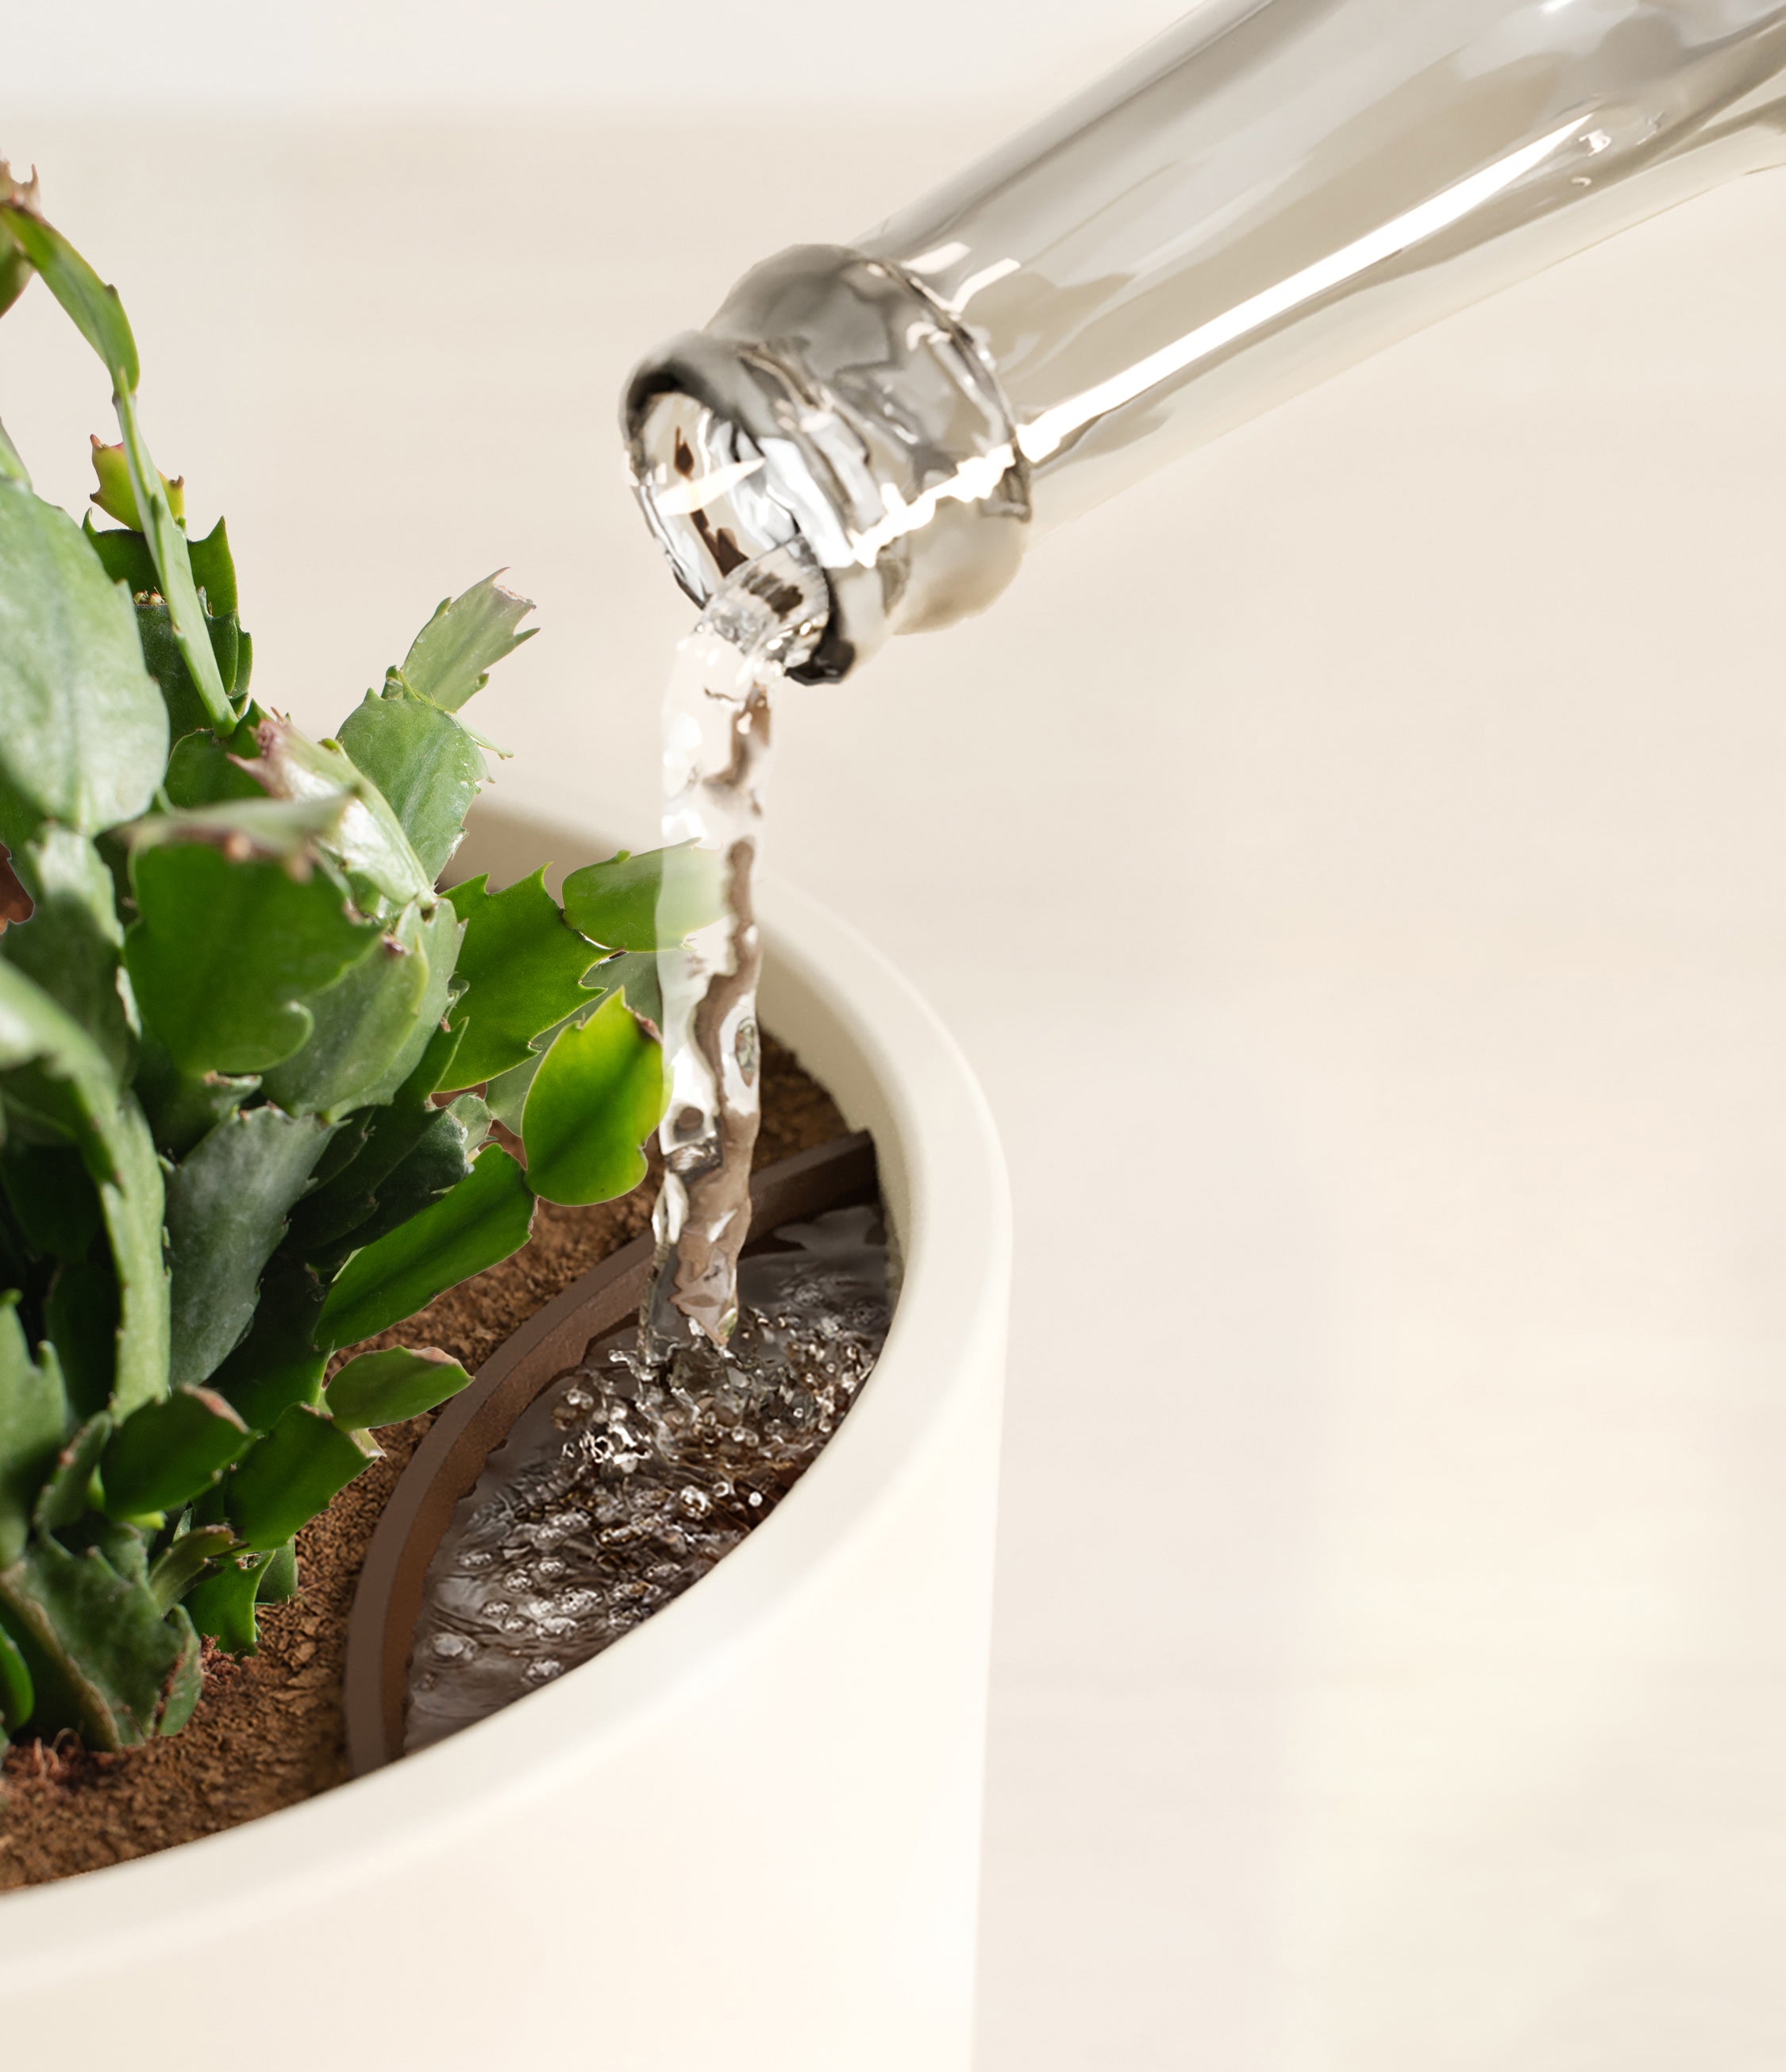
Overwatering can lead to root rot, which is a big no-no. A good rule of thumb is to let the top inch of soil dry out before you water again.
Besides, you can use a clear plastic bag or a plastic dome to cover the pot. Just make sure there’s some ventilation to prevent mold.
Step 7: Provide Indirect Light
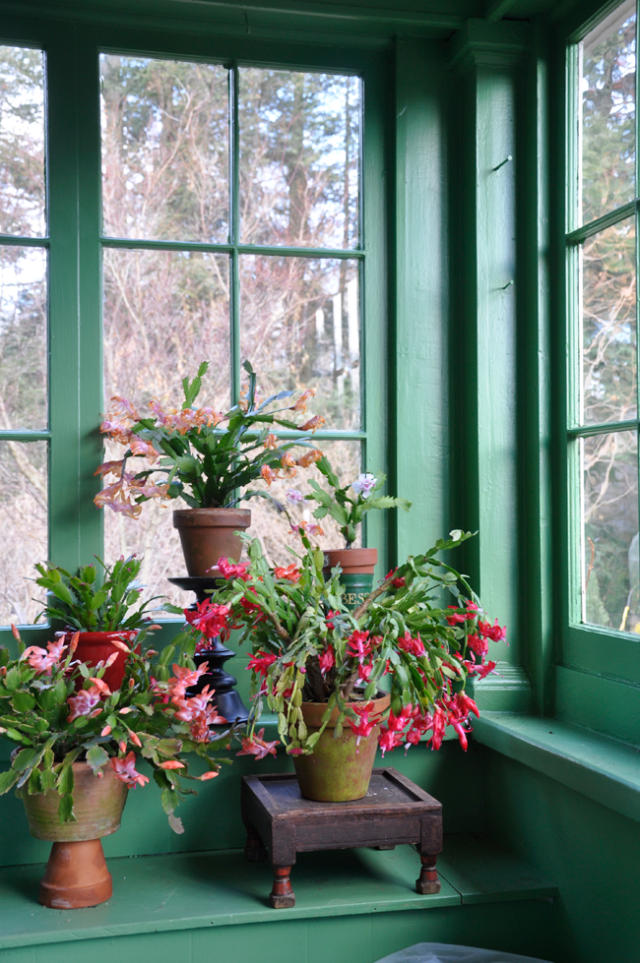
Your Christmas cactus loves bright, indirect light.
A spot near a window that gets plenty of light but not direct rays is perfect. South, west, or east-facing windows are usually great choices.
If you’re moving your plant outside for the summer, wait until nighttime temperatures are consistently above 50 degrees Fahrenheit.
During the growing season, which is typically spring and summer, aim for about 4-6 hours of light per day. This helps promote healthy growth and blooming.
Step 8: Monitor and Care
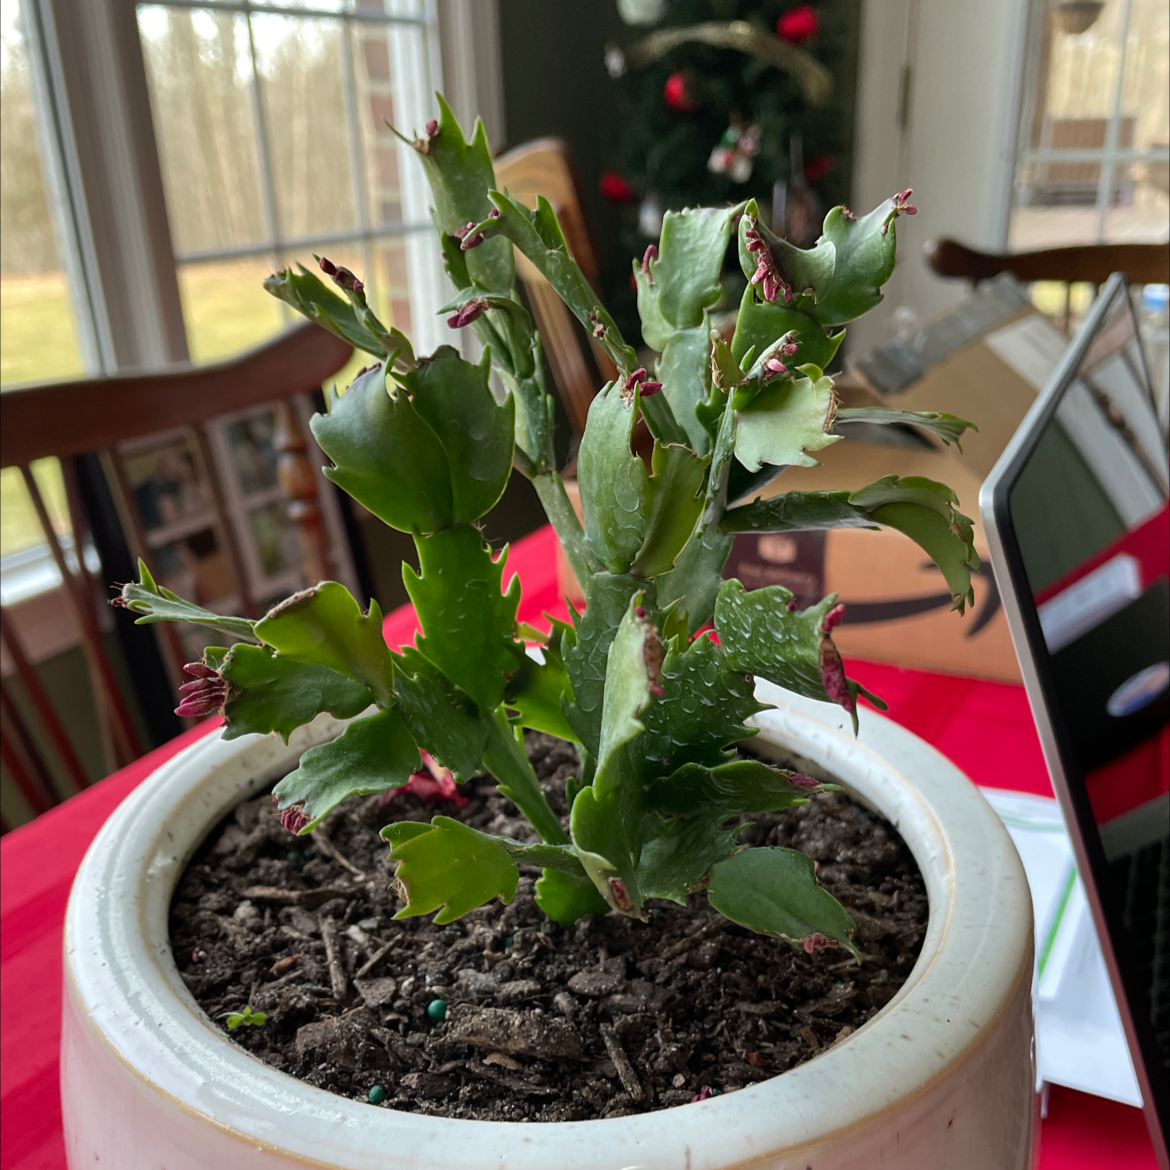
If you see yellowing leaves, it could mean too much water or not enough light.
Also, a balanced houseplant fertilizer every month during the growing season will do wonders.
Just make sure to dilute it to half strength to avoid overwhelming your cactus.
Step 9: Root Development
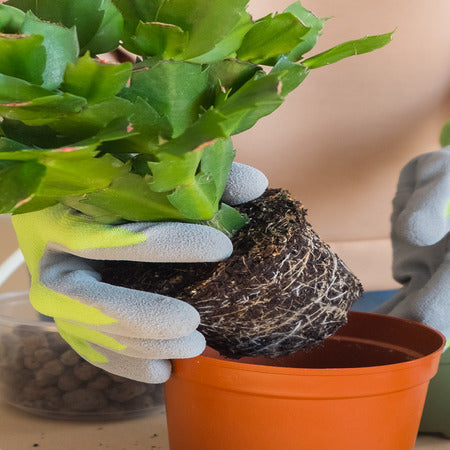
It usually takes a few weeks to a couple of months for the roots to start forming.
When you gently tug on the cutting and feel some resistance, that’s a good sign that roots are forming.
Once the roots are well-established, you’ll notice new growth appearing above the soil. This is your cue that the plant is ready for the next stage.
Step 10: Transplanting
You need to make sure it has drainage holes to avoid waterlogging, a pot that’s just a bit bigger than the current one is perfect.
Next, you can buy a cactus mix or make your own by mixing potting soil, coarse sand, and peat moss in equal parts.
Now, gently remove your cactus from its current pot. If the roots are tangled or compacted, gently tease them apart.
Then, place the cactus in the new pot and fill in around it with your prepared soil.
After transplanting, give your cactus a good drink of water and let the excess drain out.
Then, place it in a shady spot for a few days to help it recover from the move. Once it’s settled, you can move it back to its usual spot with bright, indirect light.
